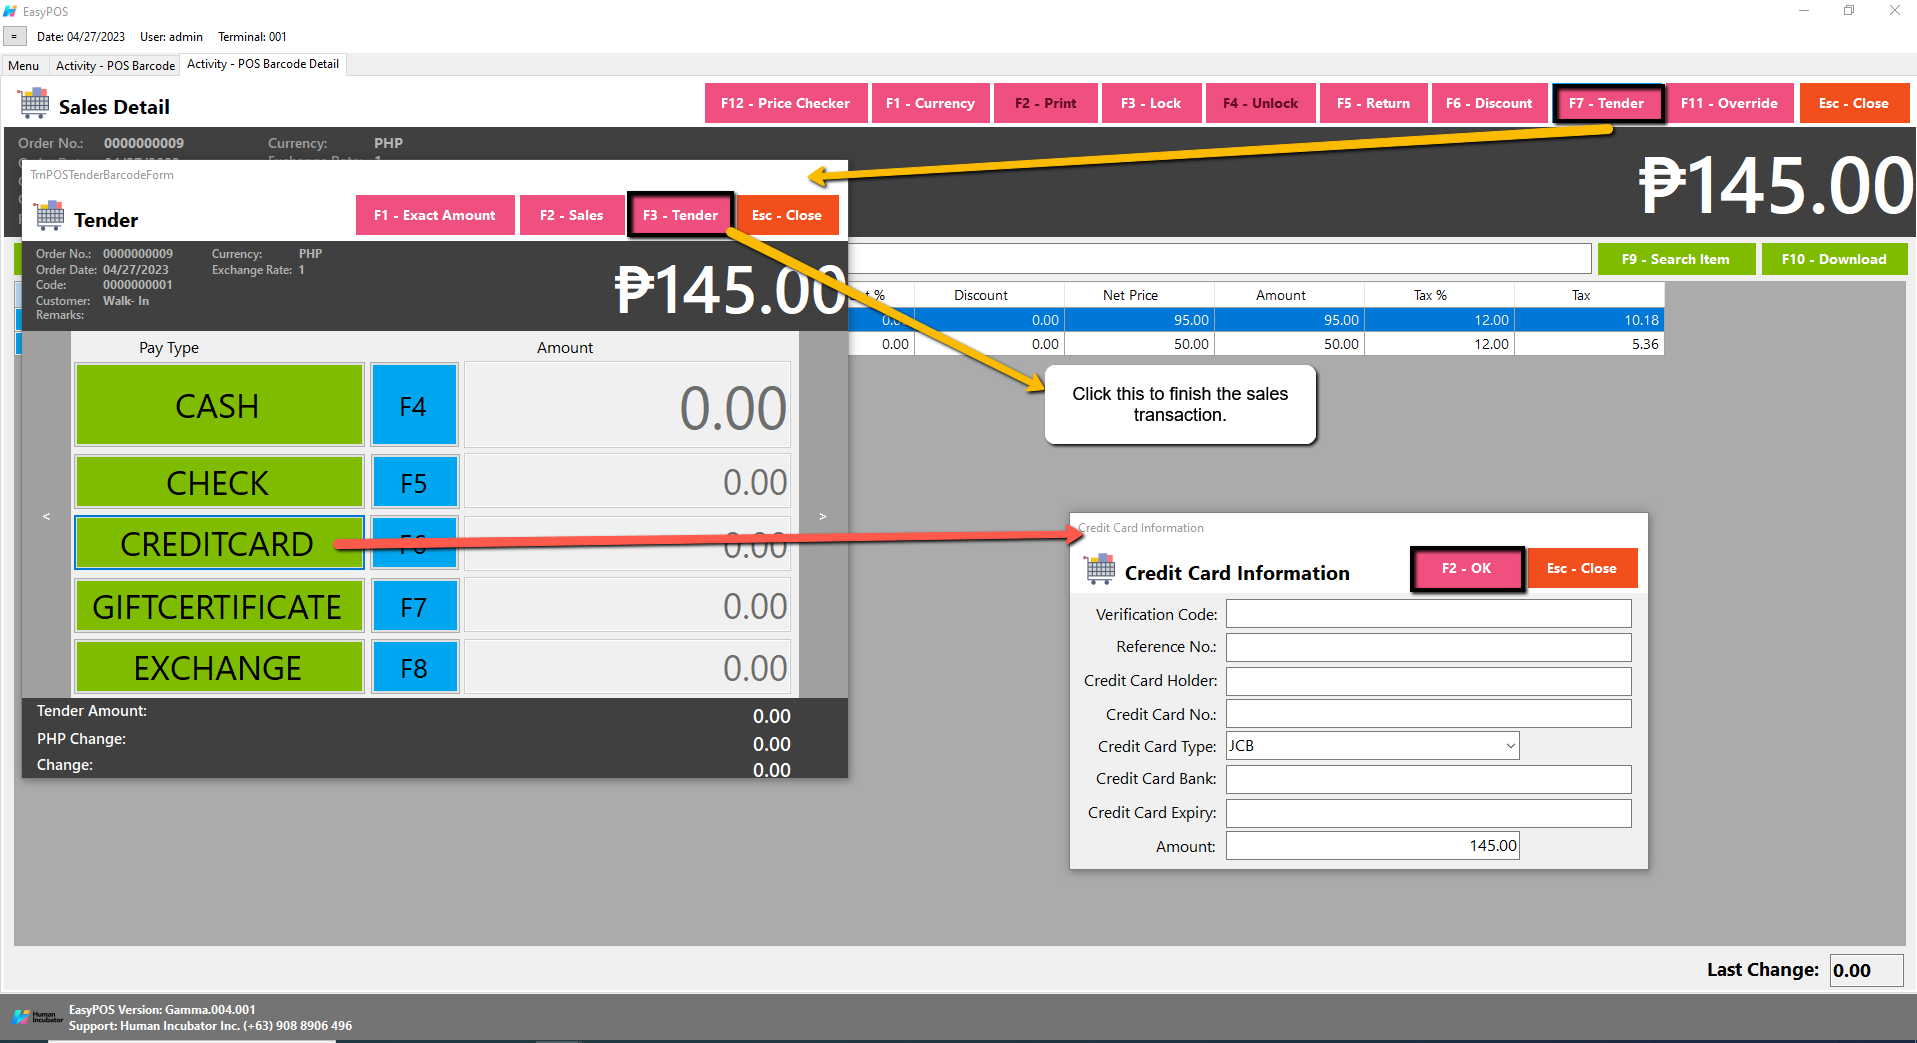
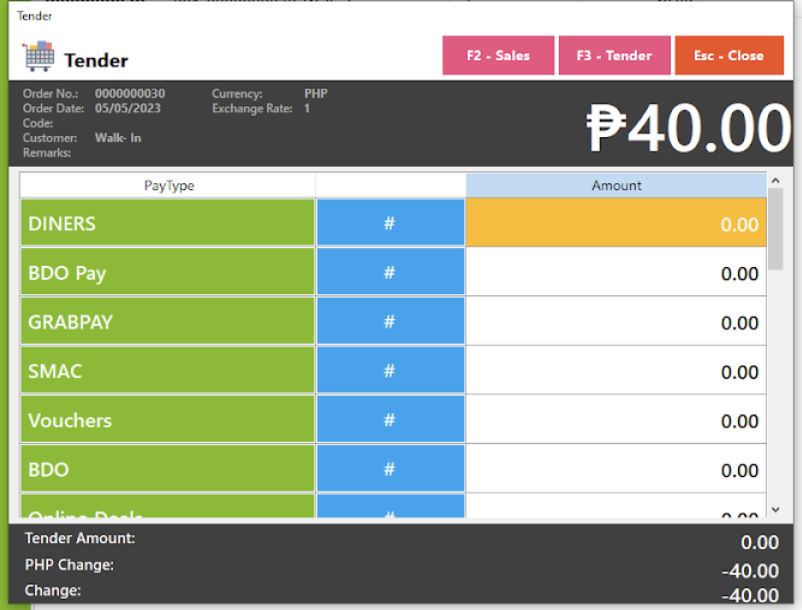
Barcode Sales Detail - Relevant Buttons
❖ POS Hamburger Menu and Keyboard
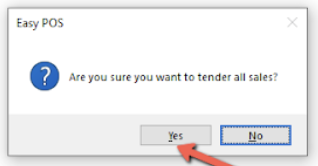
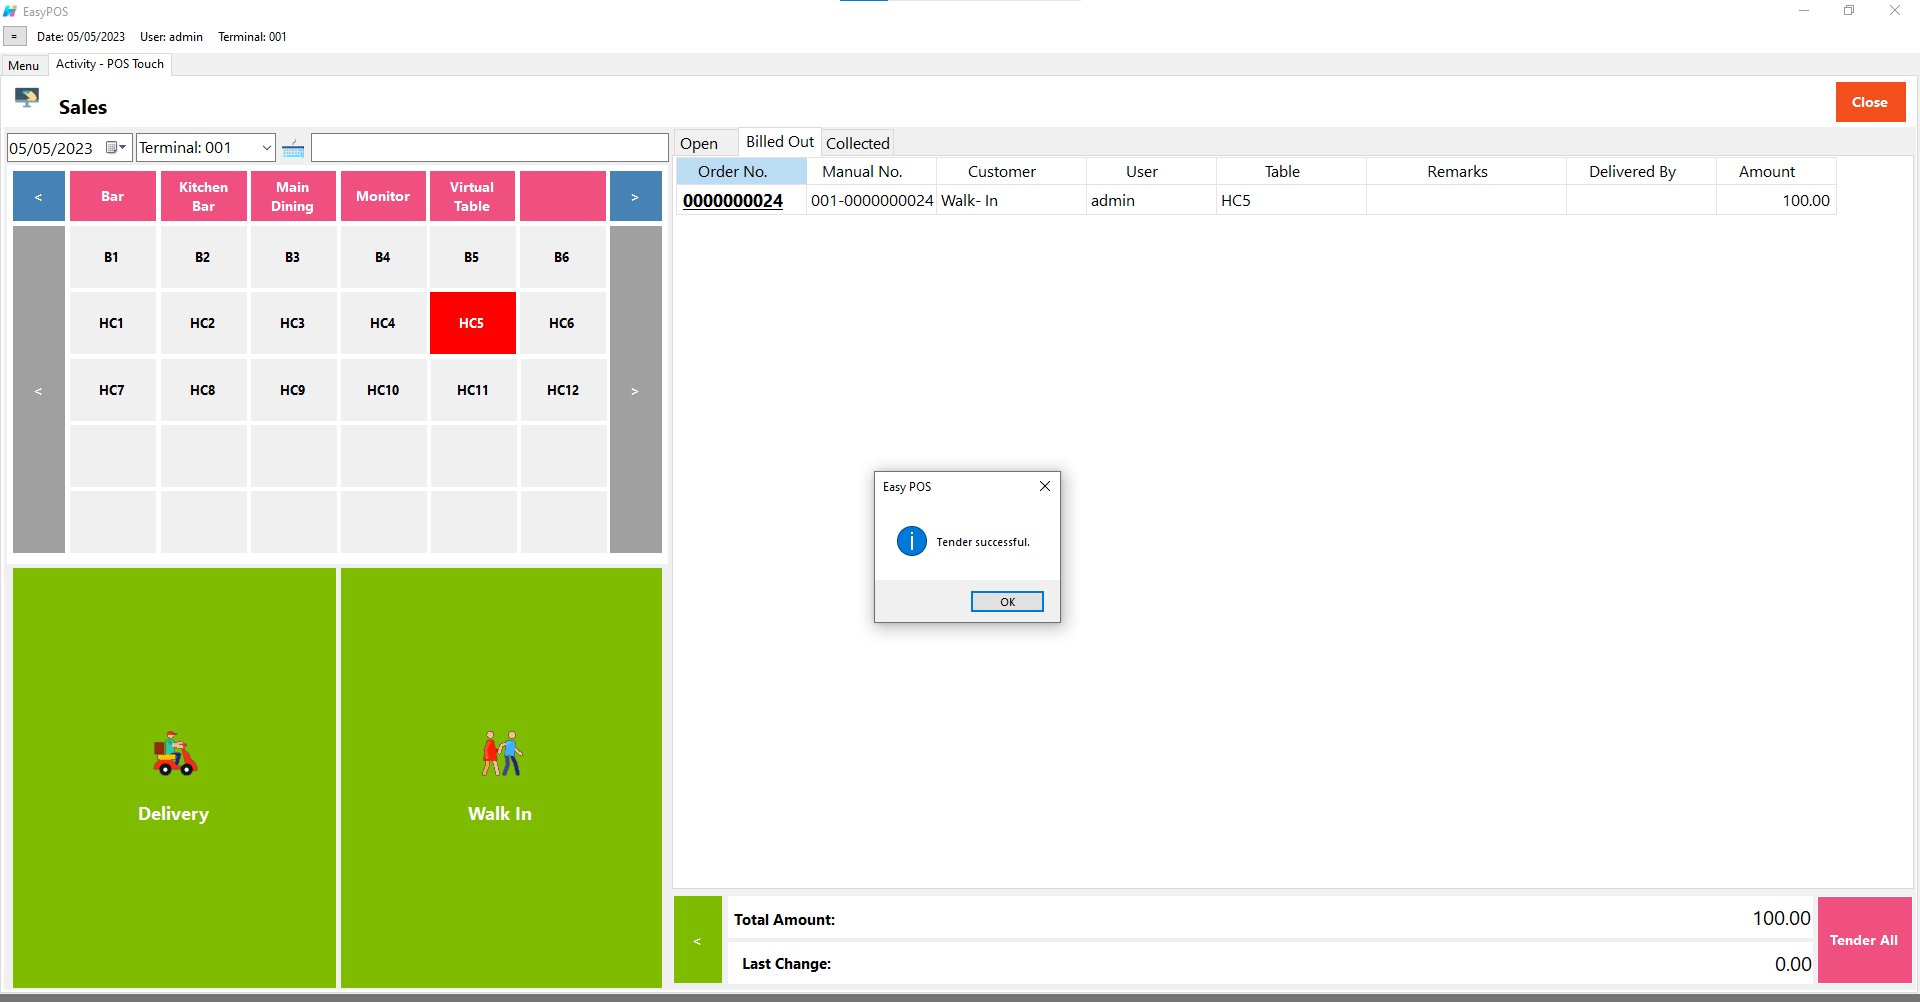
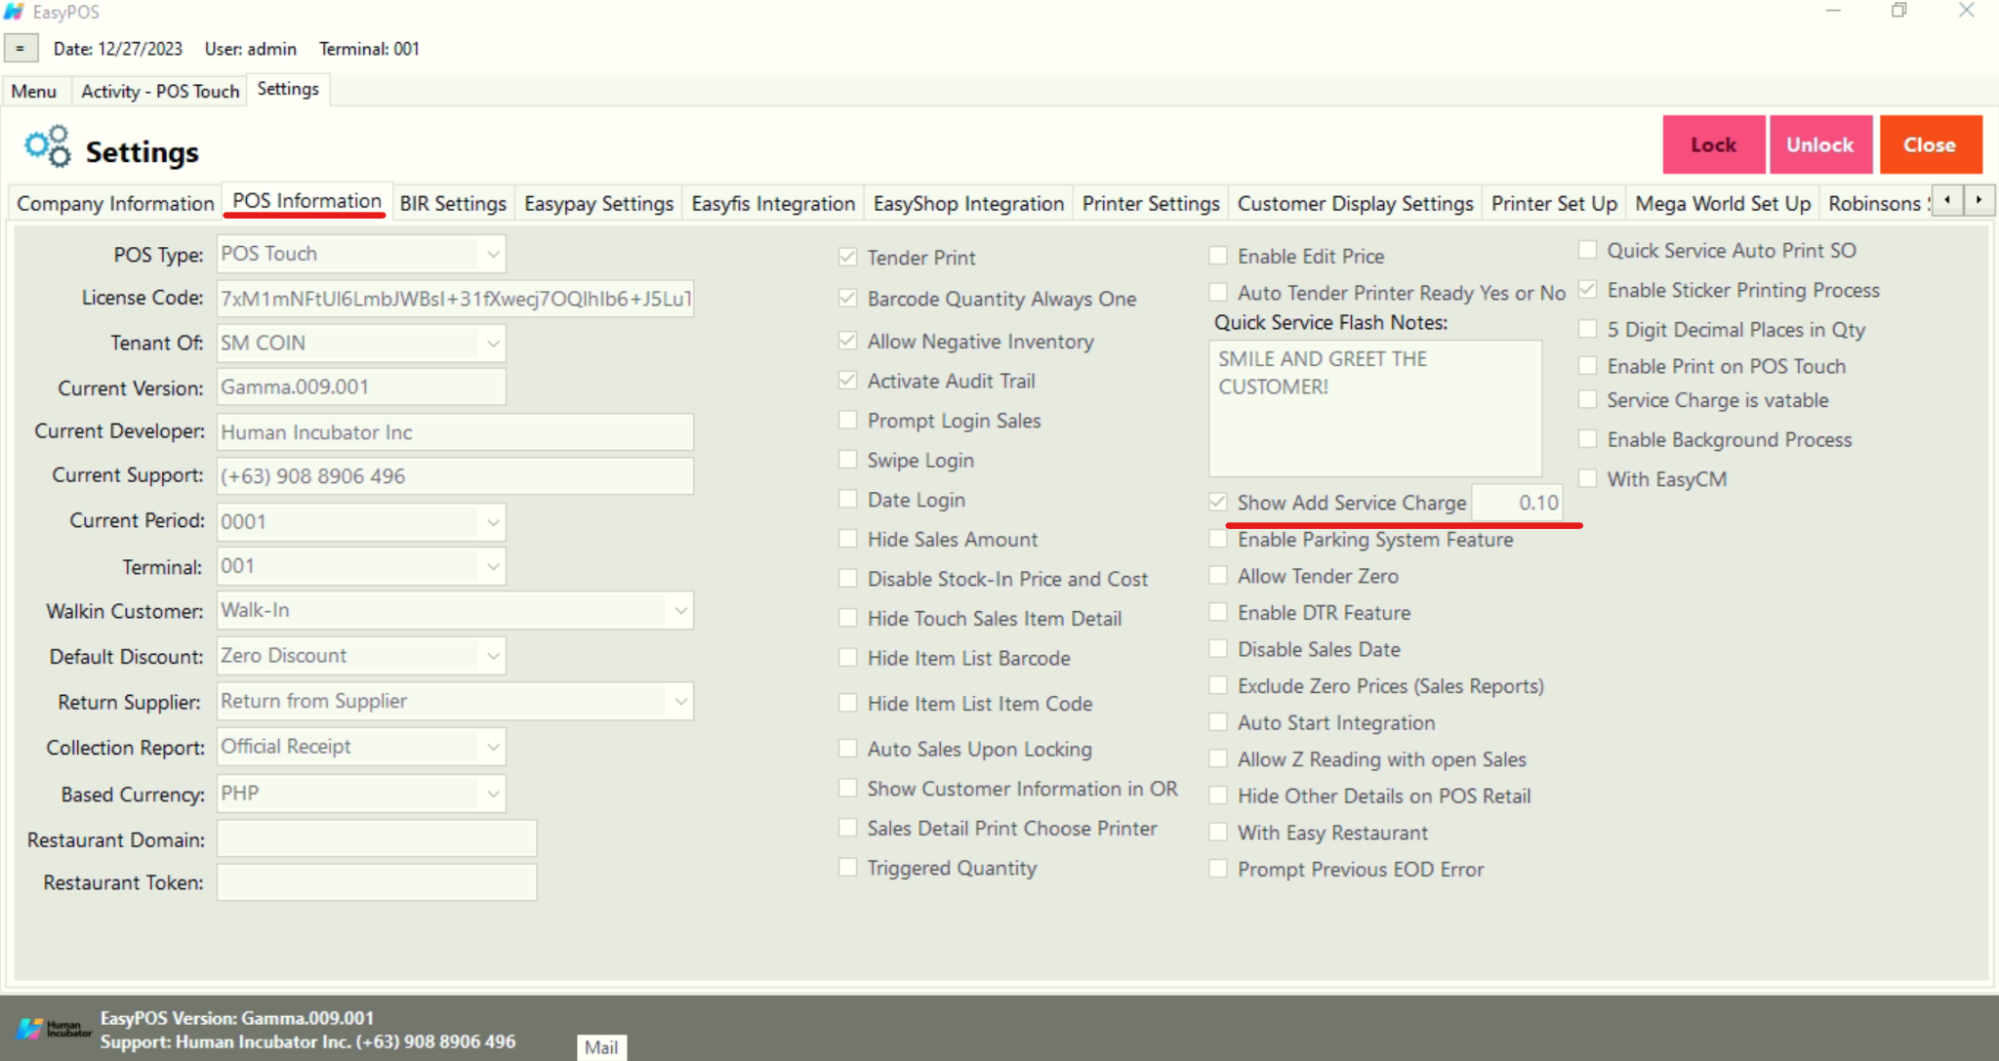
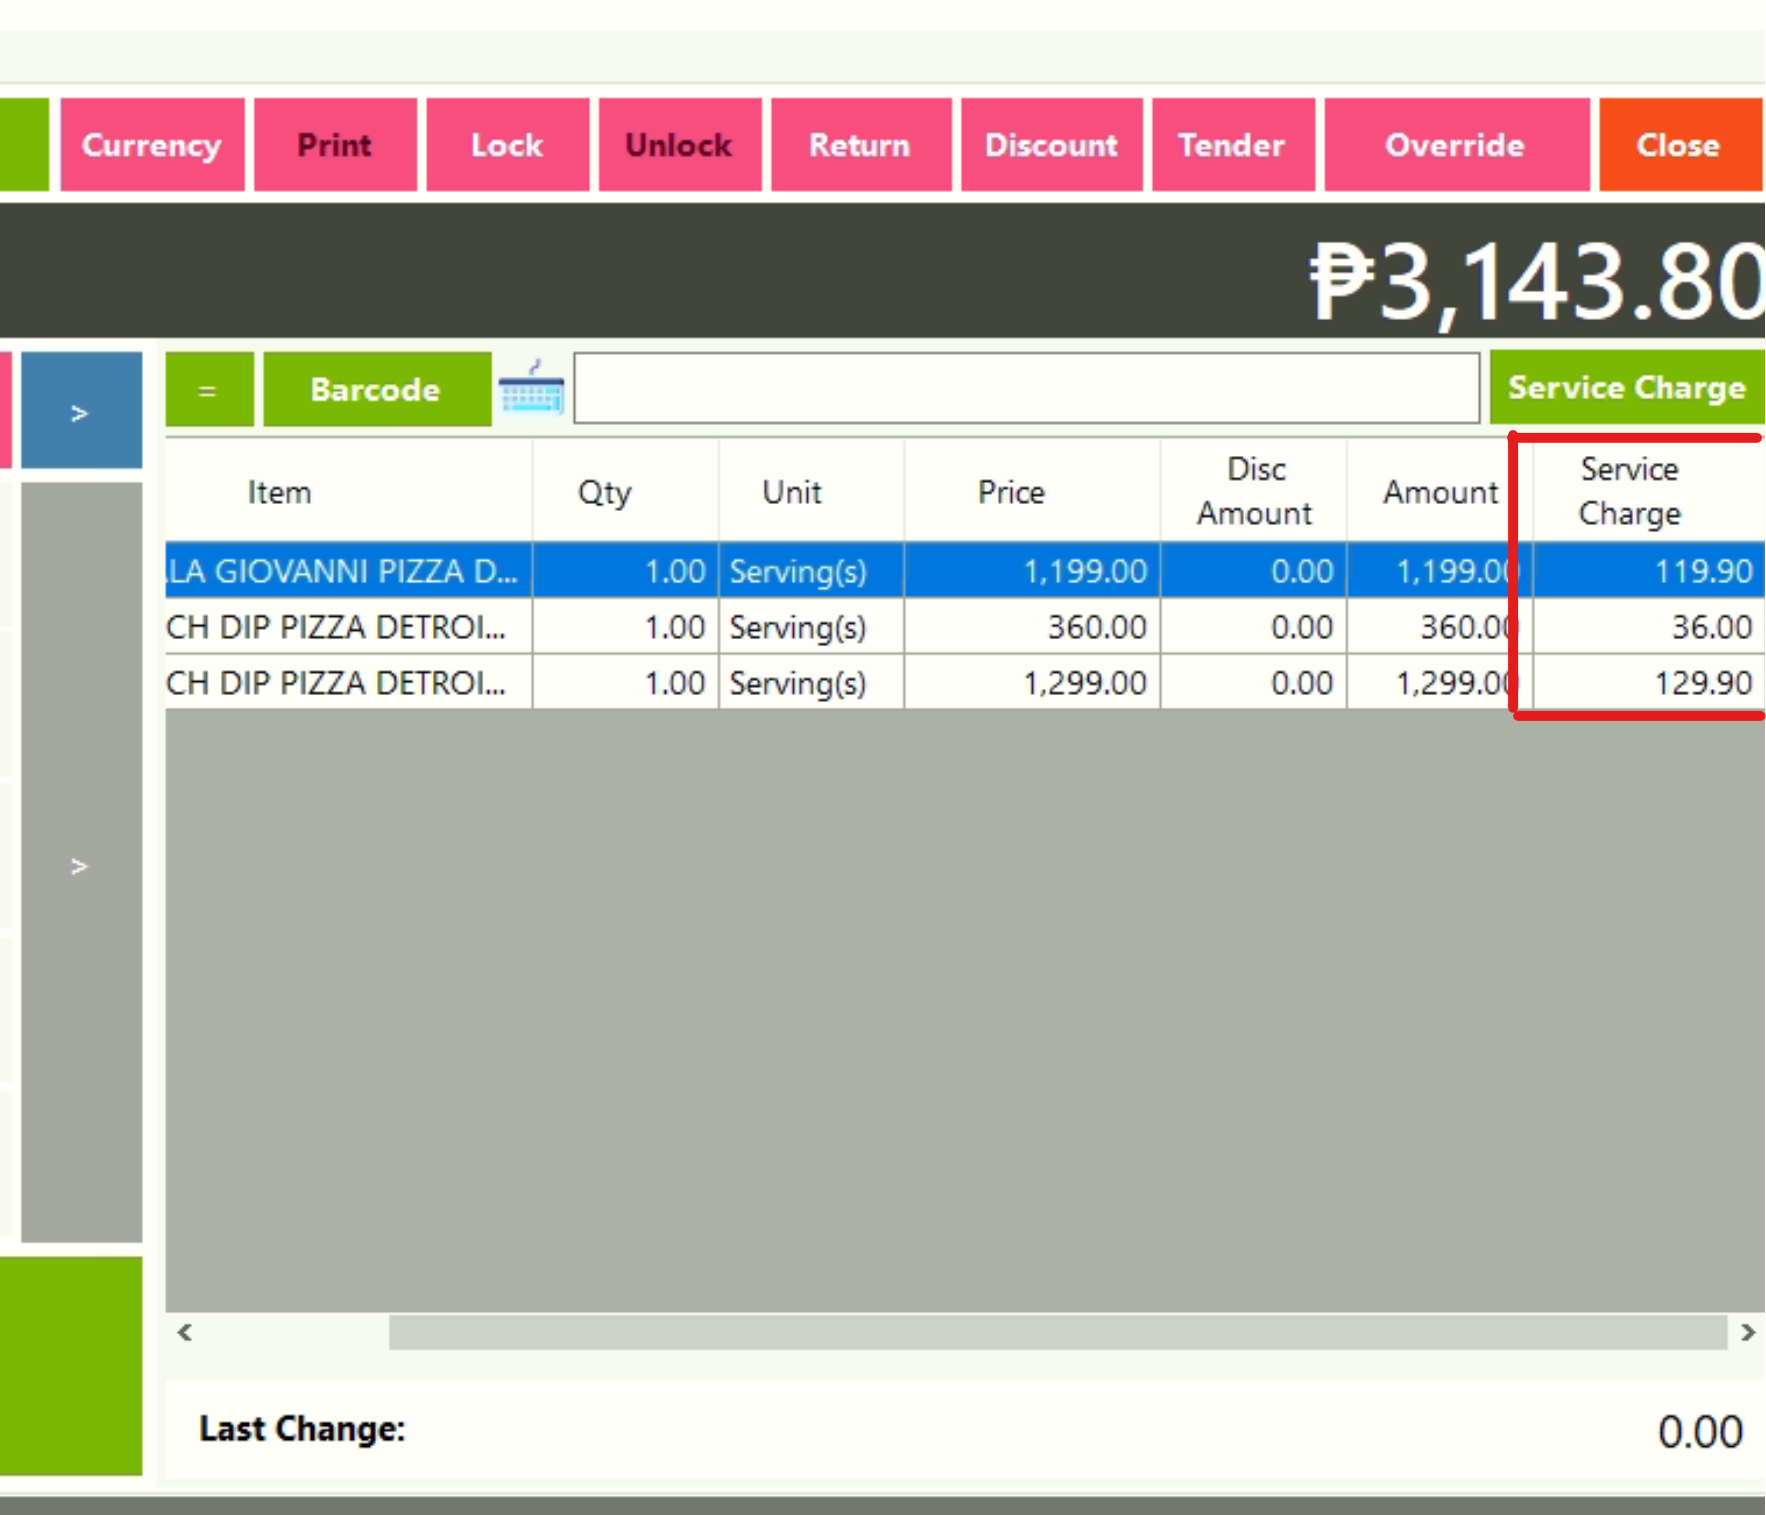
POS Touch Sales - Service Charge
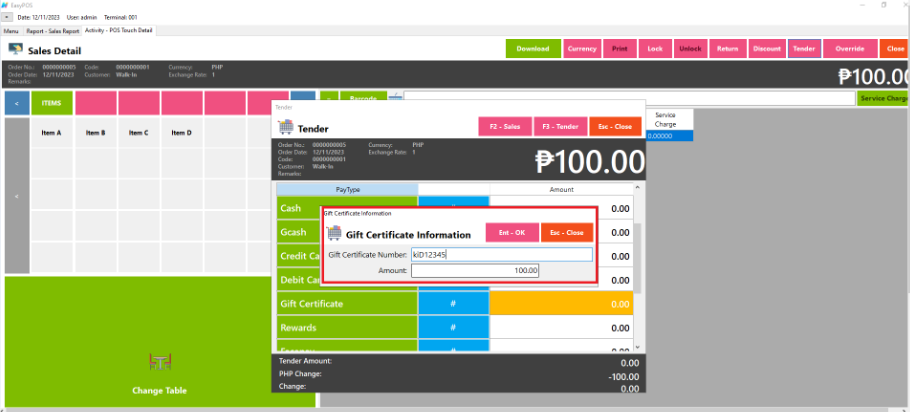
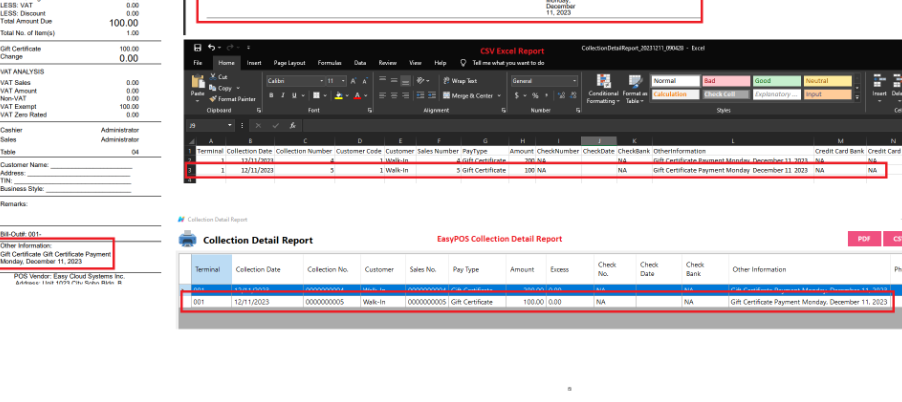
POS Touch Sales - Gift Certificates
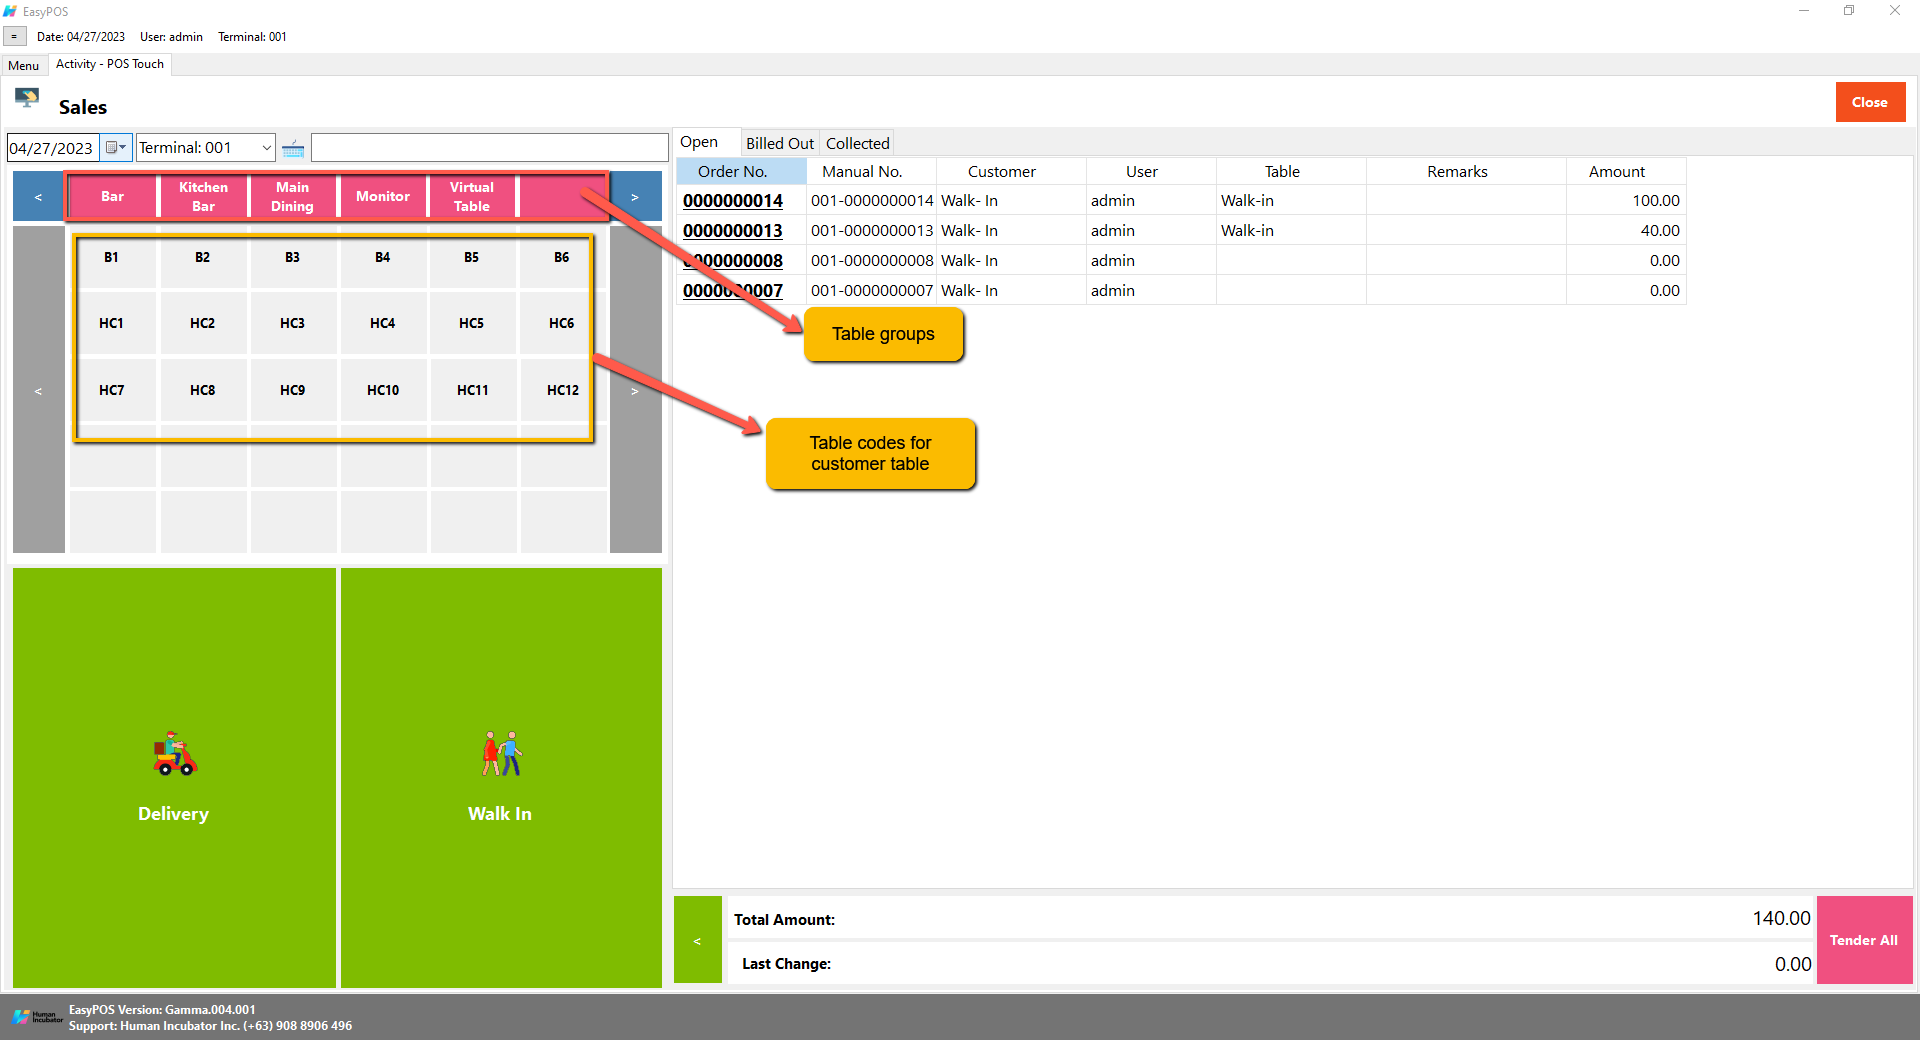
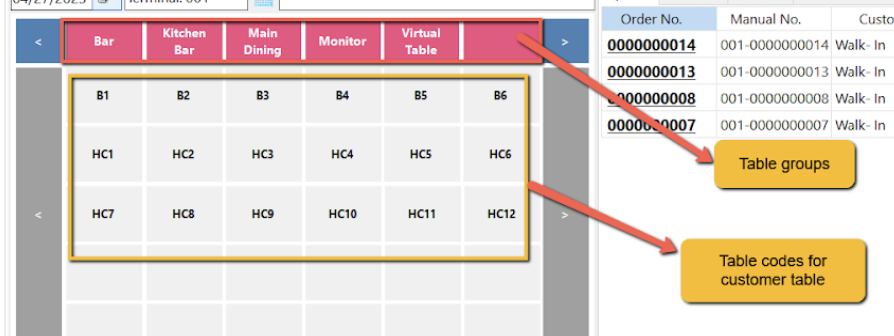
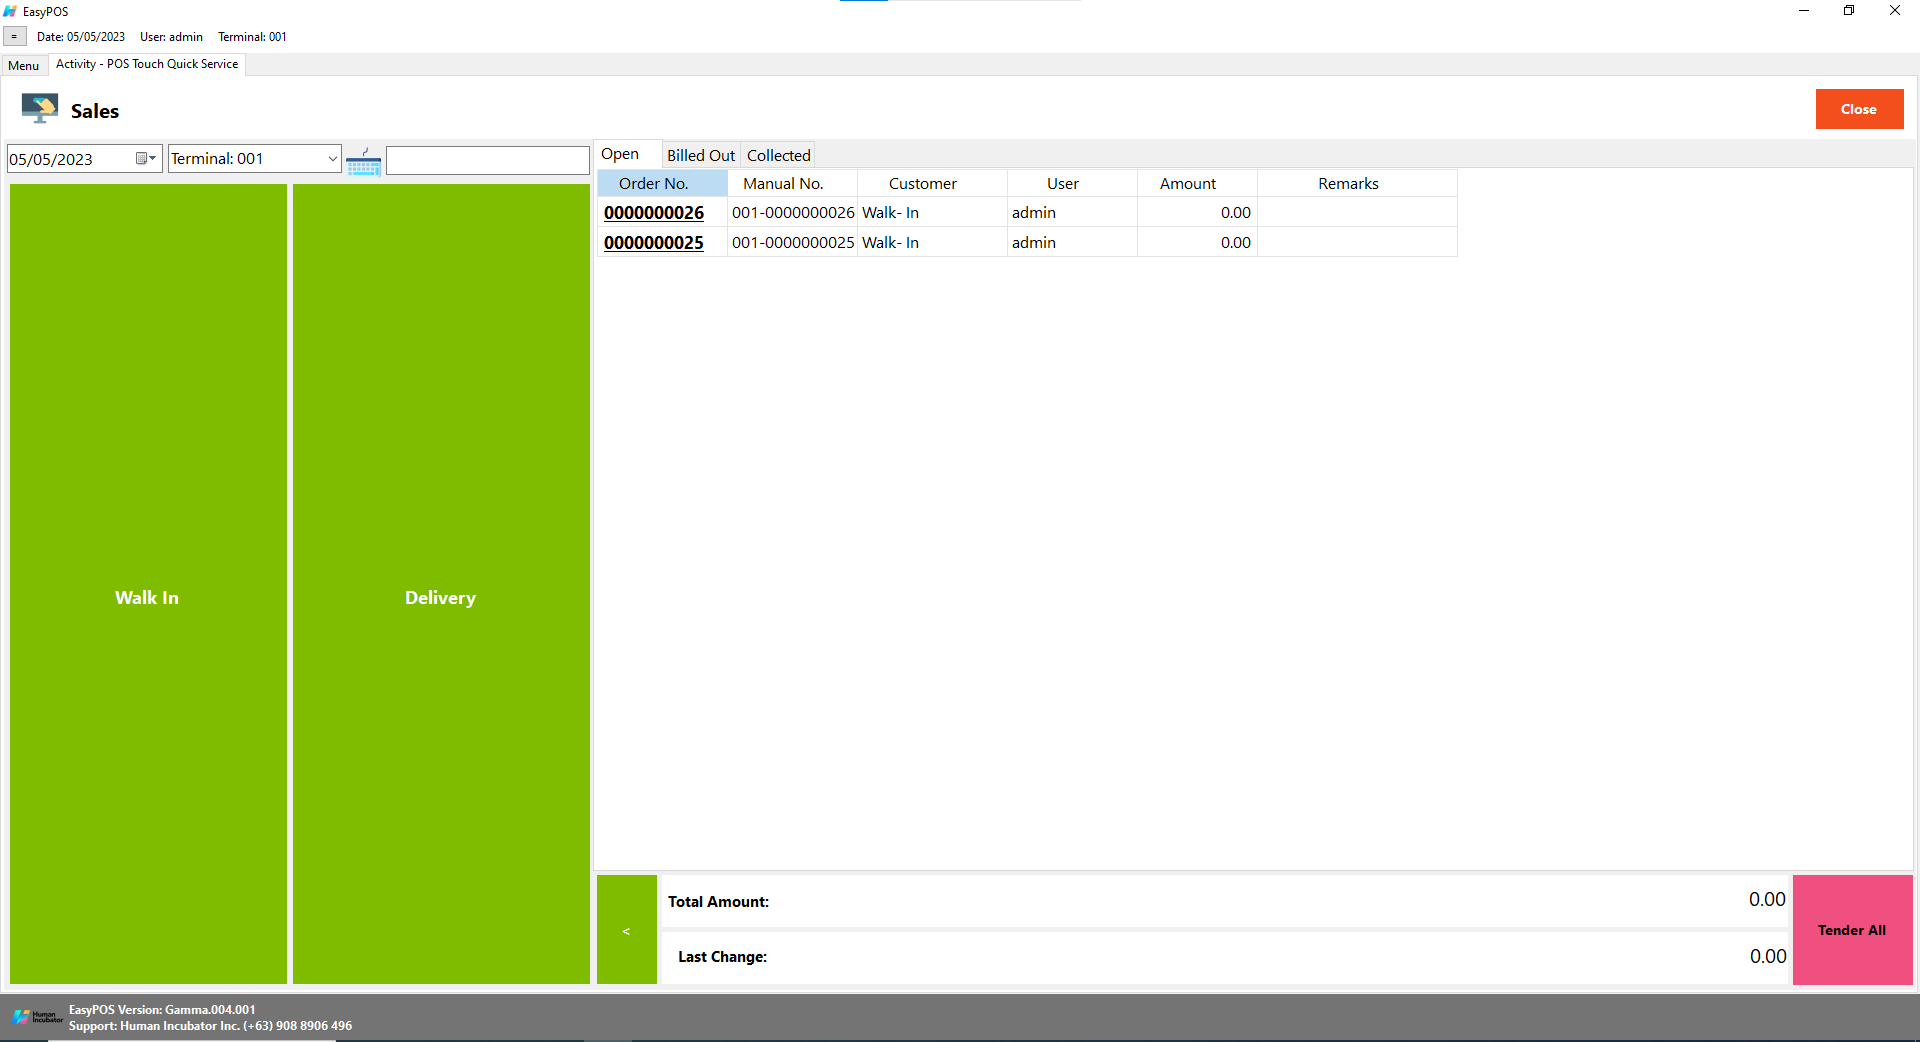
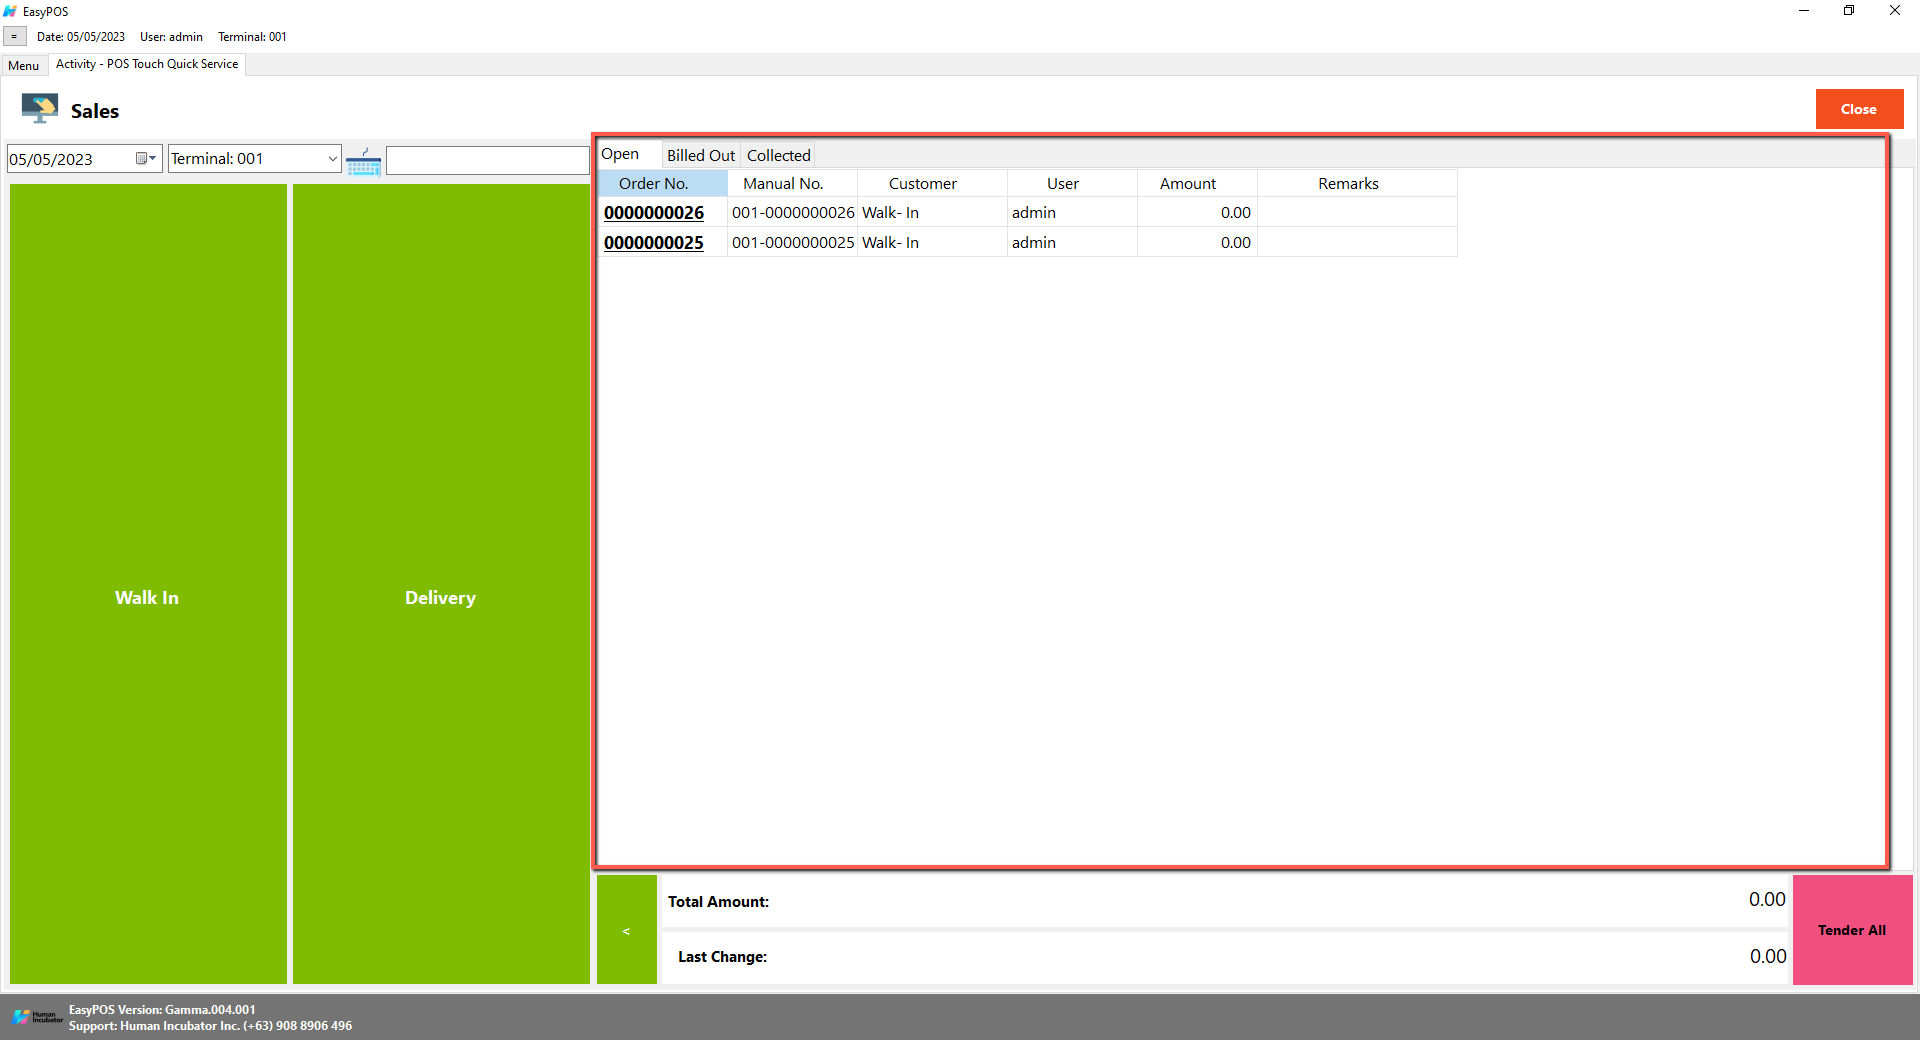
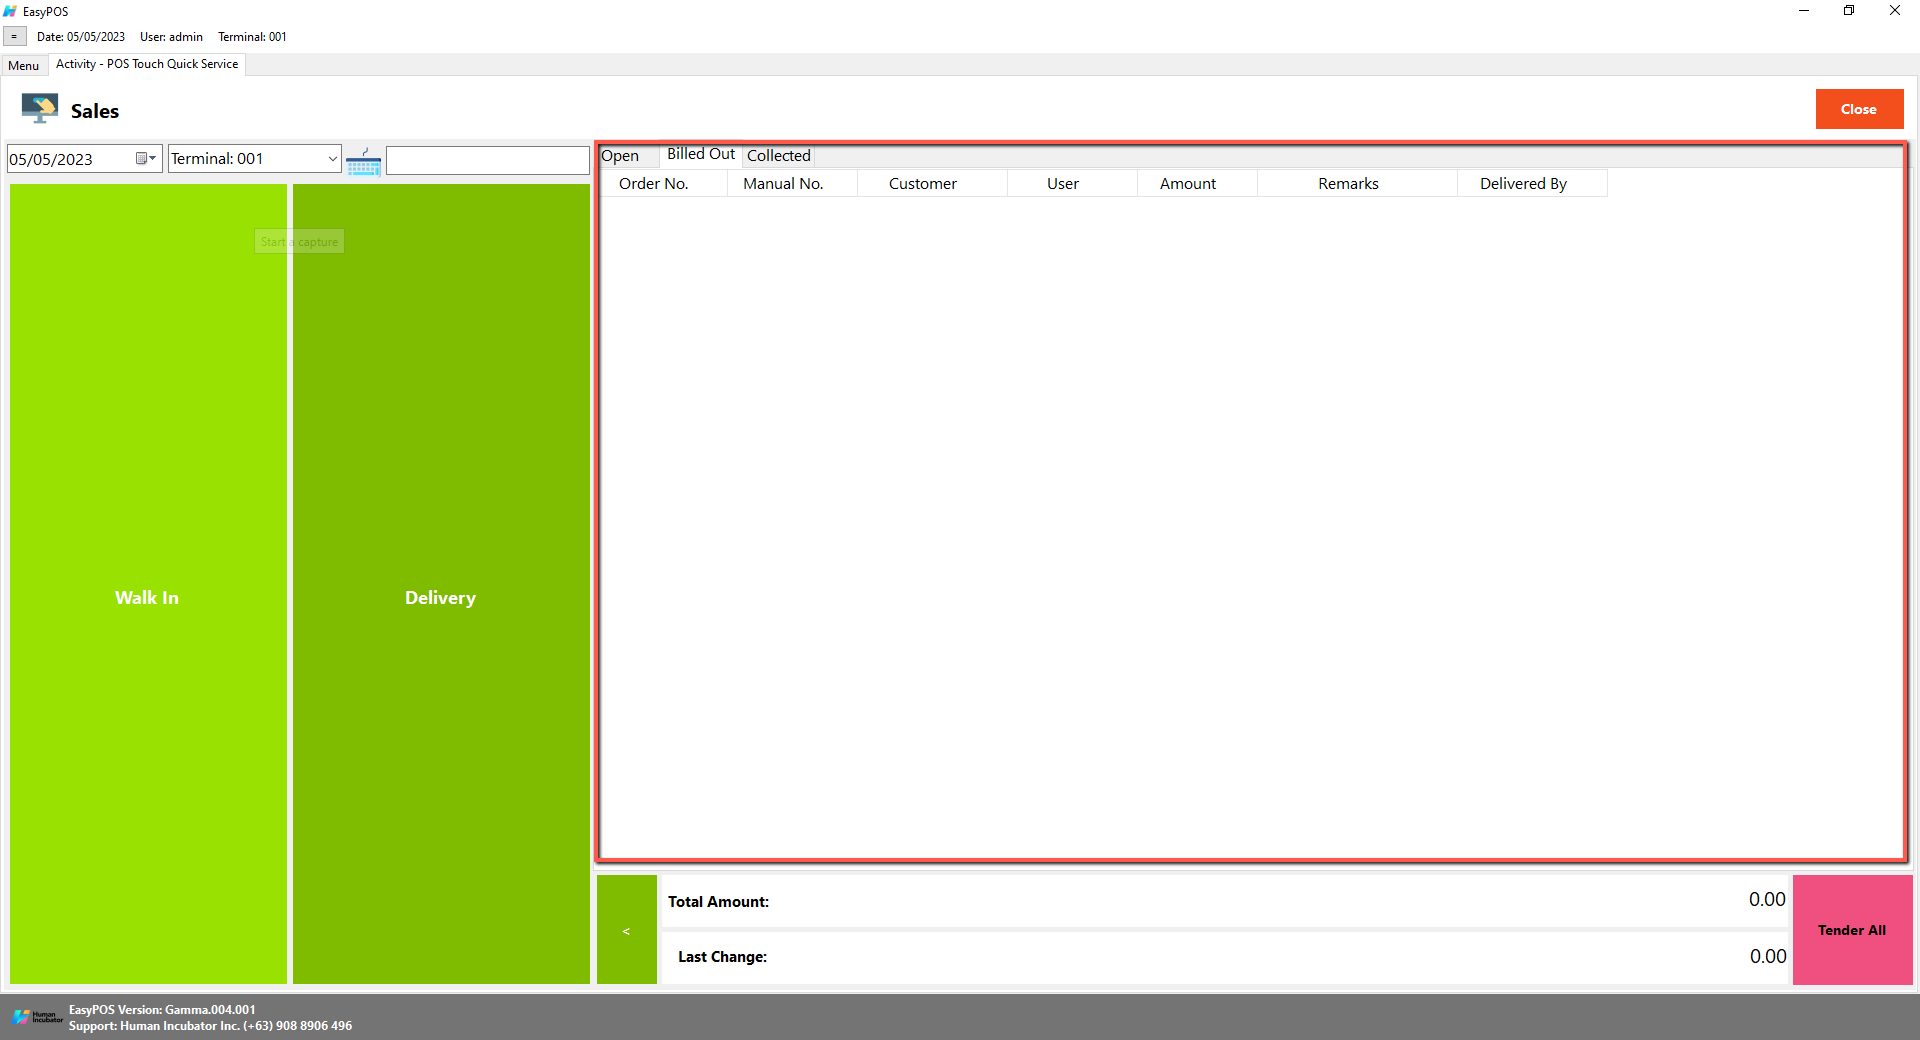
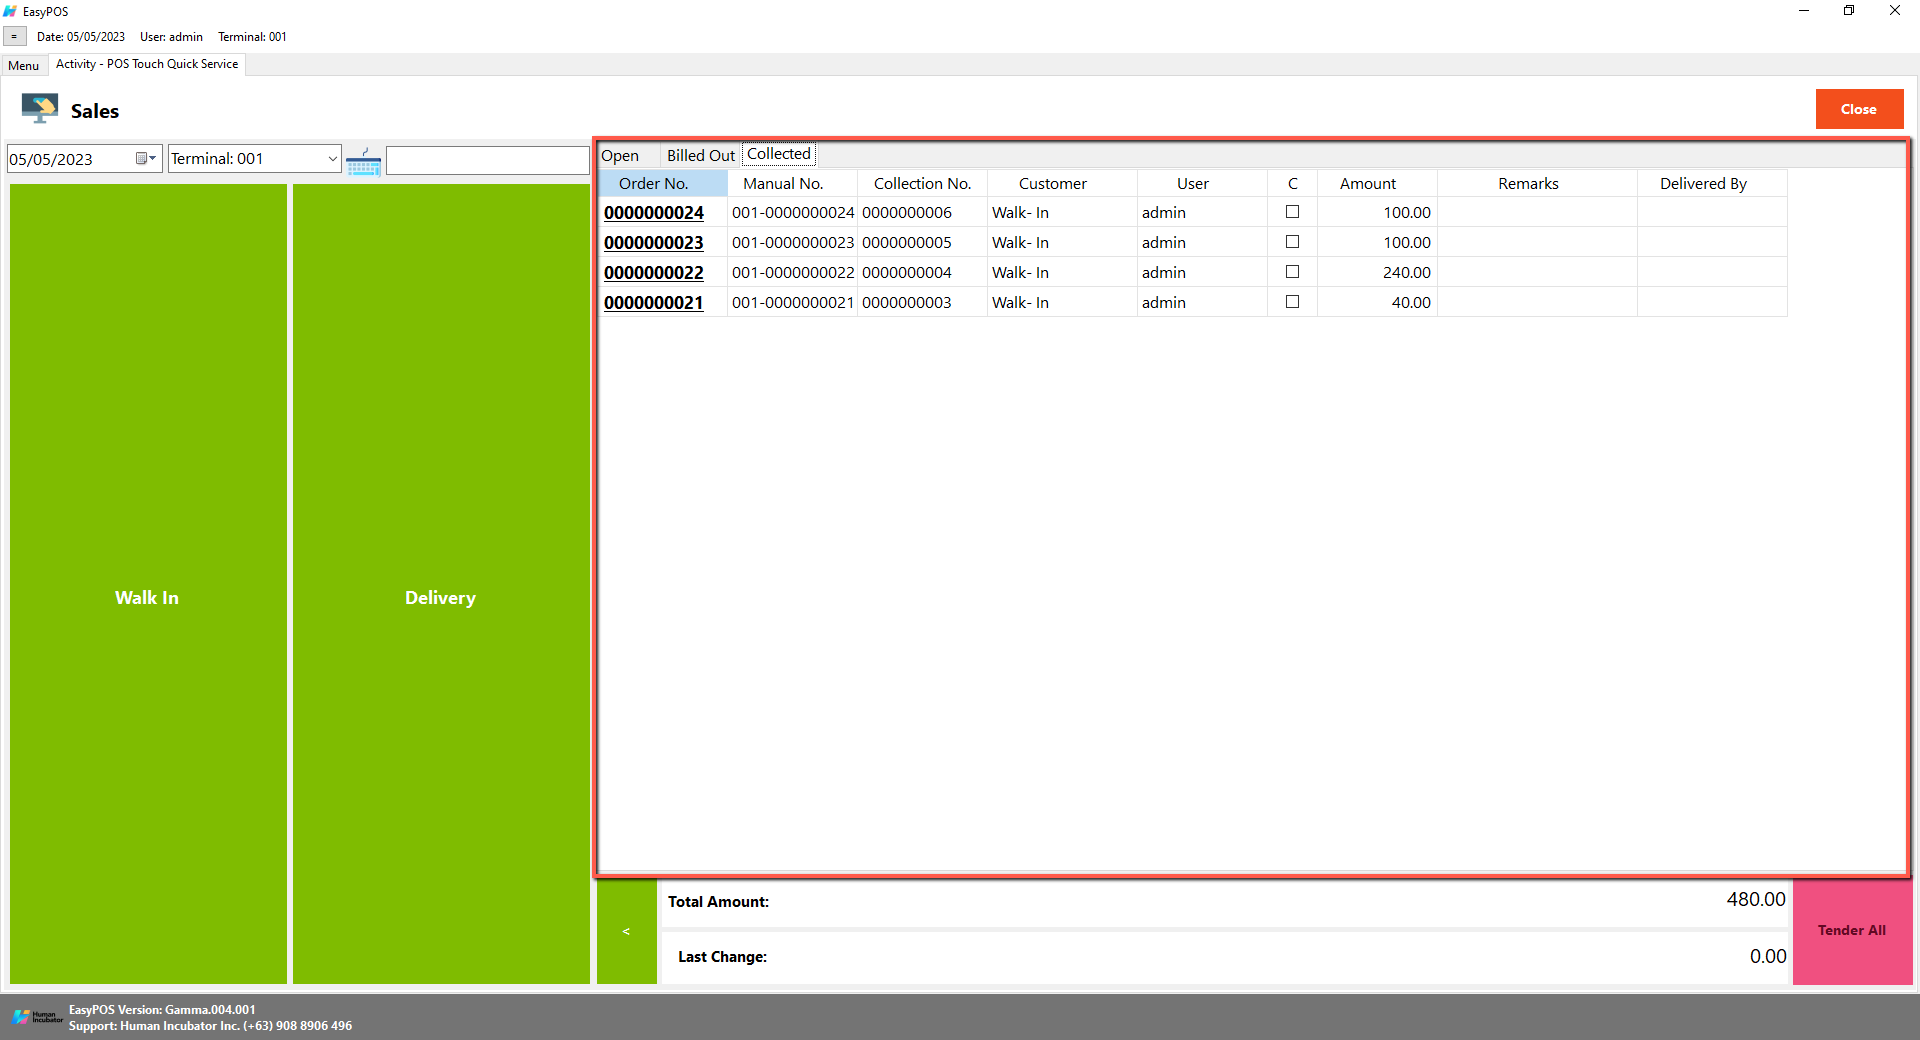
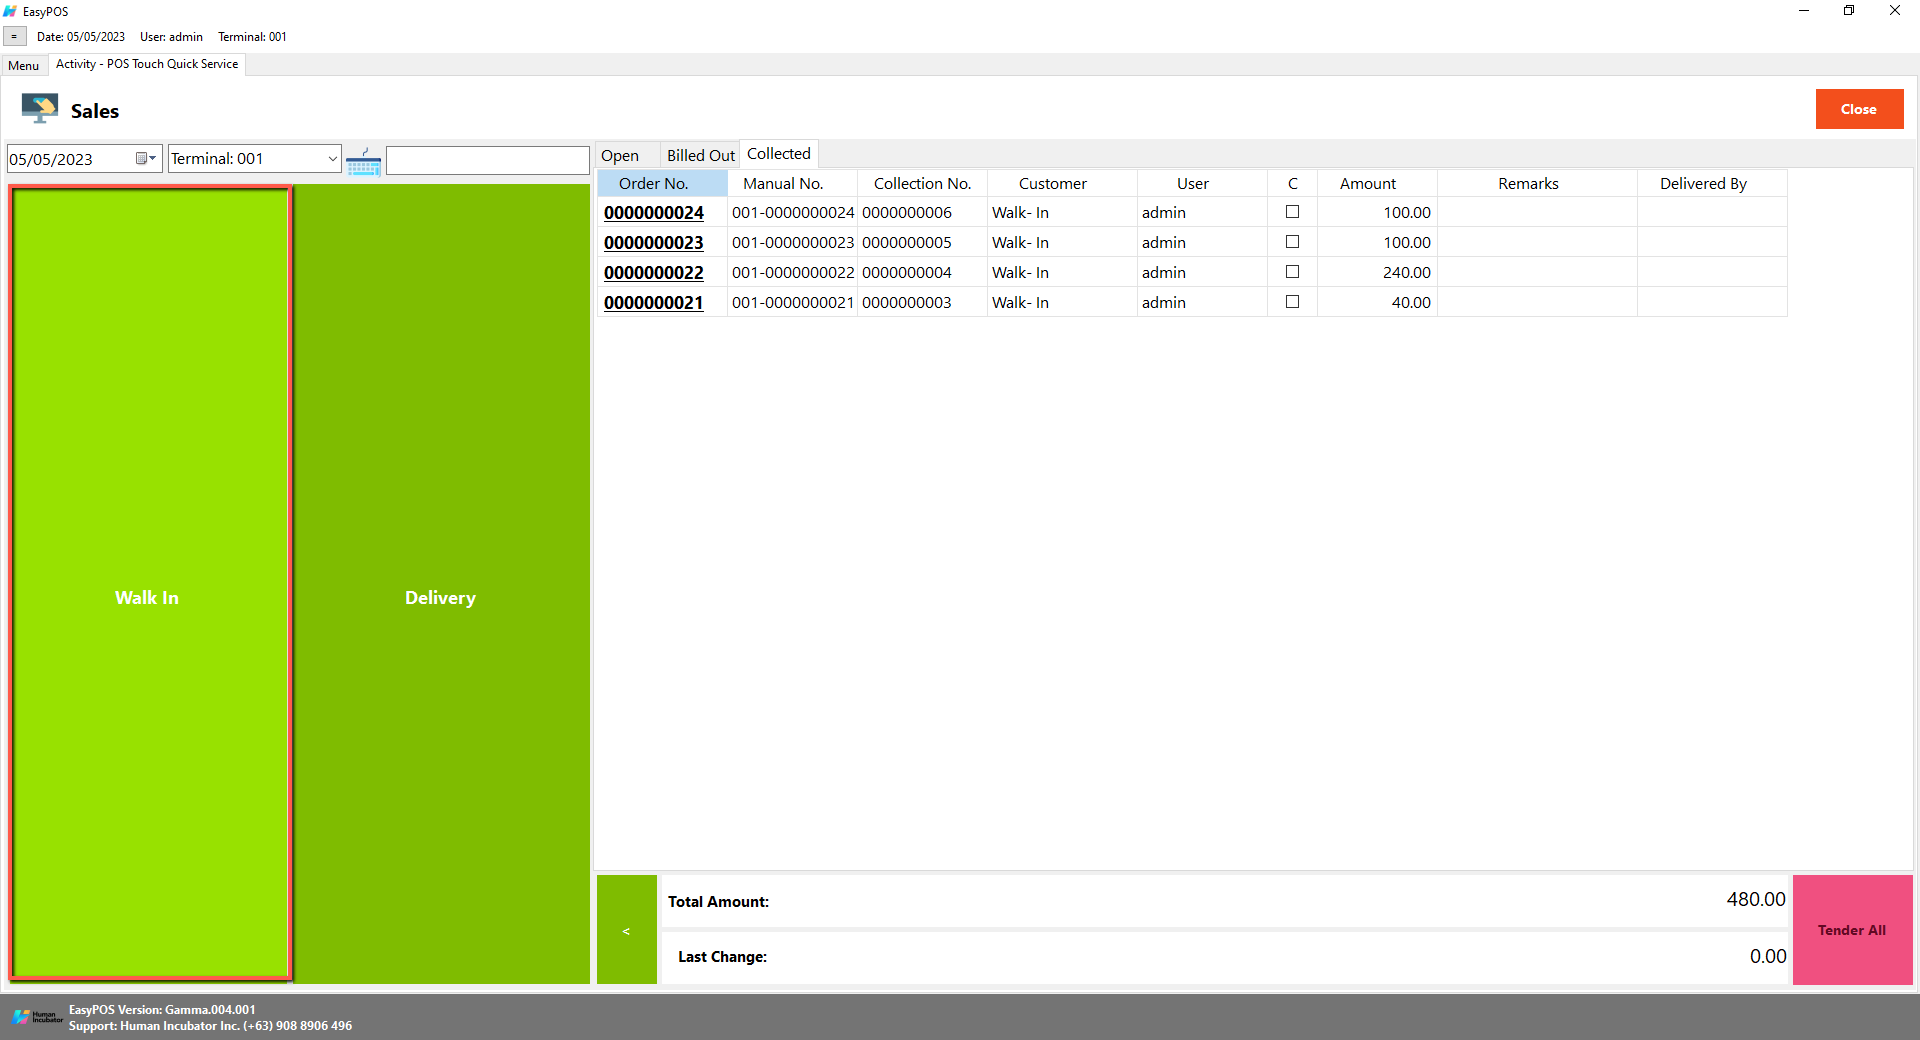
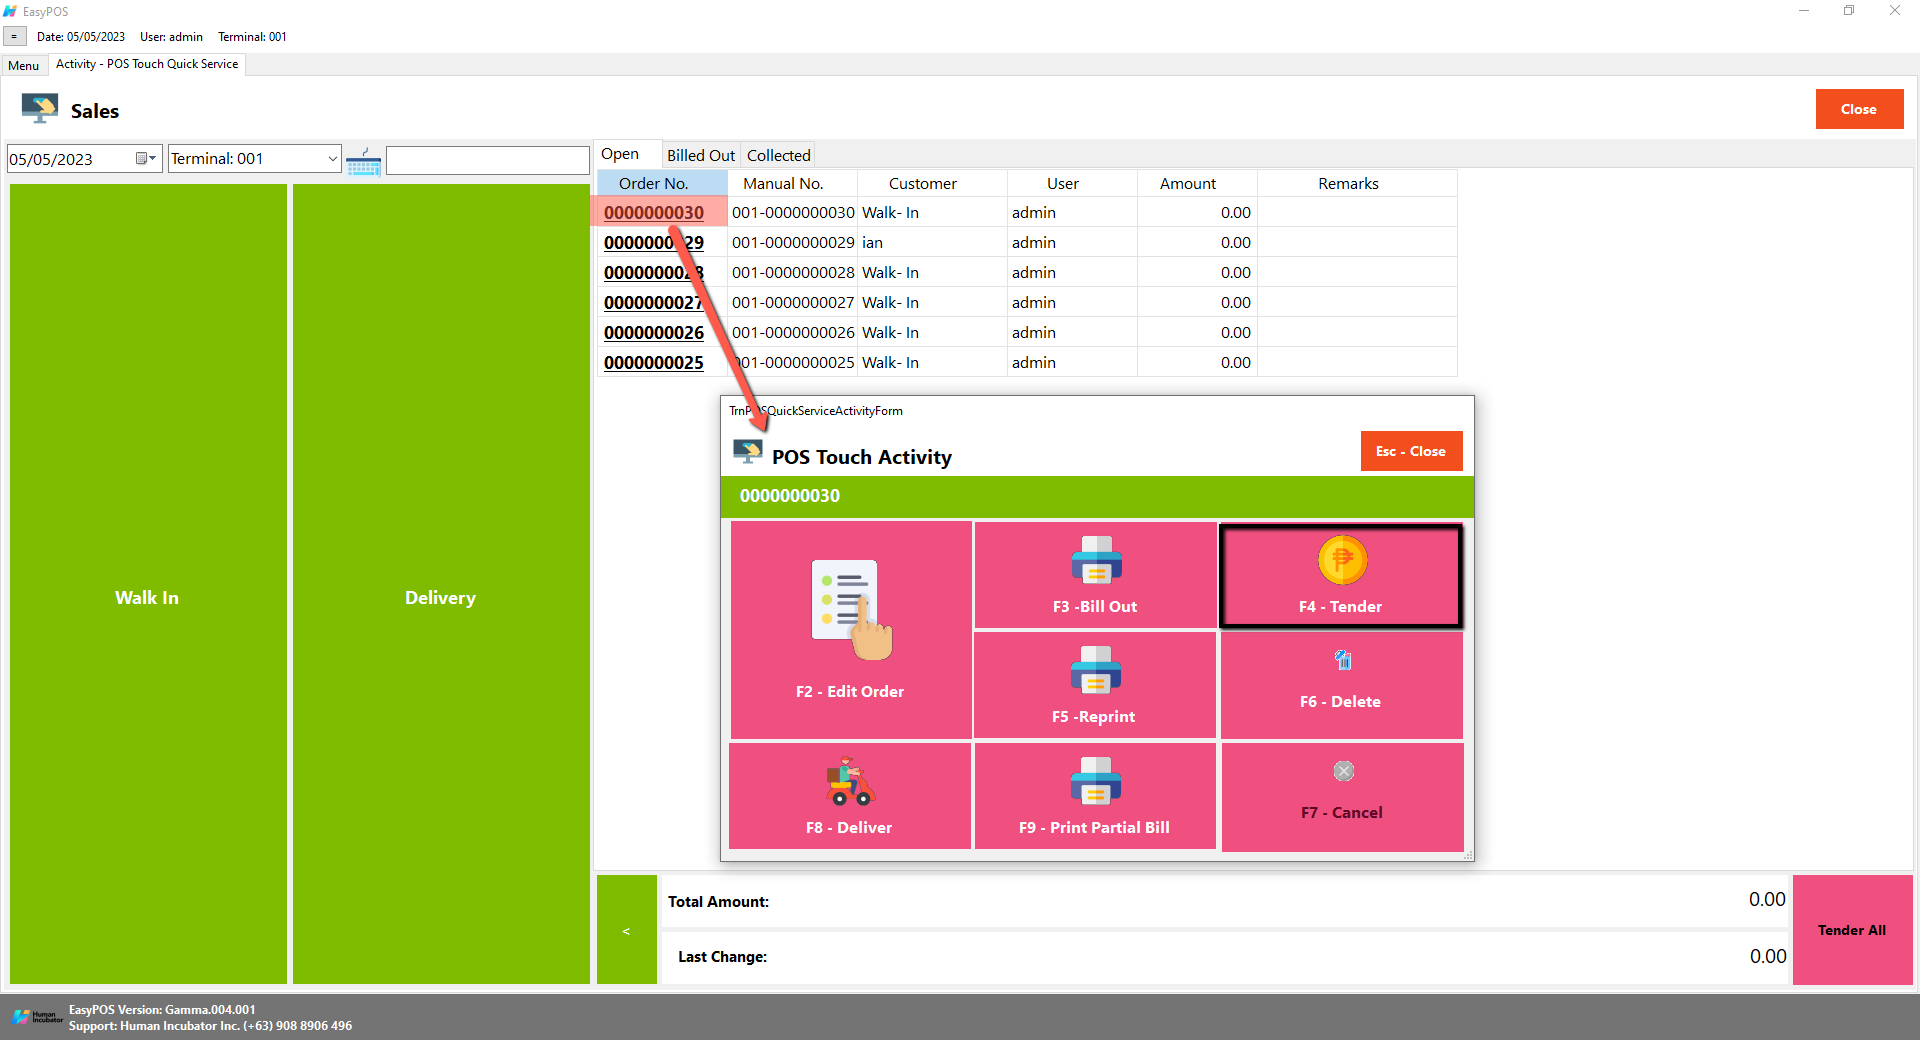
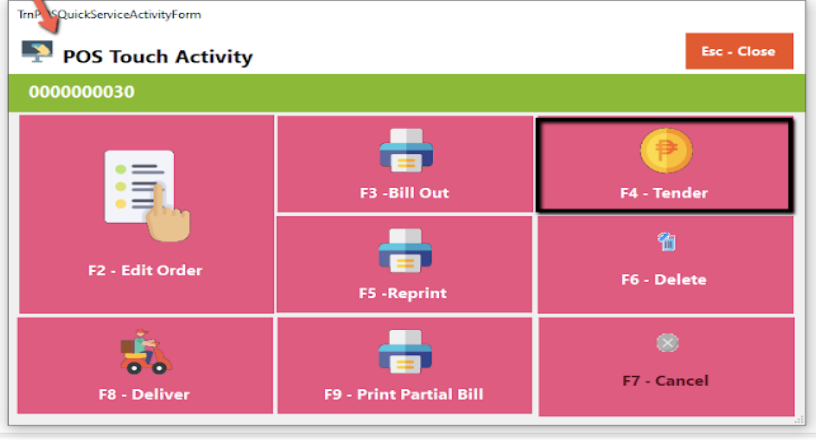
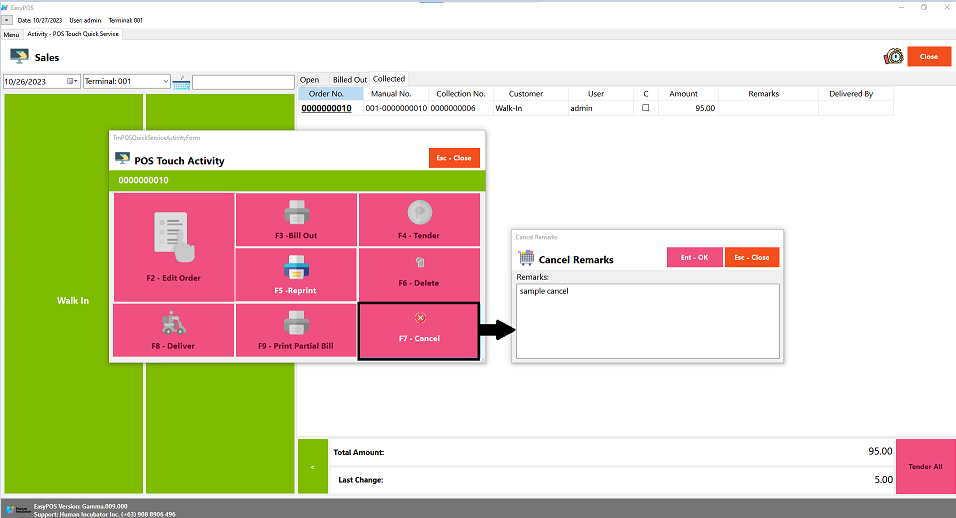
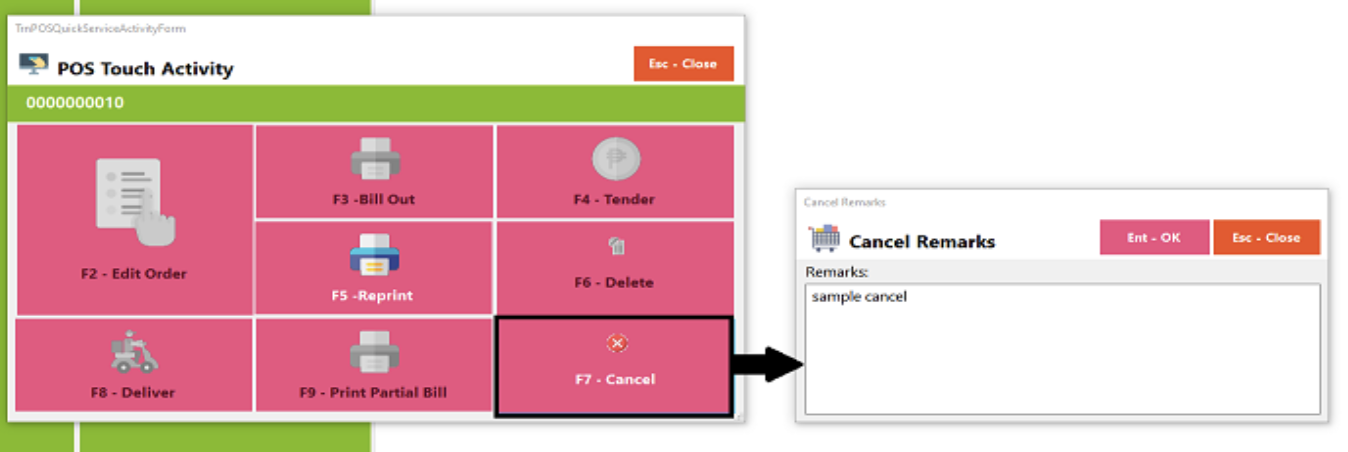
POS Quick Service Definition of Buttons
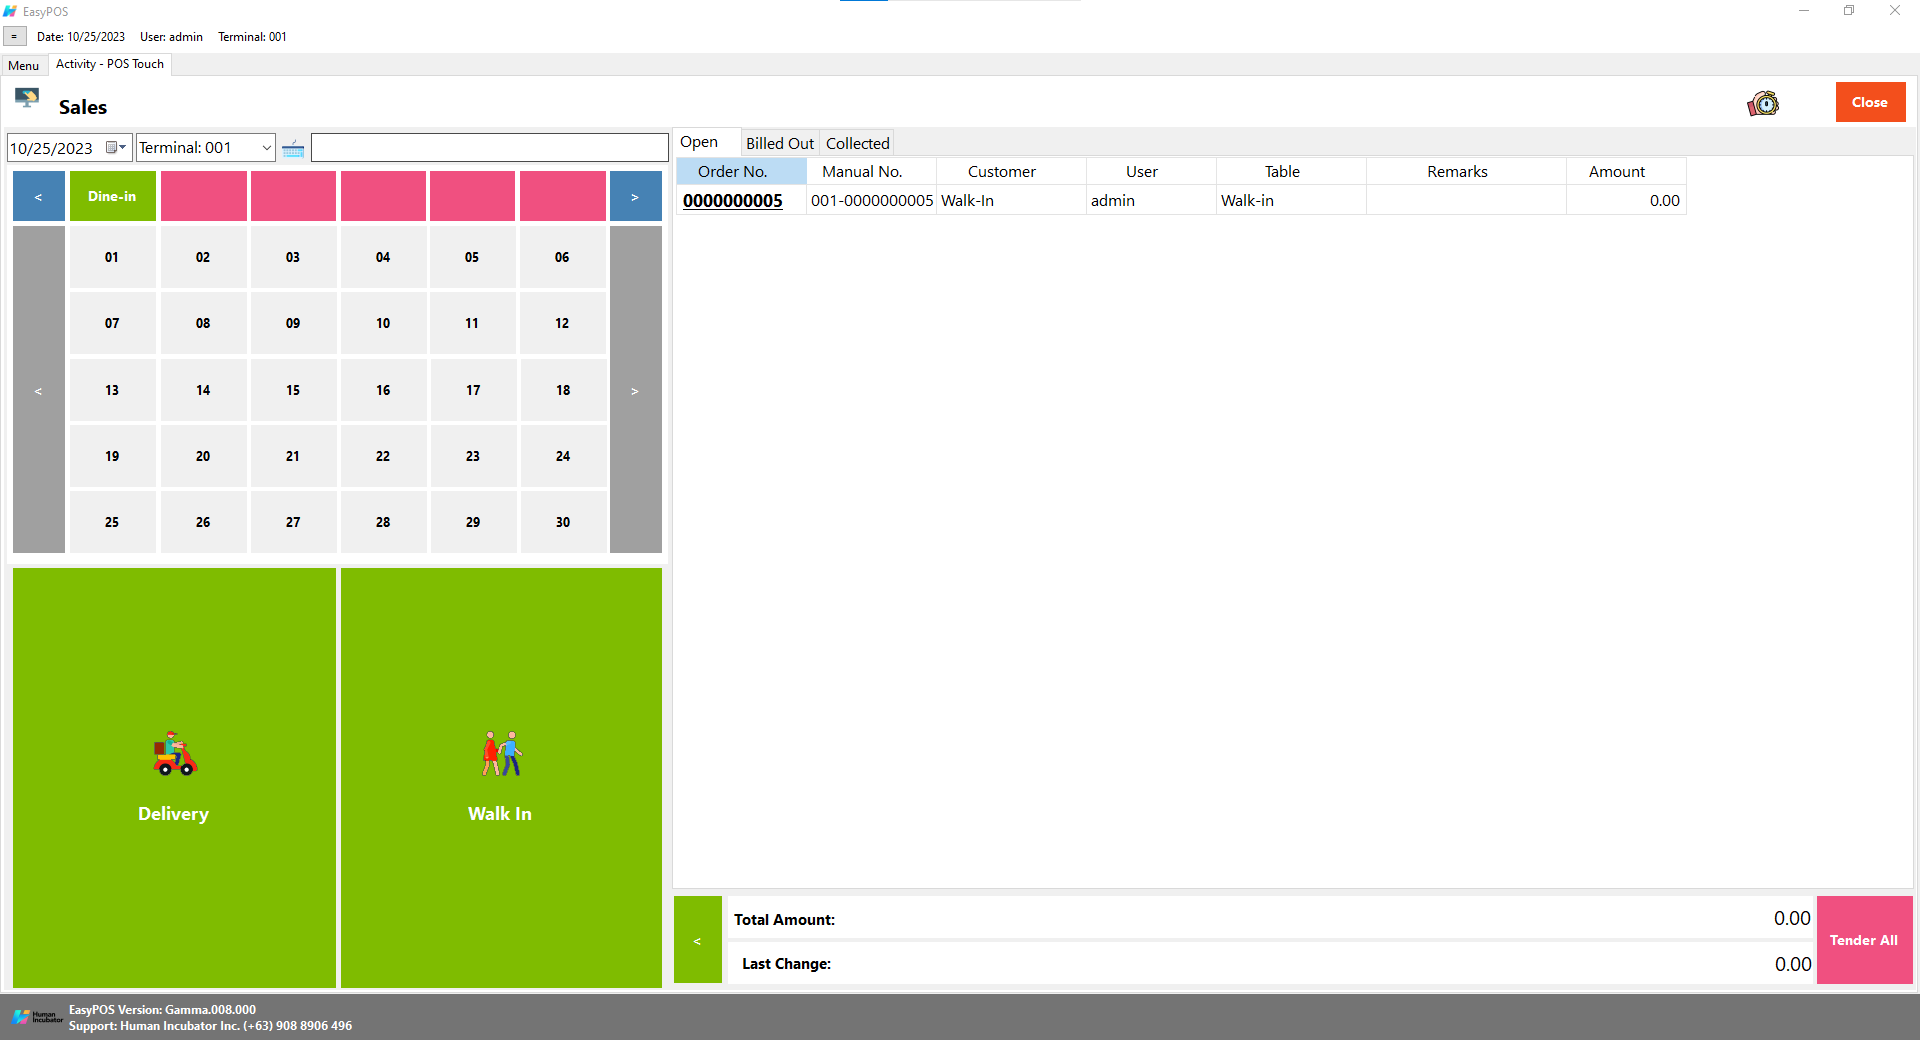
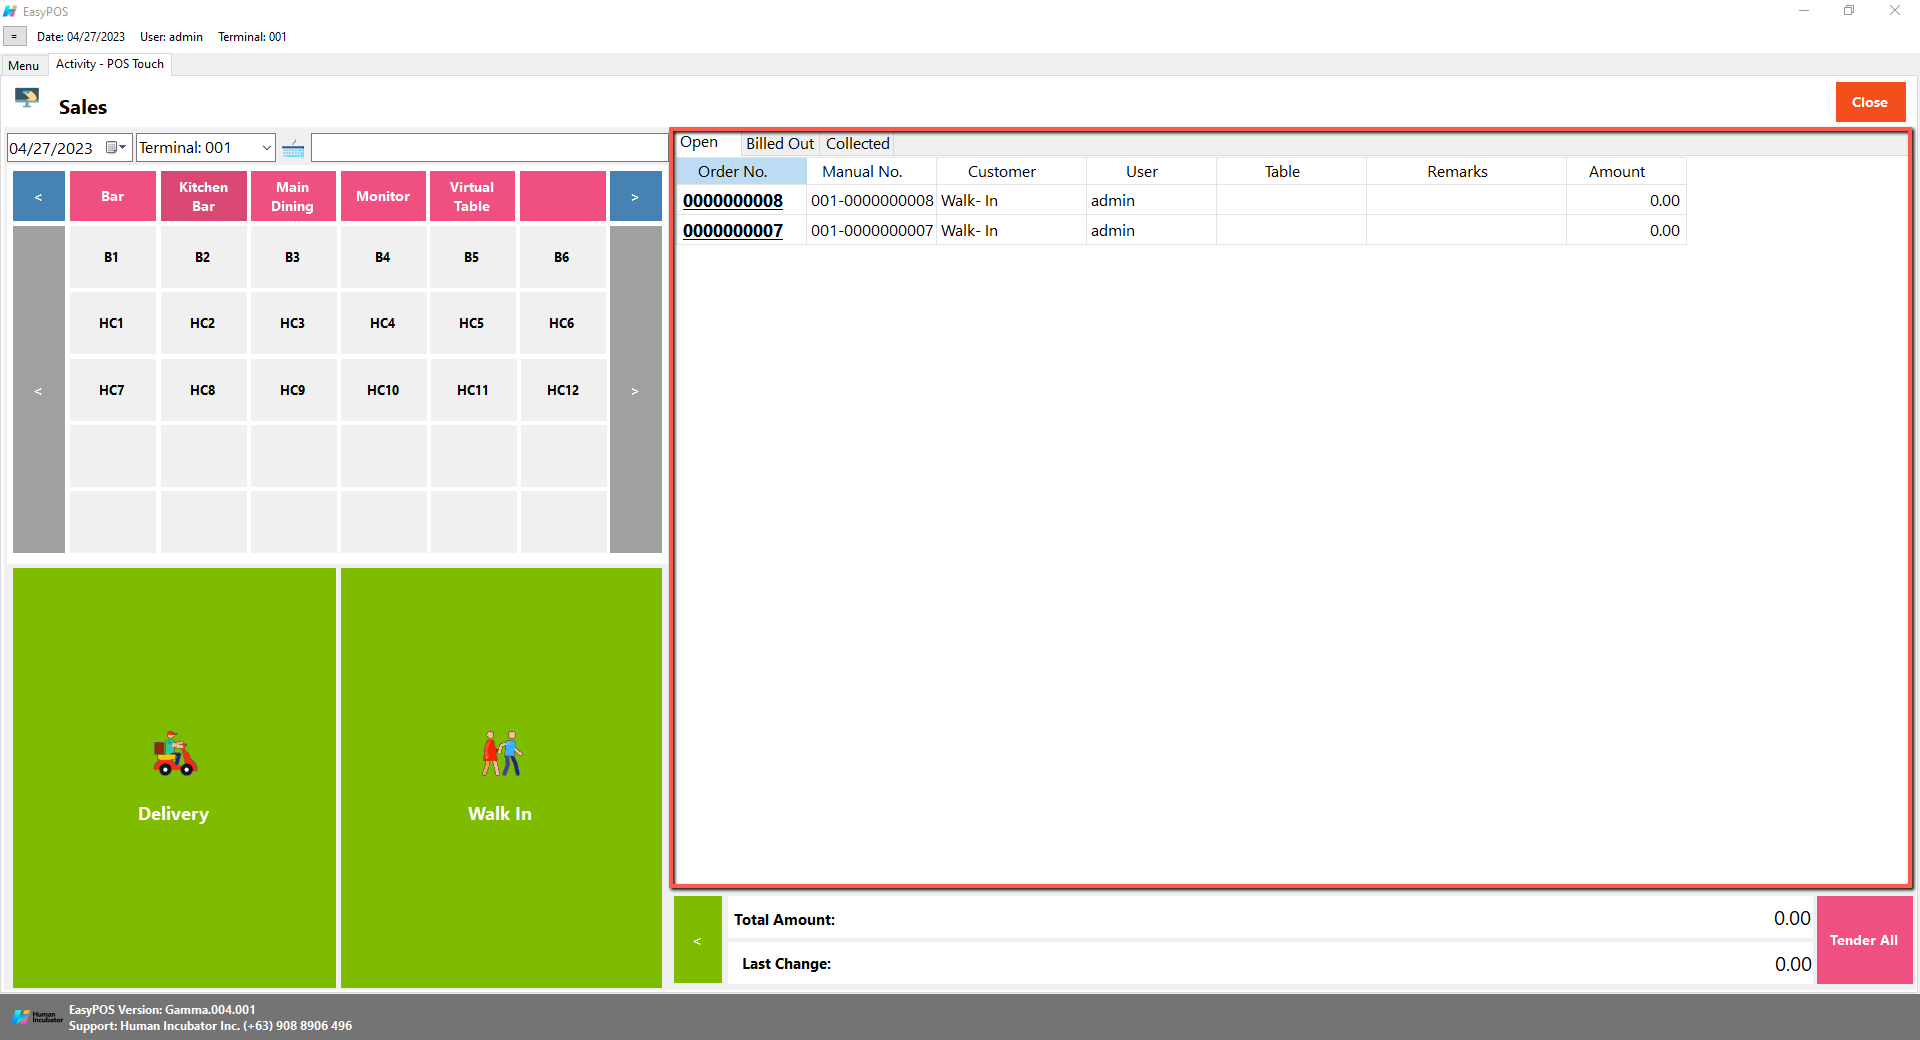
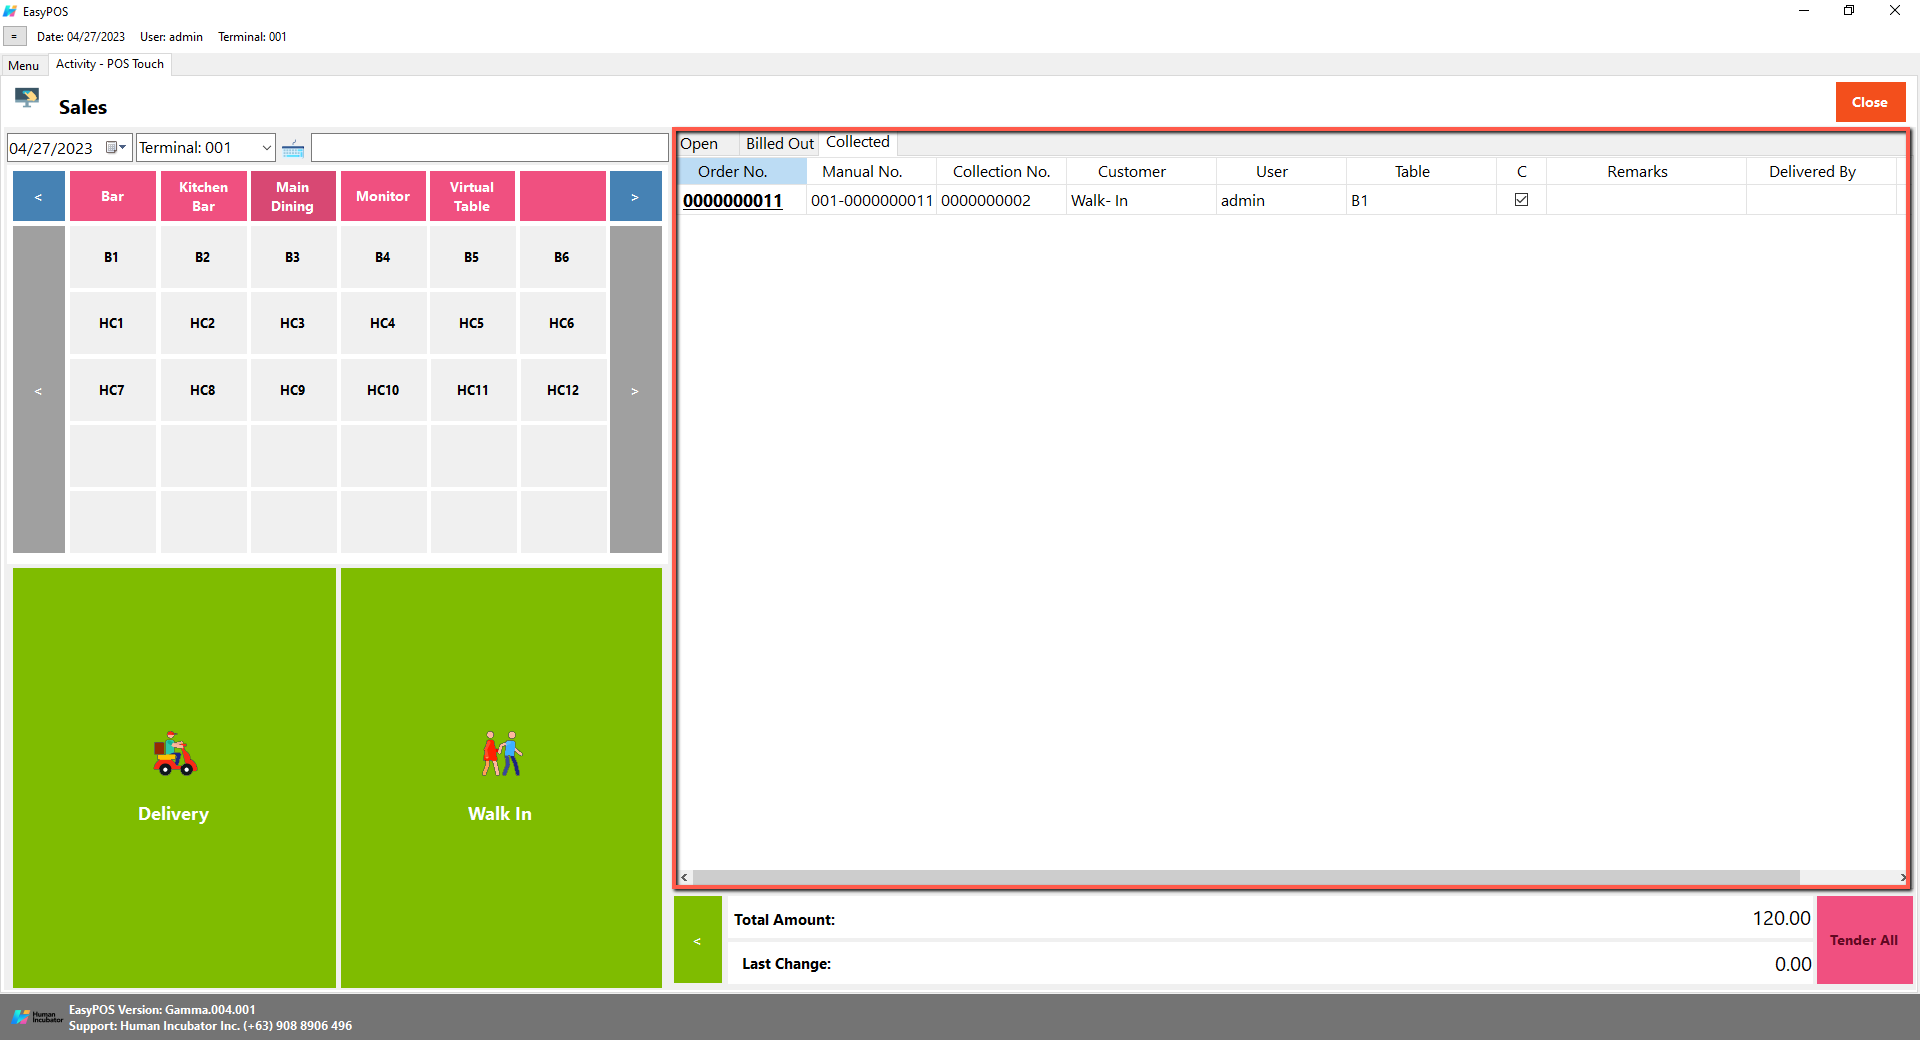
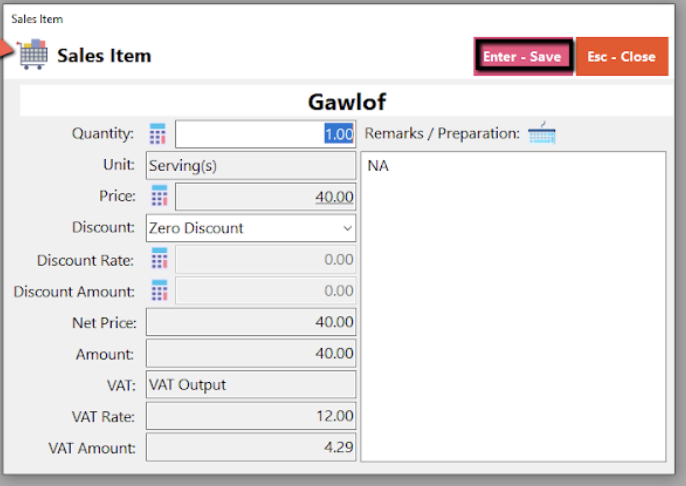
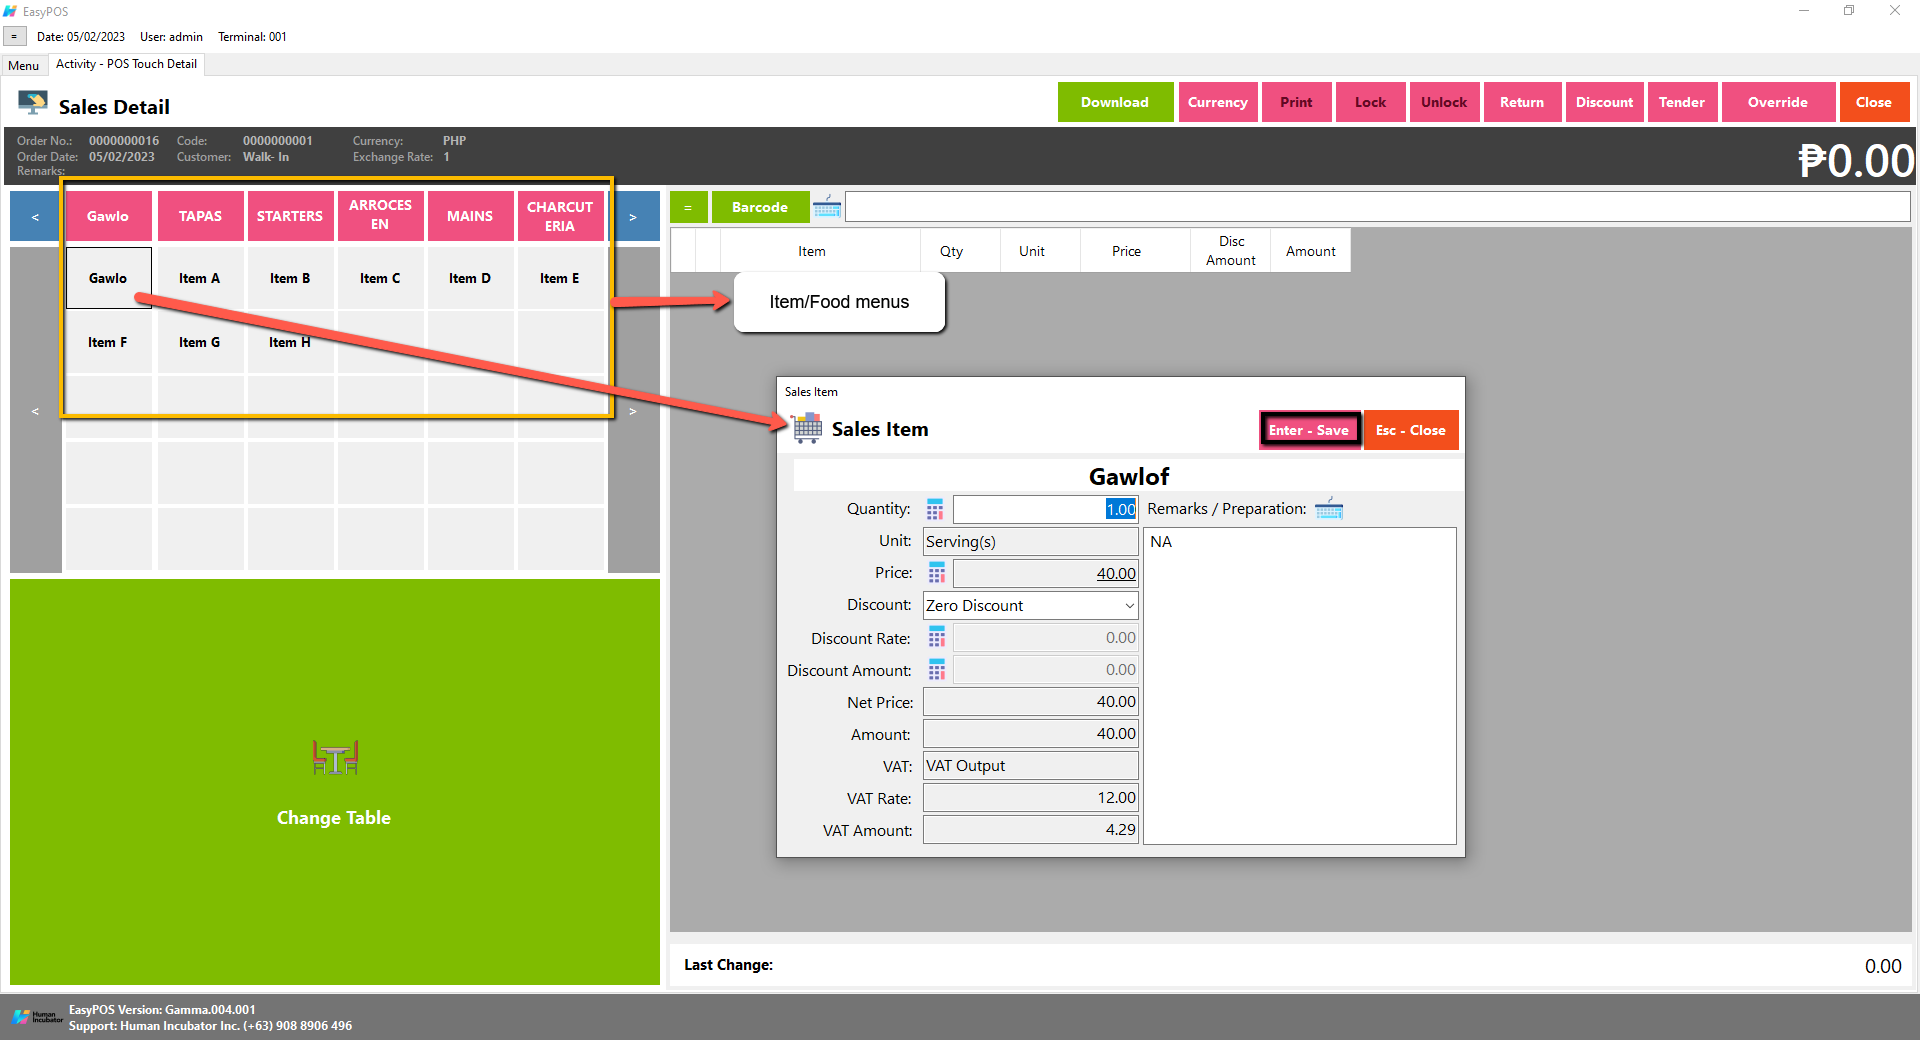
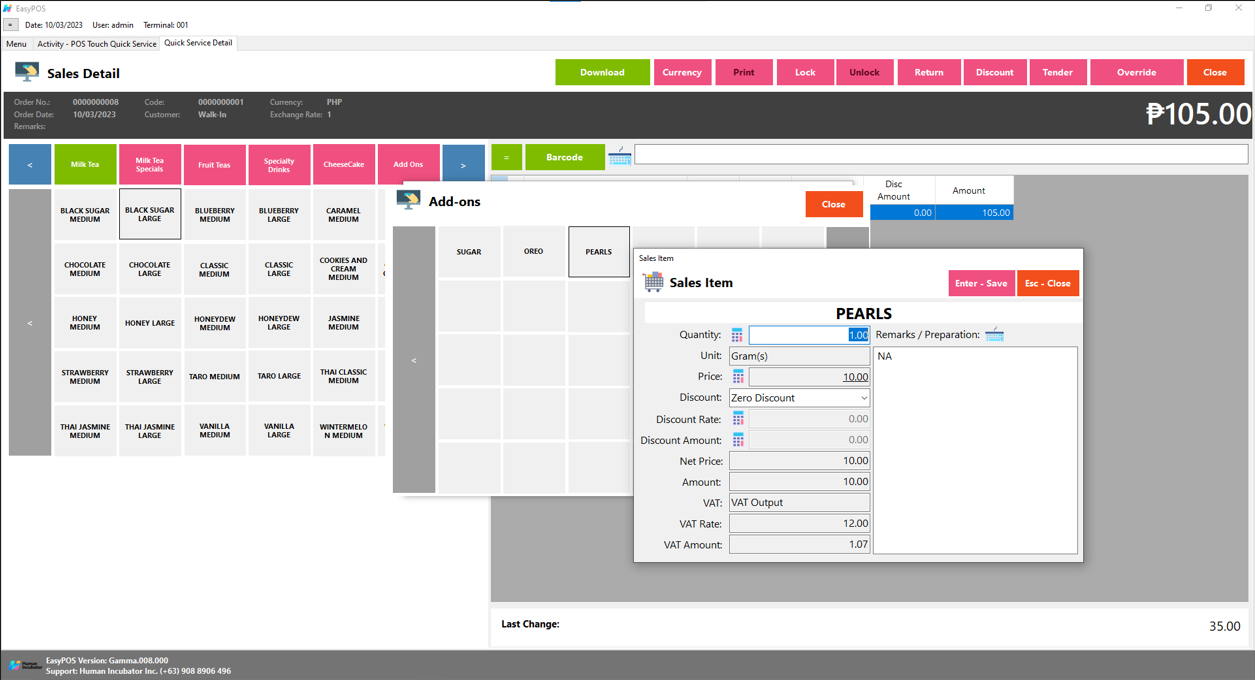
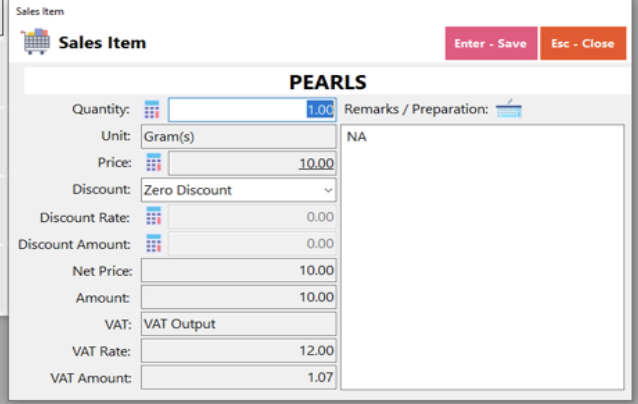
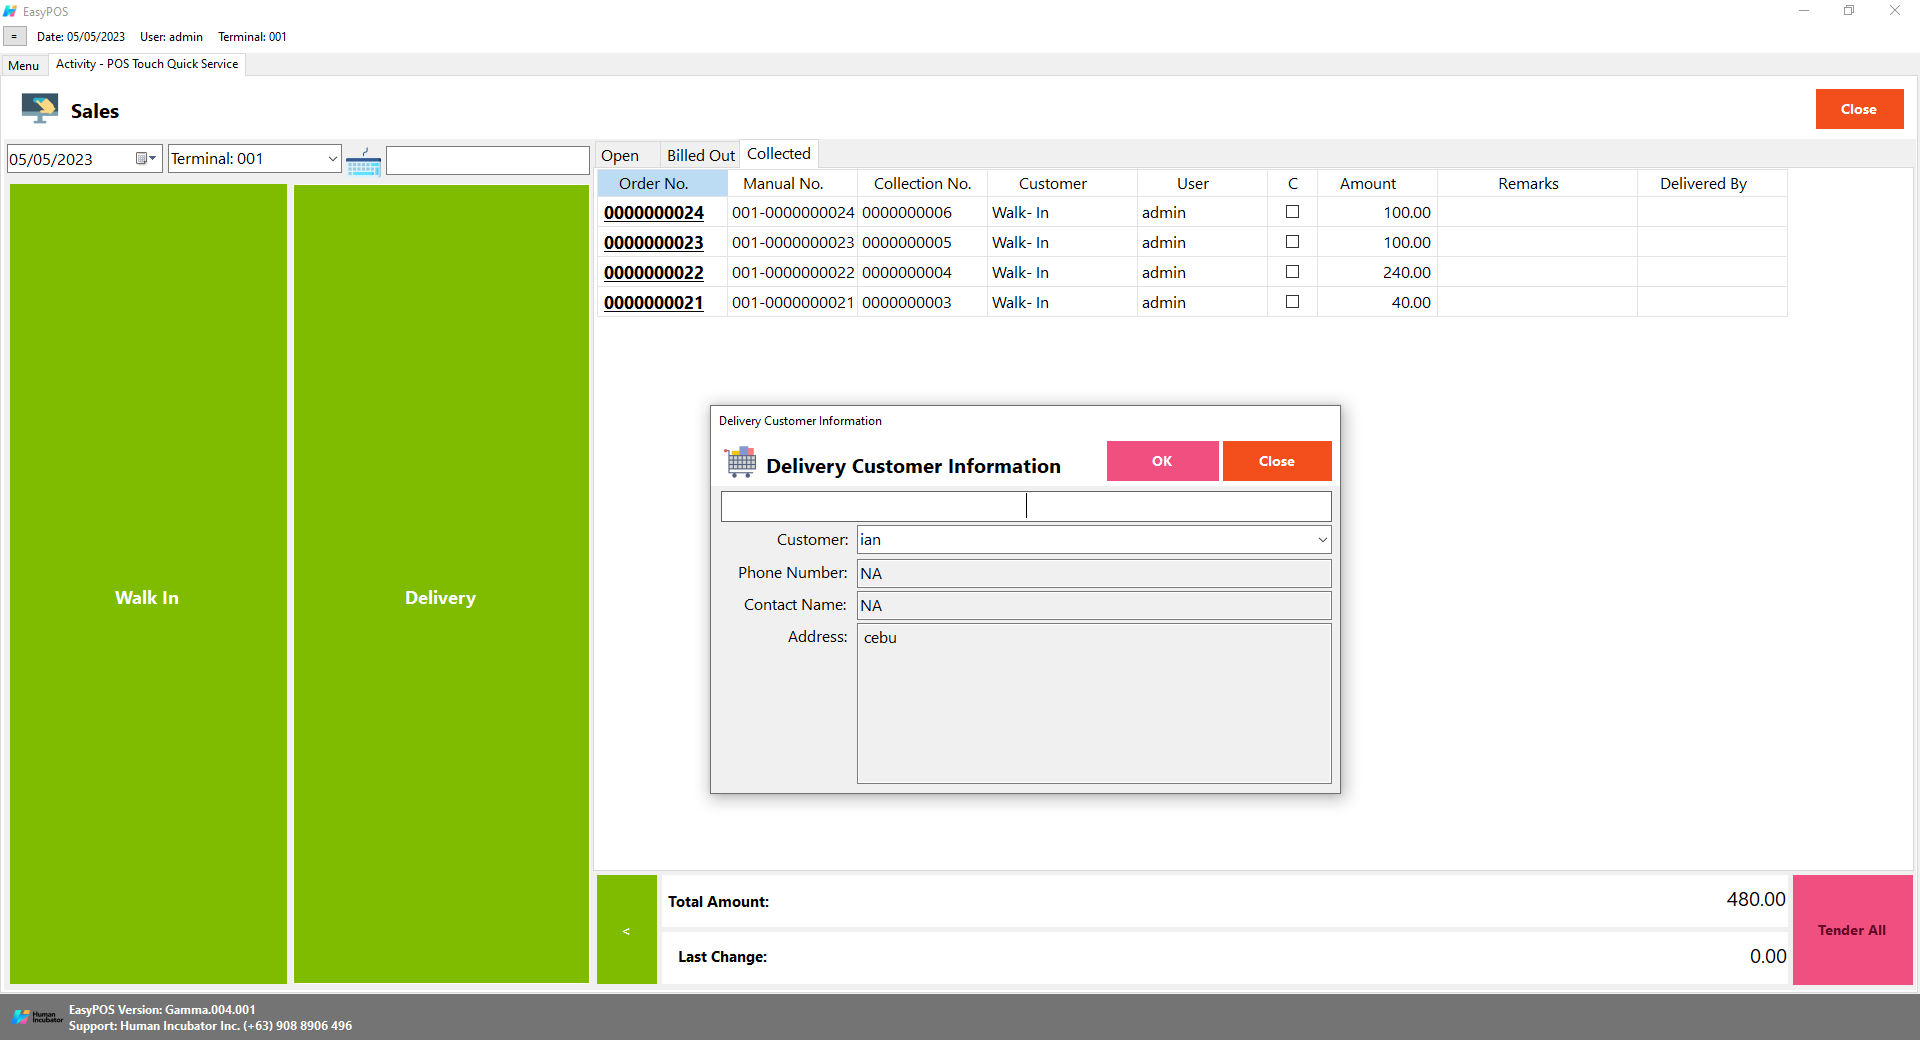
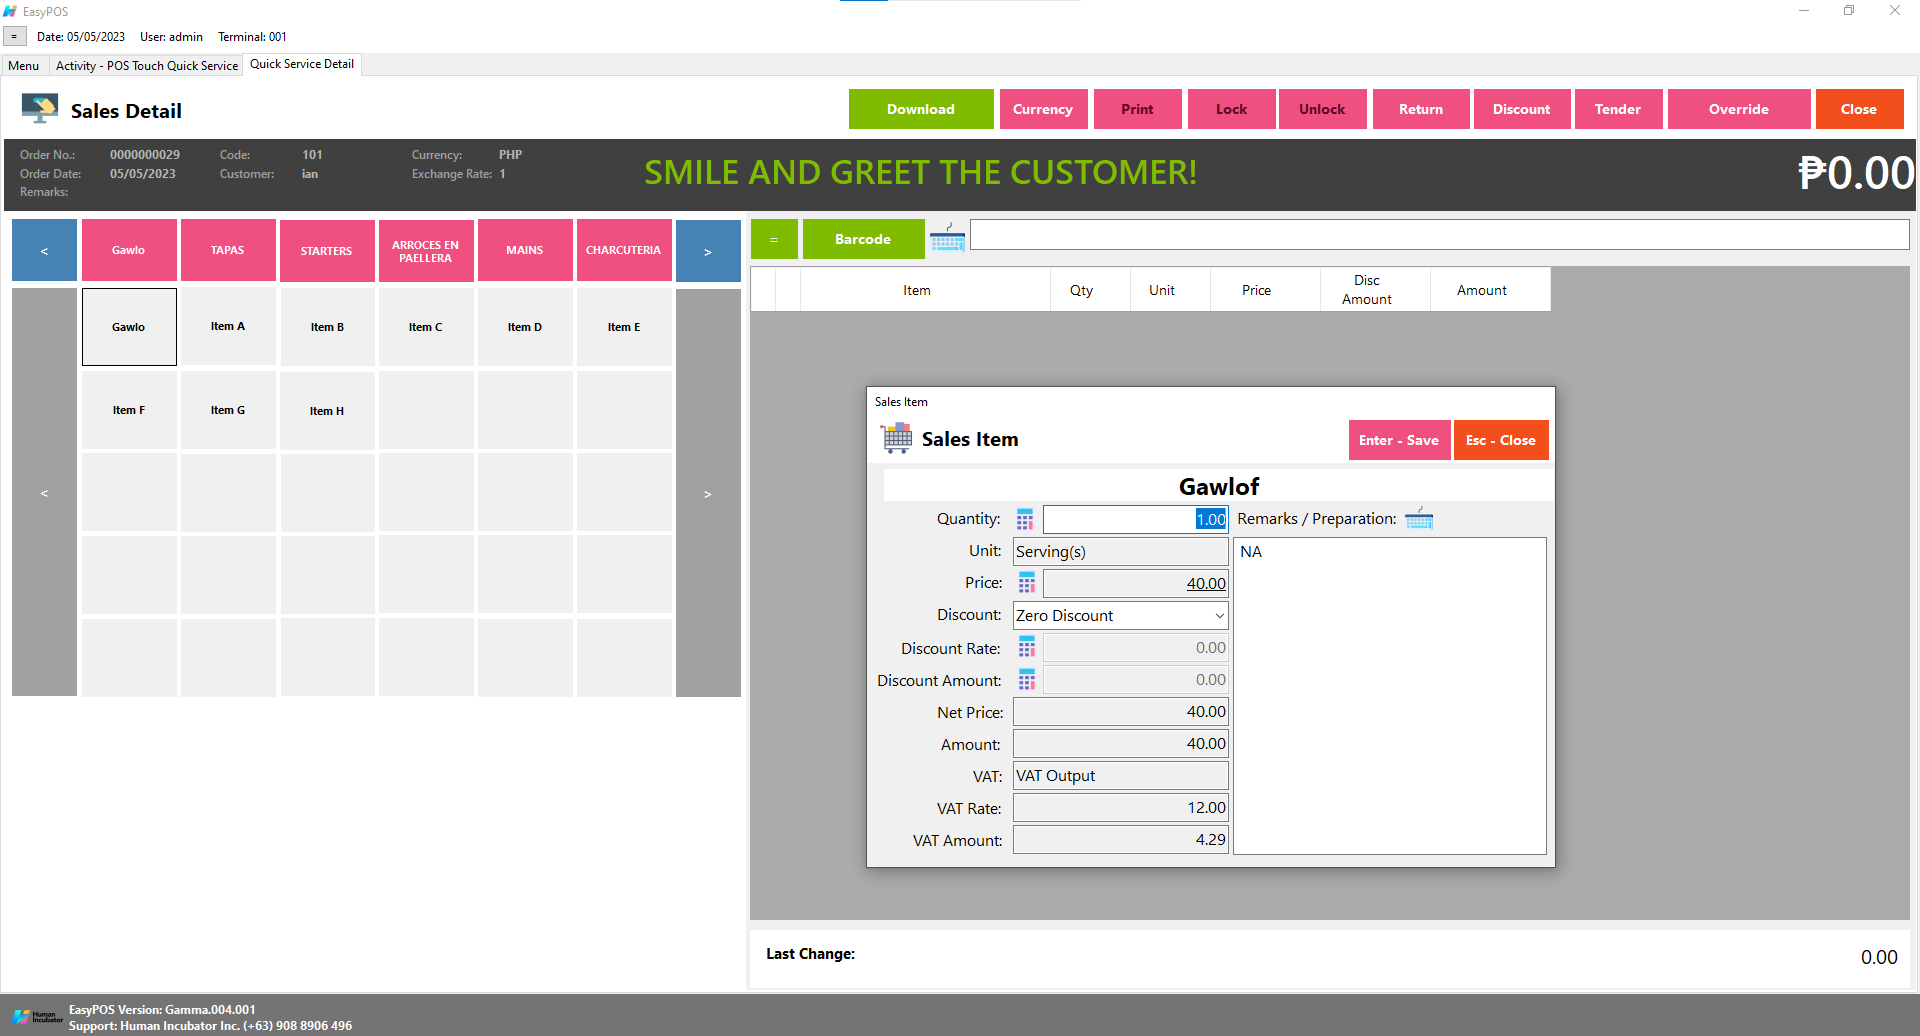
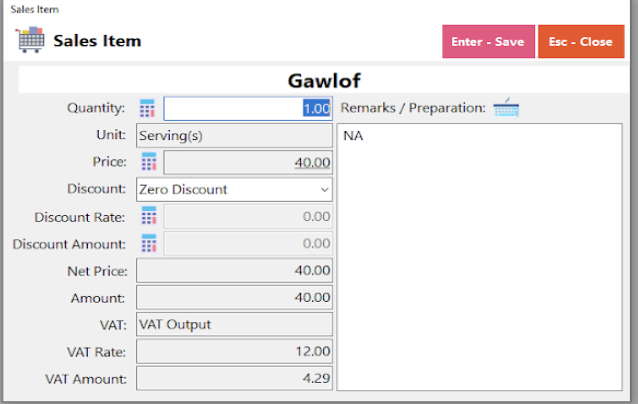
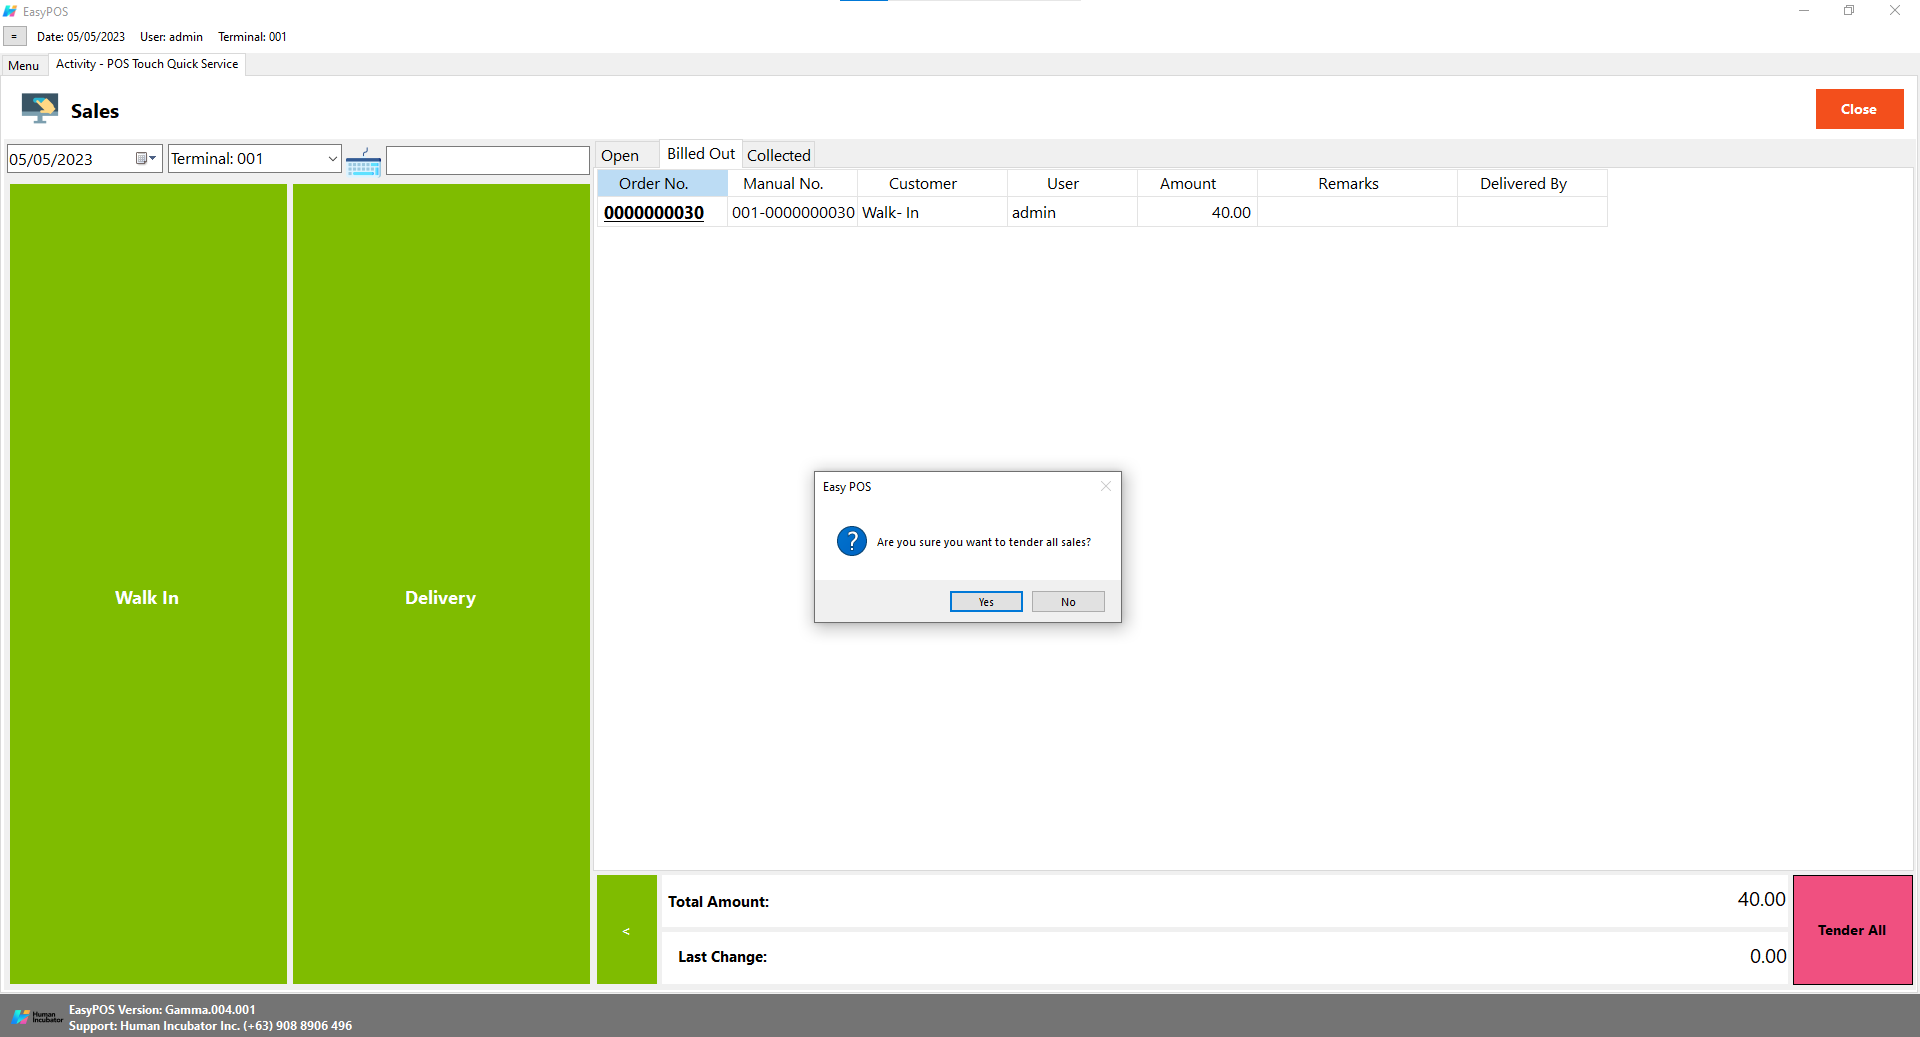
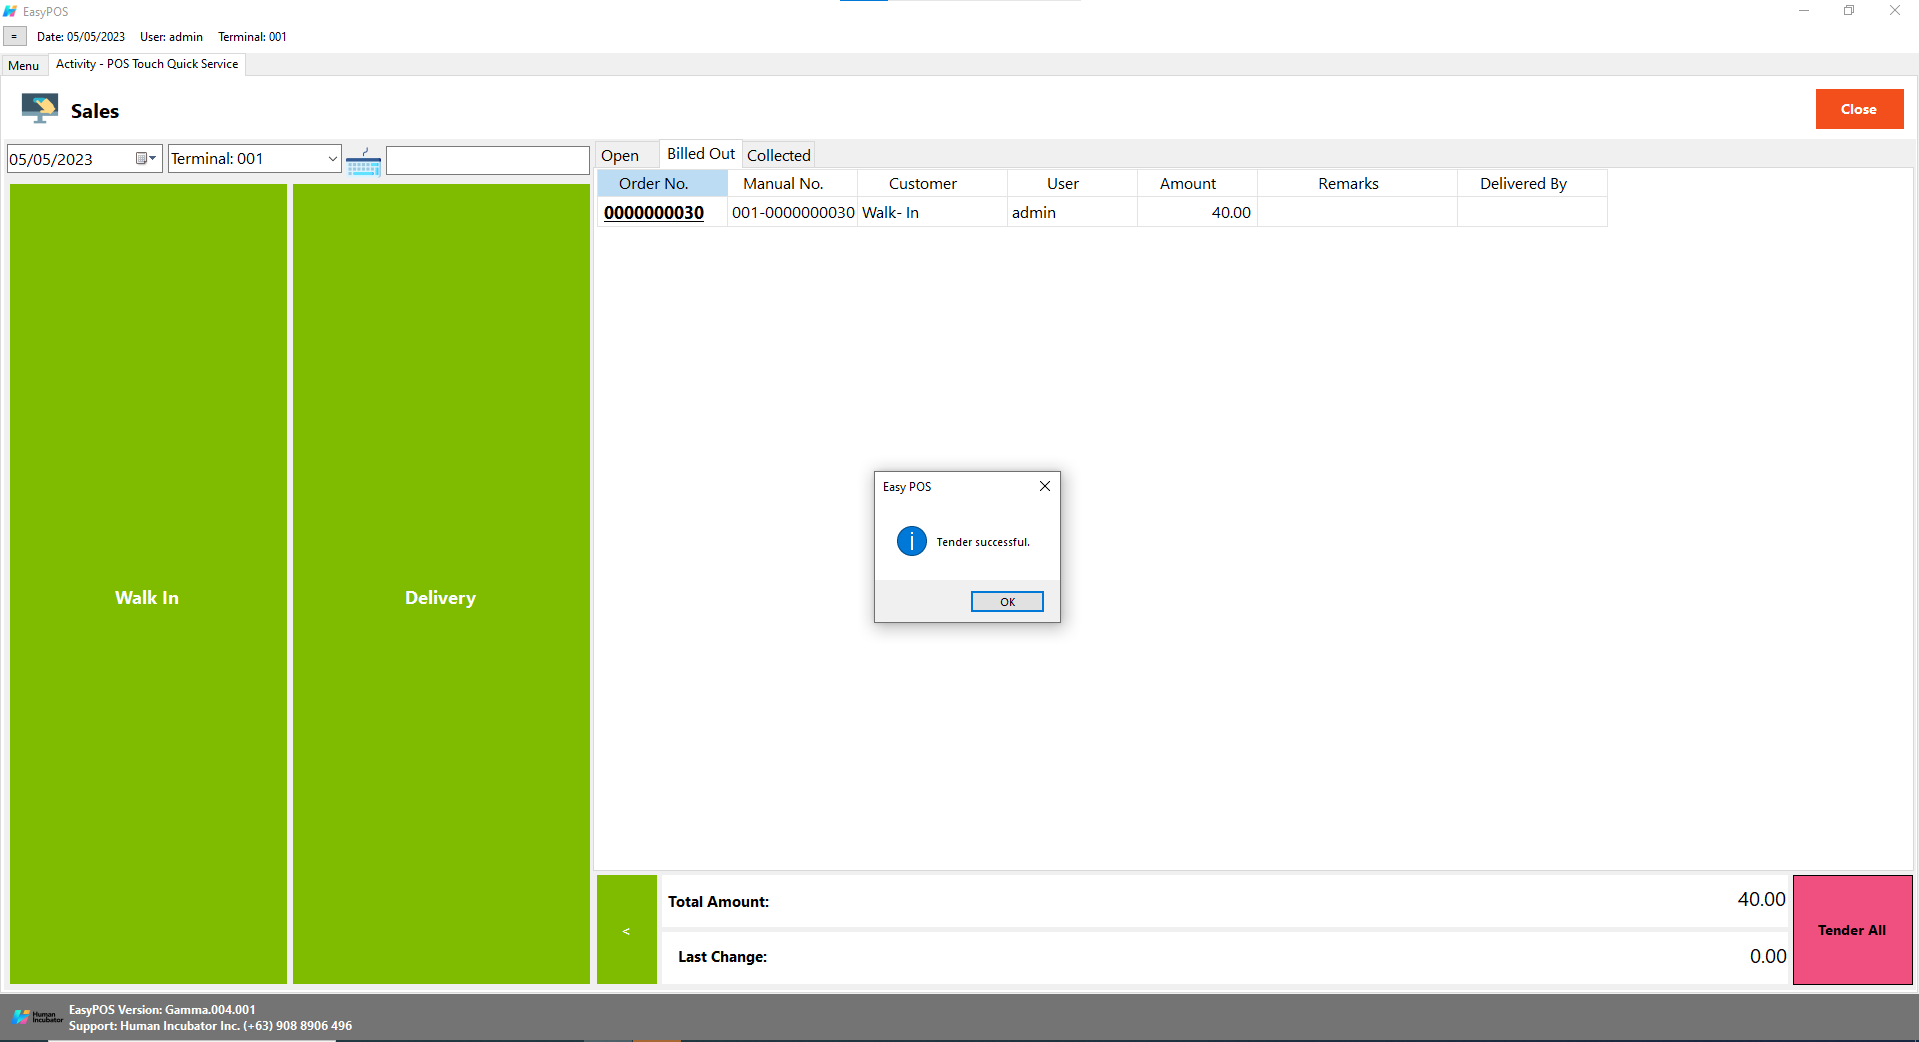
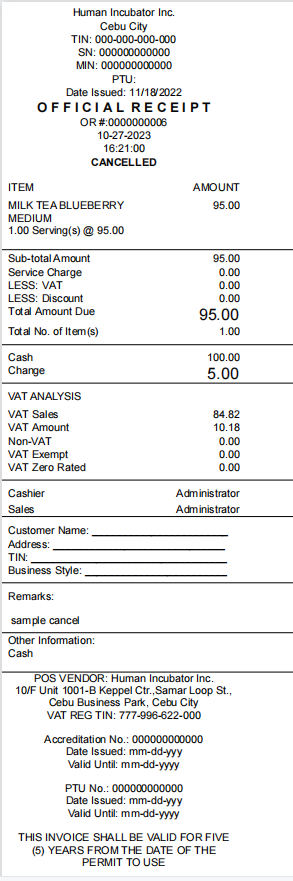
POS Quick Service Sales Detail
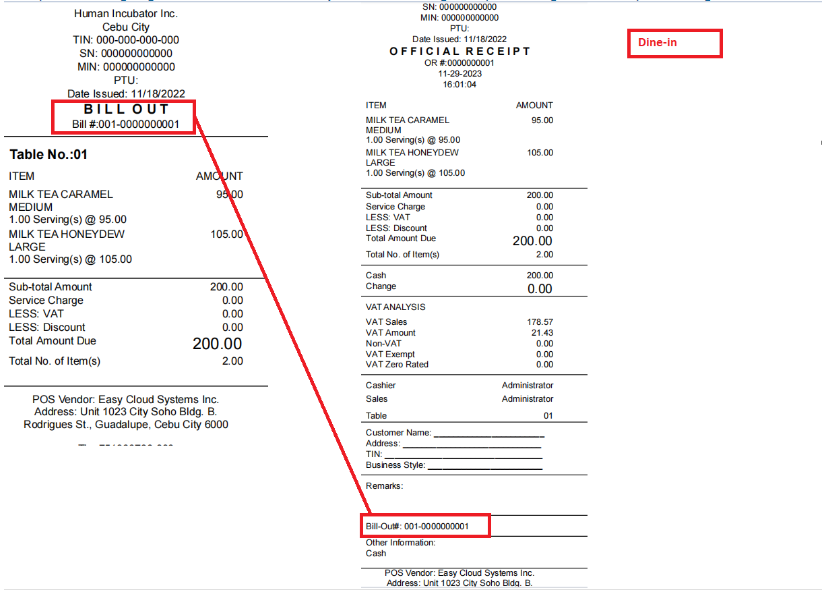
Order Slip / Kitchen Print Out
Net Sales Summary Report - Monthly
Net Sales Summary Report - Daily
Hourly Top Selling Sales Report
Sales Summary Back Office Report

Typically replies within a few hours
 Log in to Messenger