Settings is where users can manage the functions of EasyPOS such as enabling/disabling the EasyPOS features, Easy series integrations, printer setup, etc.
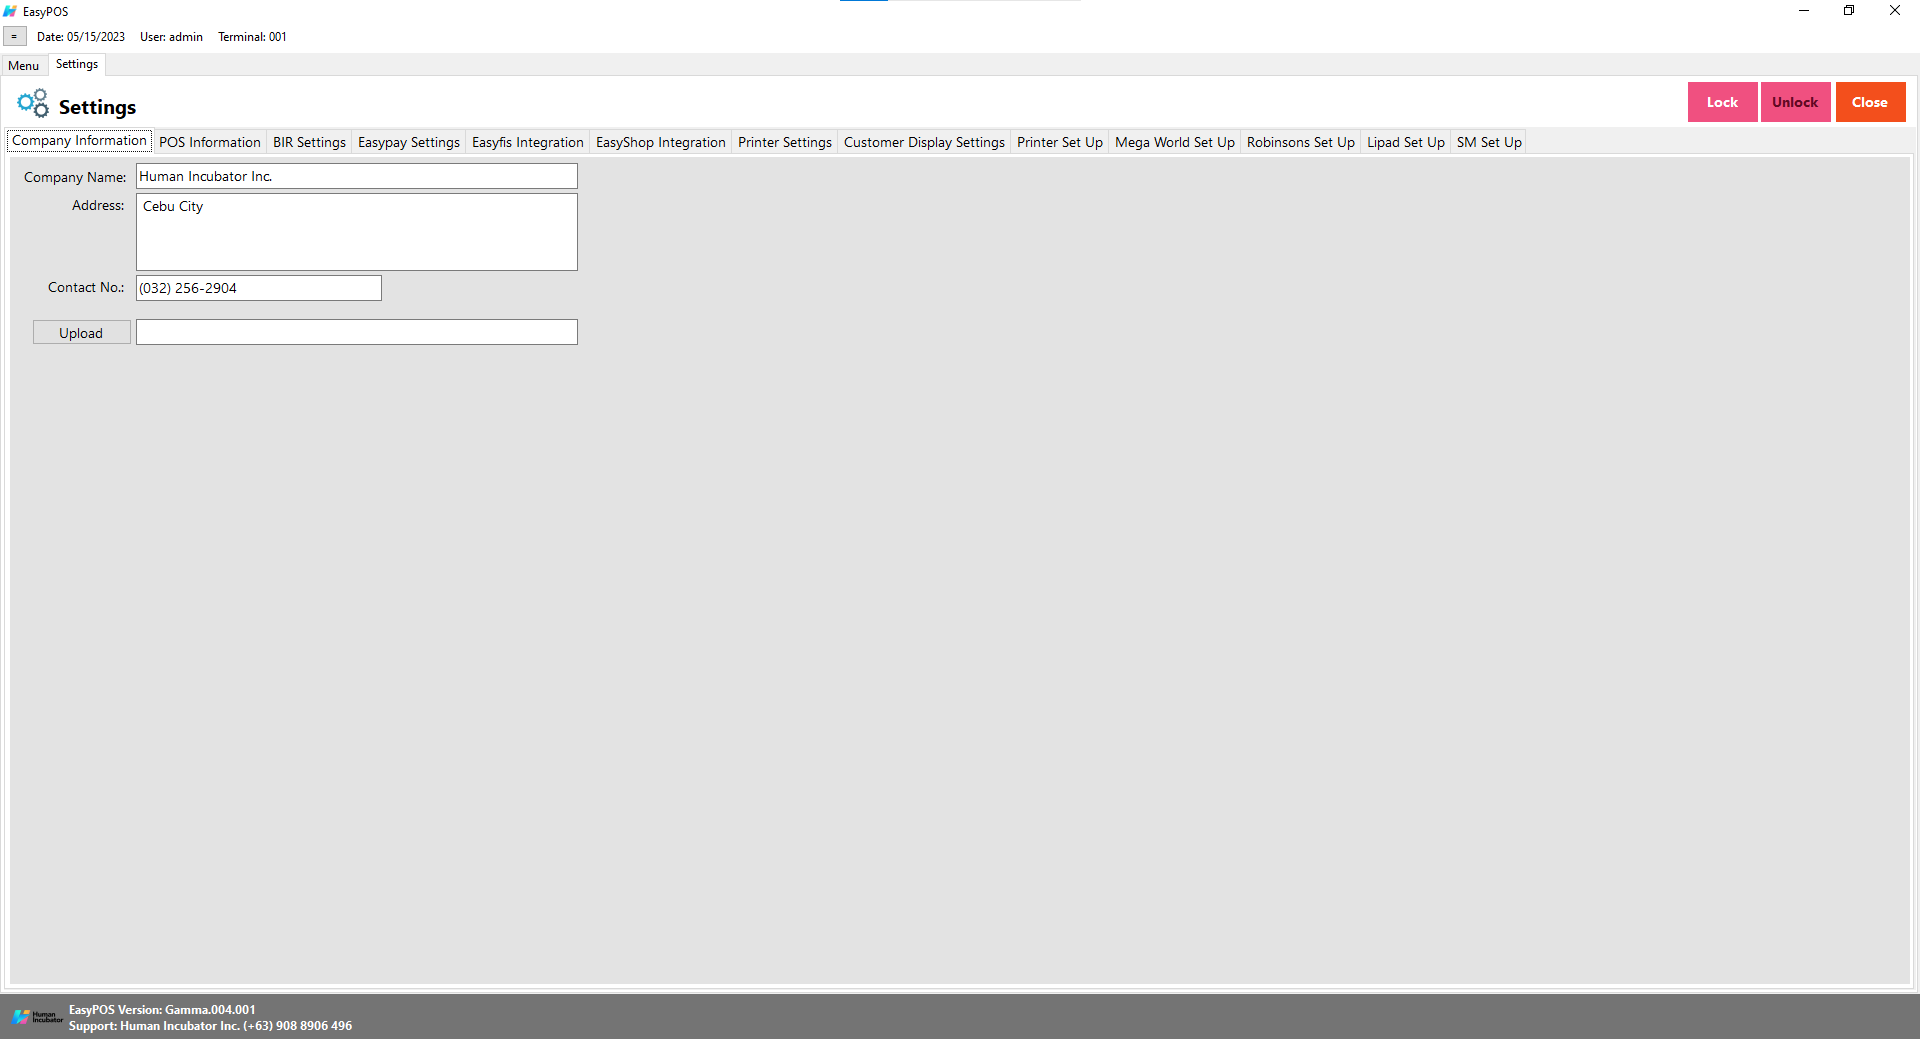
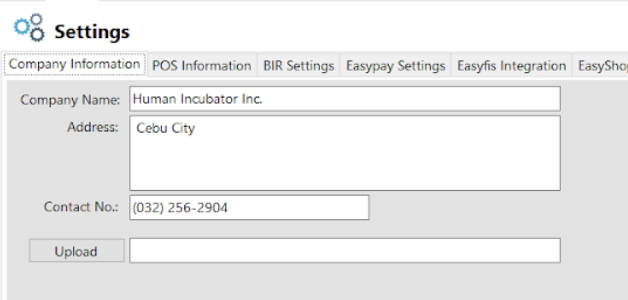
Company Information
It is where the user can set up their company information
Fill up the necessary information like:
Company name, Address, Contact number and upload image
Click Lock to save the details.
Click Unlock to edit the details
Close button will proceed to closing the system table module.
POS Information
It is where the user can set the information and set up their POS.
Fill up the necessary information like:
Base Currency, Tenant Of, etc
Tender Print
Allow the user to enable or disable the print receipt
Barcode Quantity Always One
When this feature is enabled, the user cannot edit the quantity of the item after scanning the barcode.
Allow Negative Inventory
The user is allowed to make a transaction when there is zero inventory of the item.
Activate Audit Trail
Activities and logs of the user will display in the Audit Trail in the Utilities module when it is enabled.
Prompt Login Sales
It can be used by the teller or order taker.
Swipe Login
Allow the user to login using a swipe card and a card number.
Date Login
Allow the user to set the date manually in login.
Hide Sales Amount
When it is enabled, the sales amount will be hidden in the POS barcode.
Disable Stock-in Price and Cost
When adding a stock-in, the price and cost of the item are disabled and not editable.
Hide Touch Sales Item Detail
It is use to hide sales item detail in POS Touch
Hide Item List Barcode
The barcode of the items will be hidden in the item list.
Hide Item List Item Code
The item code of the items will be hidden in the item list.
Auto Sales Upon Locking
When it is enabled, it will automatically create new sales upon locking the transaction.
Show Customer Information in OR
The customer information will display in the OR when it is enabled.
Enable Edit Price
The user is allowed to edit the price when creating a transaction
Auto Tender Printer Ready Yes or No
Disable the prompt message for printer ready yes or no.
Show Add Service Charge
Allow the user to add service charge in POS Touch and Quick service.
Allow Tender Zero
Allow the user to tender zero transactions.
Enable DTR Feature
It is used to monitor the attendance of the employees. The employees can clock in/out and break in/out.
Disable Sales Date
Sales date is disable and the user is not allowed to select date in sales
Exclude Zero Prices (Sales Report)
The item that has a zero(0) price is not included in the sales report
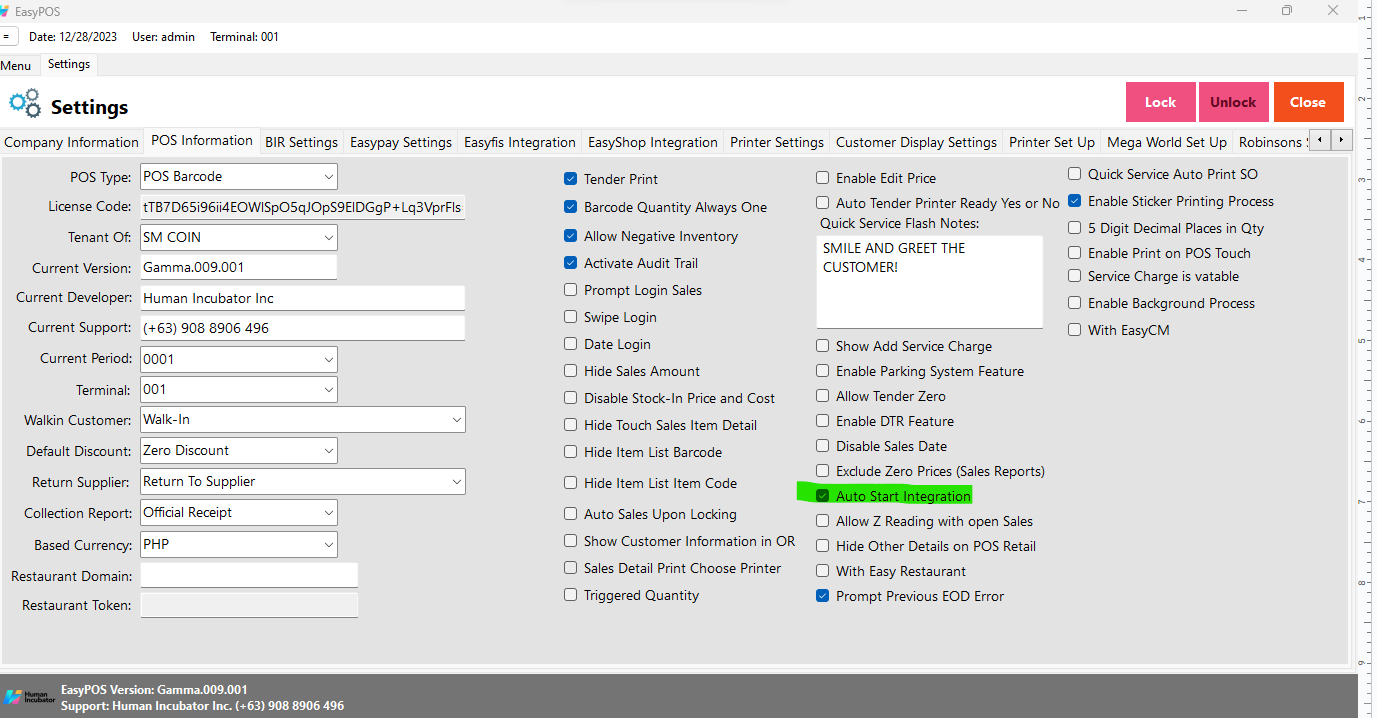
Auto Start Integration
Automatically start the integration like EasyFS.
Allow Z Reading with Open Sales
Allow the user to view or print z reading report with an open sales
Hide Other Details on POS Retail
When this feature is enabled, it will only display the item description, quantity, price, discount and amount in sales detail.
With Easy Restaurant
It is applicable for easy pos with easy restaurant setup
Prompt Previous EOD Error
Enable the EOD feature
It is a prompt message error for the previous EOD.
Quick Service Auto Print SO
It can print order slips in the quick service when it is enabled.
Enable Sticker Printing Process
Allow the user to print sticker
5 Digit Decimal Places in Qty
Allow the user to input 5 decimal places in quantity fields
Enable Print on POS Touch
Enable the print button in POS touch sales detail
Service Charge is vatable
Allow the user to add service charge for company’s other income
Enable Background Process
If it is check, it will skip the inventory process every transaction
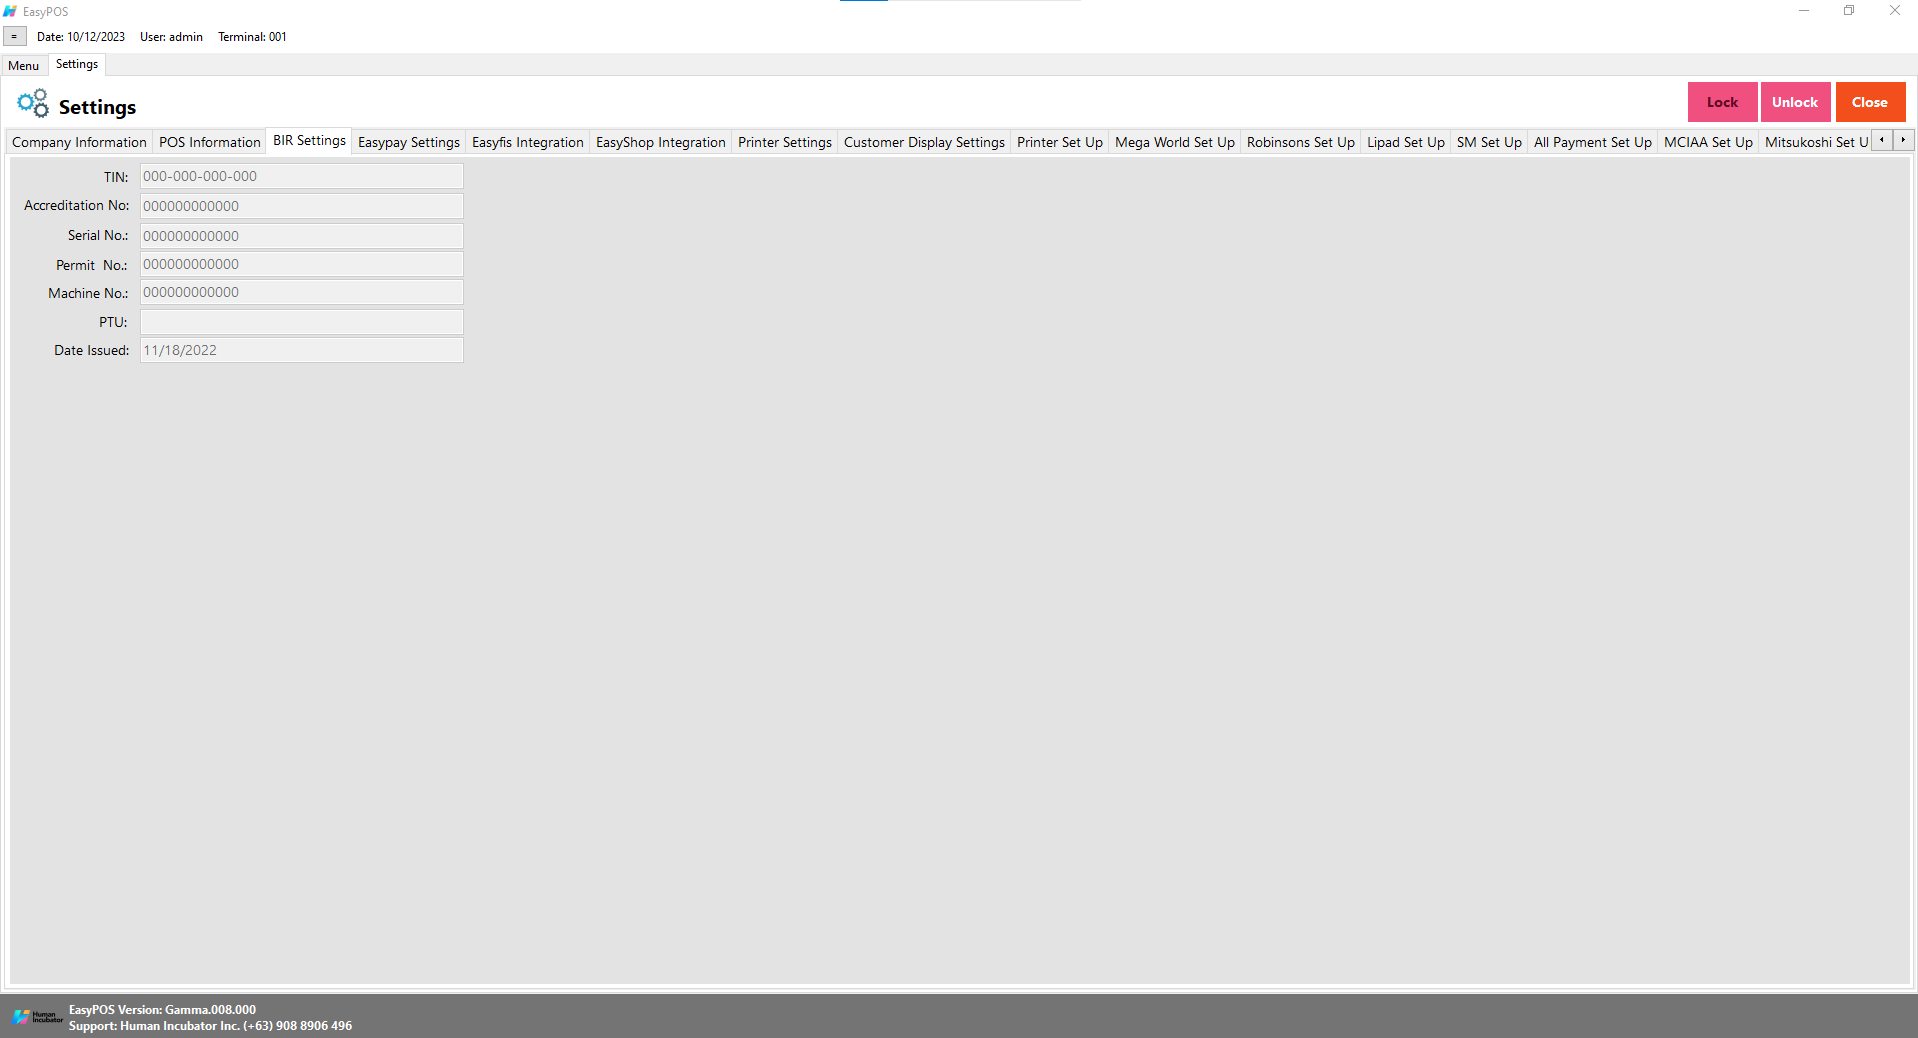
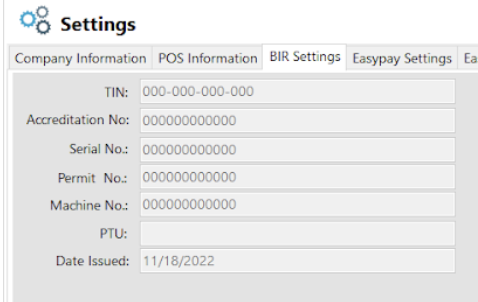
BIR Settings
It is where the user can set up their BIR credentials and receipt documentation.
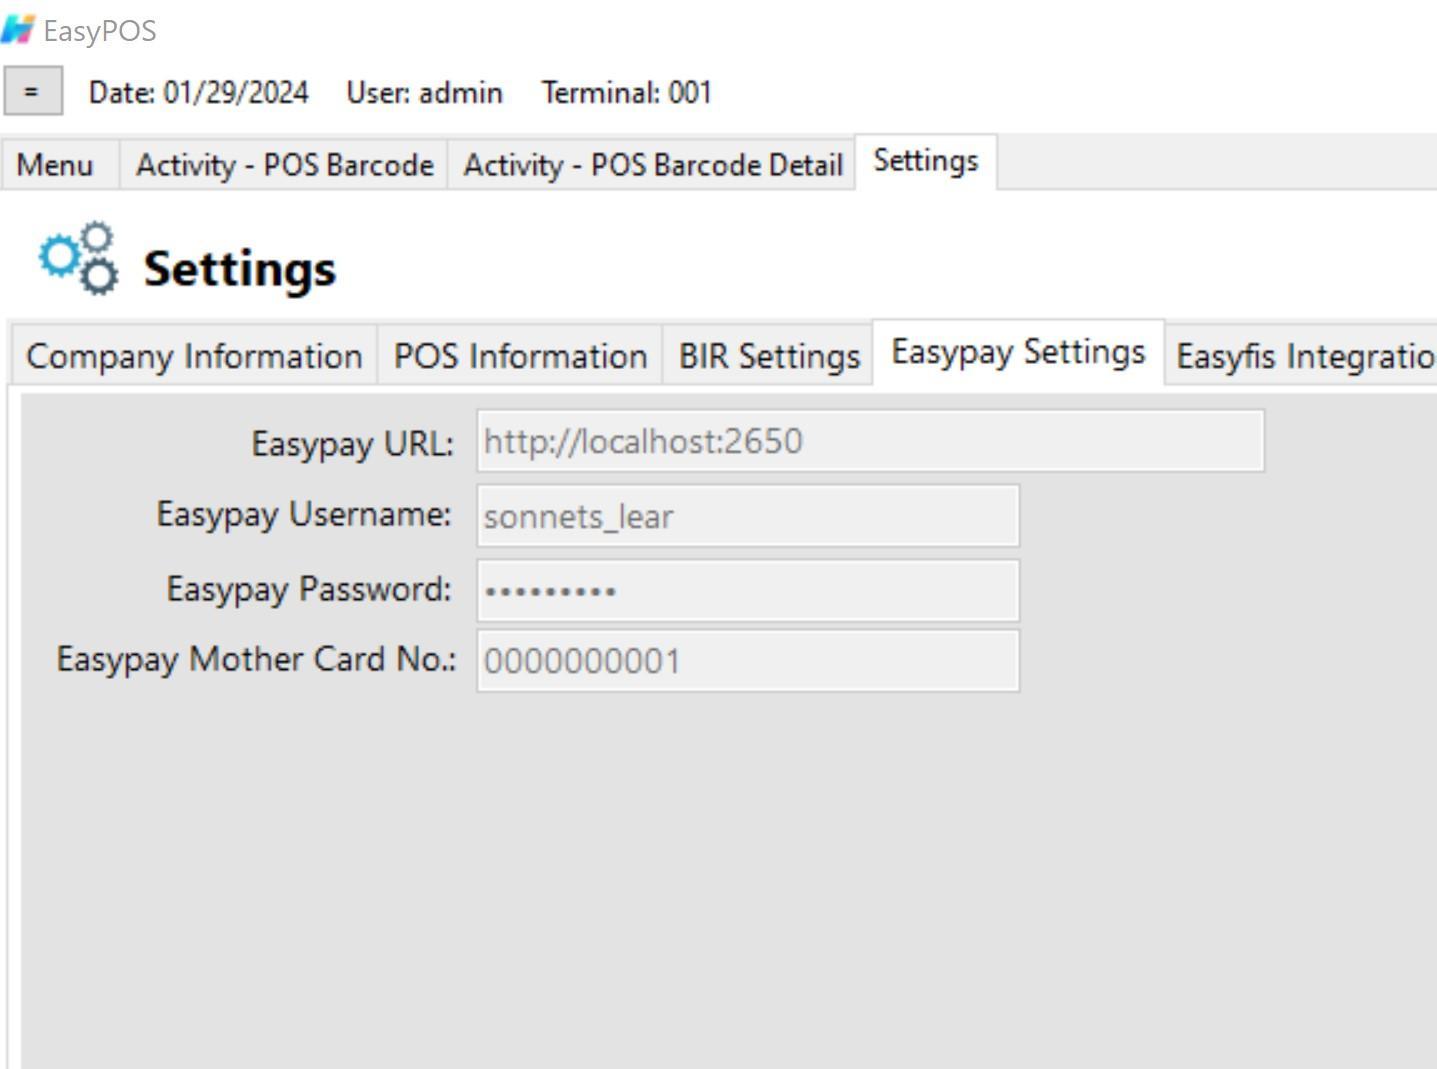
Easypay Settings
This is for the easypay integration where the user will set up the URL, username, password and card no.
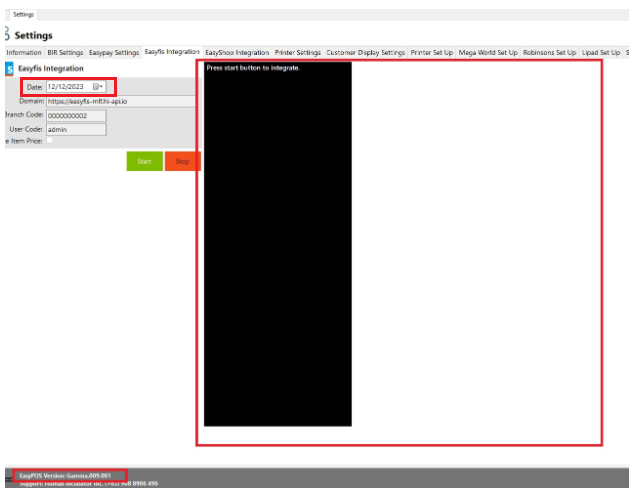
EasyFS Integration
This is for EasyFS integration where it is a connection and integration between the EasyFS and EasyPOS products.
We cannot connect more than two EasyPOS with EasyFS.
Set up the following in the database (use sql server):
Don’t shutdown the POS system with integration until synchronization is done
Note: For integration of masterlists like Items, Customers and Suppliers, you need to set the correct date of when it was added/updated in the EasyFS system before switching the integration on.
Updating the BARCODE and UNIT in the easyFS system will cause duplication of items in EasyPOS which will cause a discrepancy of inventories between two systems. To avoid this kind of issue(s), you should add a new entry for the updated barcode(s) and unit(s).
And as for the stock in, stockout and stock transfer transactions, you need to set the date of the integrator in EasyPOS to the date that was set in every “IN Date” for stock in, “OT Date” for Stockout and “ST Date” for stock transfer transactions.
Automatic Integration
If you want to Automatically start the integration go to
Struggling to accept online payments? Discover how HII Online Payment Service solves your credit card merchant dilemma. HII Online Payment Service. Coming soon!
Struggling to accept online payments? Discover how HII Online Payment Service solves your credit card merchant dilemma. HII Online Payment Service. Coming soon!
Take advantage of Free easyFS Usage for Accounting Firms in the Philippines. Contact Us at +639176280355 or email at hiisales@humedit.ph
Take advantage of Free easyFS Usage for Accounting Firms in the Philippines. Contact Us at +639176280355 or email at hiisales@humedit.ph
Struggling to accept online payments? Discover how HII Online Payment Service solves your credit card merchant dilemma. HII Online Payment Service. Coming soon!
Struggling to accept online payments? Discover how HII Online Payment Service solves your credit card merchant dilemma. HII Online Payment Service. Coming soon!
Take advantage of Free easyFS Usage for Accounting Firms in the Philippines. Contact Us at +639176280355 or email at hiisales@humedit.ph
Take advantage of Free easyFS Usage for Accounting Firms in the Philippines. Contact Us at +639176280355 or email at hiisales@humedit.ph
Struggling to accept online payments? Discover how HII Online Payment Service solves your credit card merchant dilemma. HII Online Payment Service. Coming soon!
Struggling to accept online payments? Discover how HII Online Payment Service solves your credit card merchant dilemma. HII Online Payment Service. Coming soon!
Take advantage of Free easyFS Usage for Accounting Firms in the Philippines. Contact Us at +639176280355 or email at hiisales@humedit.ph
Take advantage of Free easyFS Usage for Accounting Firms in the Philippines. Contact Us at +639176280355 or email at hiisales@humedit.ph
Struggling to accept online payments? Discover how HII Online Payment Service solves your credit card merchant dilemma. HII Online Payment Service. Coming soon!
Struggling to accept online payments? Discover how HII Online Payment Service solves your credit card merchant dilemma. HII Online Payment Service. Coming soon!
Take advantage of Free easyFS Usage for Accounting Firms in the Philippines. Contact Us at +639176280355 or email at hiisales@humedit.ph
Take advantage of Free easyFS Usage for Accounting Firms in the Philippines. Contact Us at +639176280355 or email at hiisales@humedit.ph
Struggling to accept online payments? Discover how HII Online Payment Service solves your credit card merchant dilemma. HII Online Payment Service. Coming soon!
Struggling to accept online payments? Discover how HII Online Payment Service solves your credit card merchant dilemma. HII Online Payment Service. Coming soon!
Take advantage of Free easyFS Usage for Accounting Firms in the Philippines. Contact Us at +639176280355 or email at hiisales@humedit.ph
Take advantage of Free easyFS Usage for Accounting Firms in the Philippines. Contact Us at +639176280355 or email at hiisales@humedit.ph
Struggling to accept online payments? Discover how HII Online Payment Service solves your credit card merchant dilemma. HII Online Payment Service. Coming soon!
Struggling to accept online payments? Discover how HII Online Payment Service solves your credit card merchant dilemma. HII Online Payment Service. Coming soon!
Take advantage of Free easyFS Usage for Accounting Firms in the Philippines. Contact Us at +639176280355 or email at hiisales@humedit.ph
Take advantage of Free easyFS Usage for Accounting Firms in the Philippines. Contact Us at +639176280355 or email at hiisales@humedit.ph
Struggling to accept online payments? Discover how HII Online Payment Service solves your credit card merchant dilemma. HII Online Payment Service. Coming soon!
Struggling to accept online payments? Discover how HII Online Payment Service solves your credit card merchant dilemma. HII Online Payment Service. Coming soon!
Take advantage of Free easyFS Usage for Accounting Firms in the Philippines. Contact Us at +639176280355 or email at hiisales@humedit.ph
Take advantage of Free easyFS Usage for Accounting Firms in the Philippines. Contact Us at +639176280355 or email at hiisales@humedit.ph
Struggling to accept online payments? Discover how HII Online Payment Service solves your credit card merchant dilemma. HII Online Payment Service. Coming soon!
Struggling to accept online payments? Discover how HII Online Payment Service solves your credit card merchant dilemma. HII Online Payment Service. Coming soon!

 Log in to Messenger