Discounting is where to set up preferred discounts to give during the sales transactions with customers.
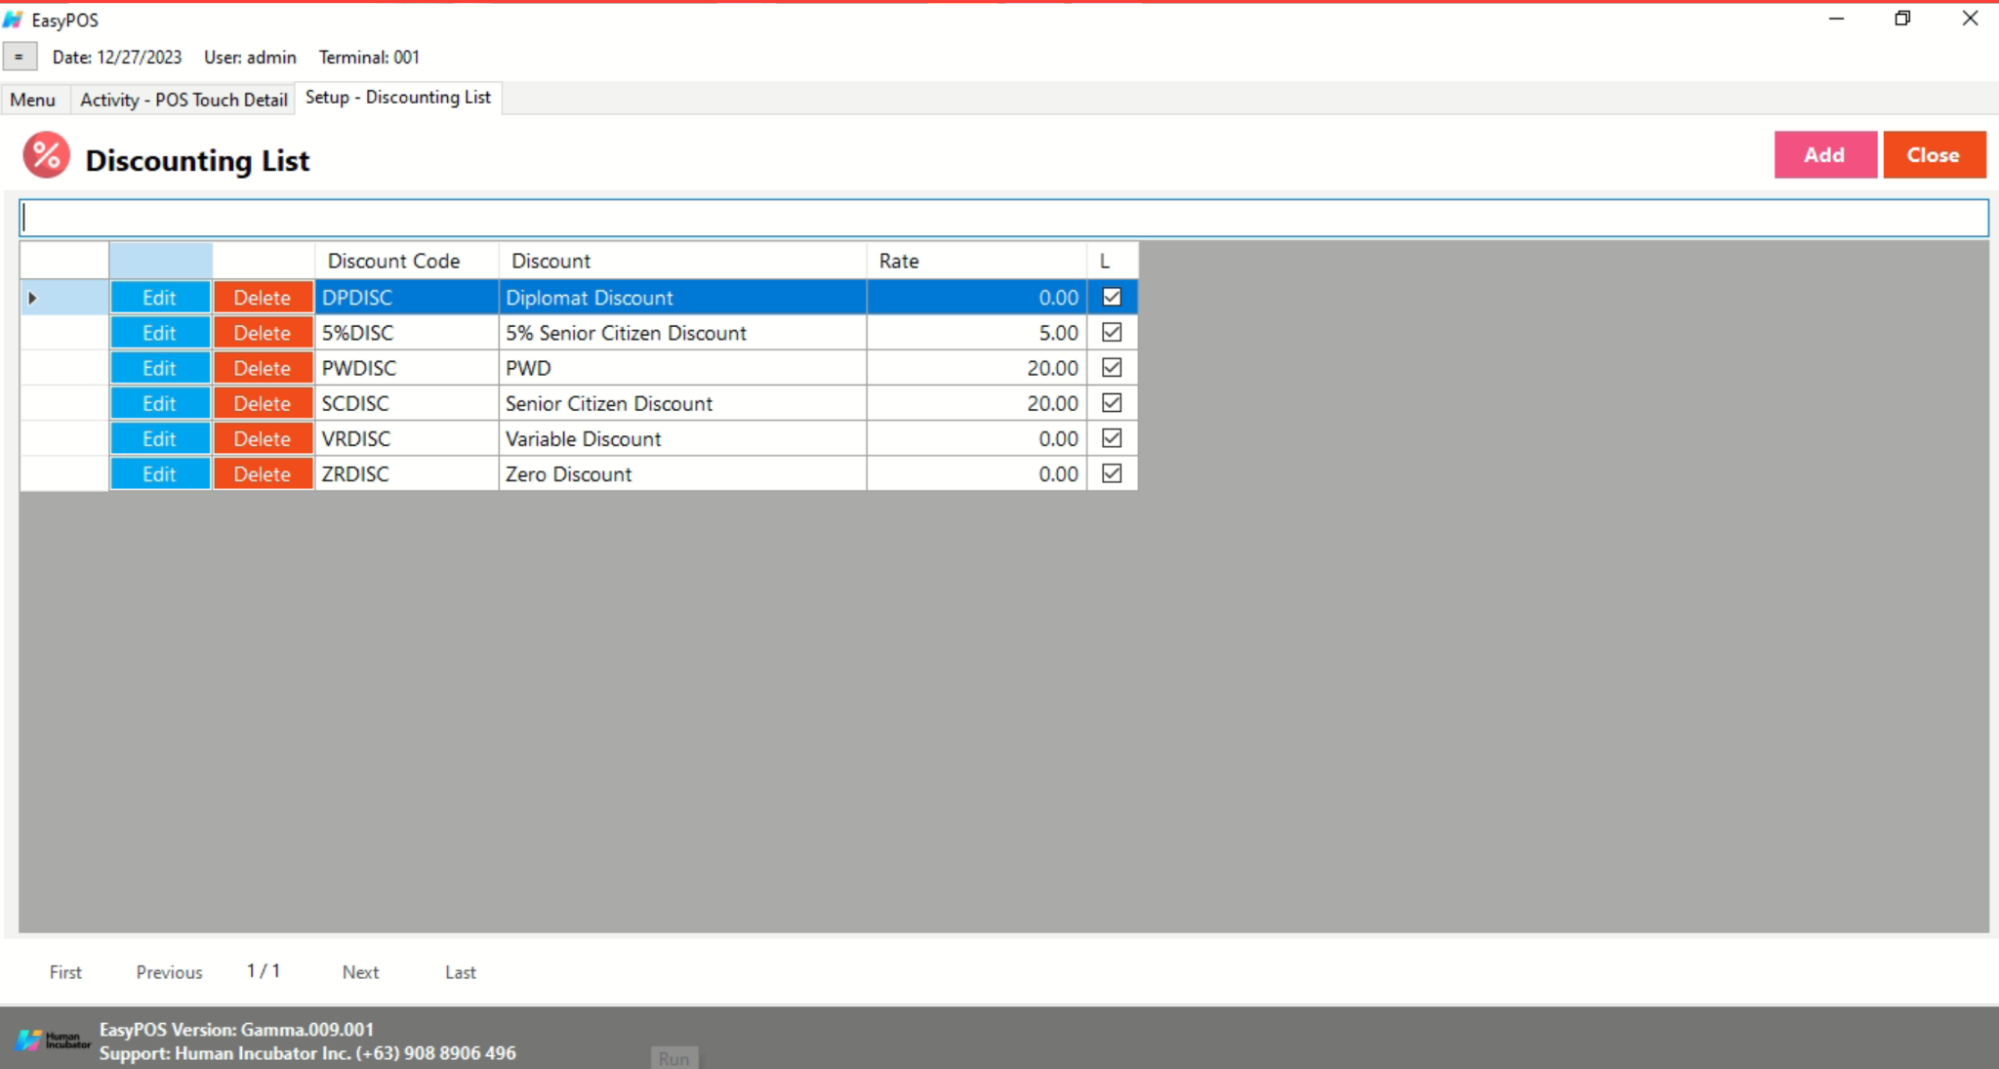
Discounting List
Shows the list of all added items.
Delete button will proceed to deleting unlocked discount record detail.
Edit button will proceed to updating discount detail.
Add button will proceed to adding a new discount.
Close button will proceed to closing the discount list page.
Term
Description
Size
Remarks
Discount Code
A unique code or identifier used during the checkout process to apply a specific discount to an order.
N/A
Select desired discount code
Discount
The reduction in the original price of a product or service, often expressed as a percentage or a fixed amount.
N/A
Select desired Discount
Rate
The percentage or fixed value applied to calculate the discount on a product or service.
N/A
Input number or percentage.
Lock
An option or feature that allows the user to lock a specific discount with its associated description, preventing
N/A
Enable check box
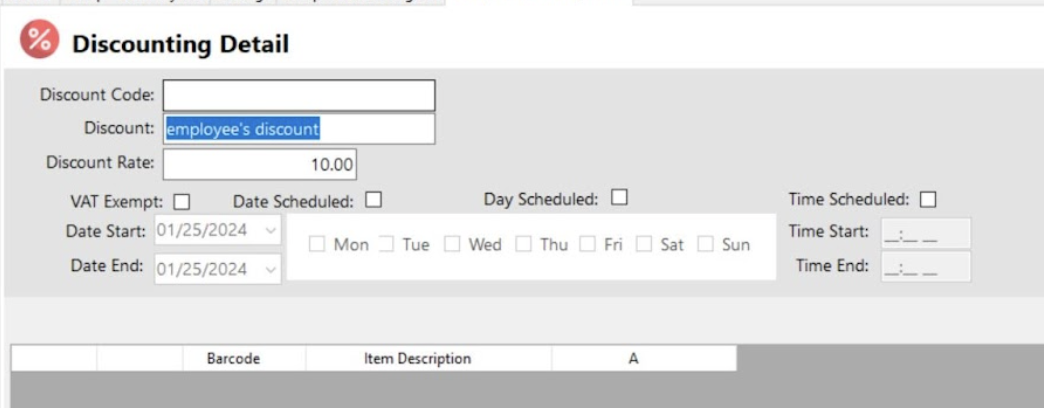
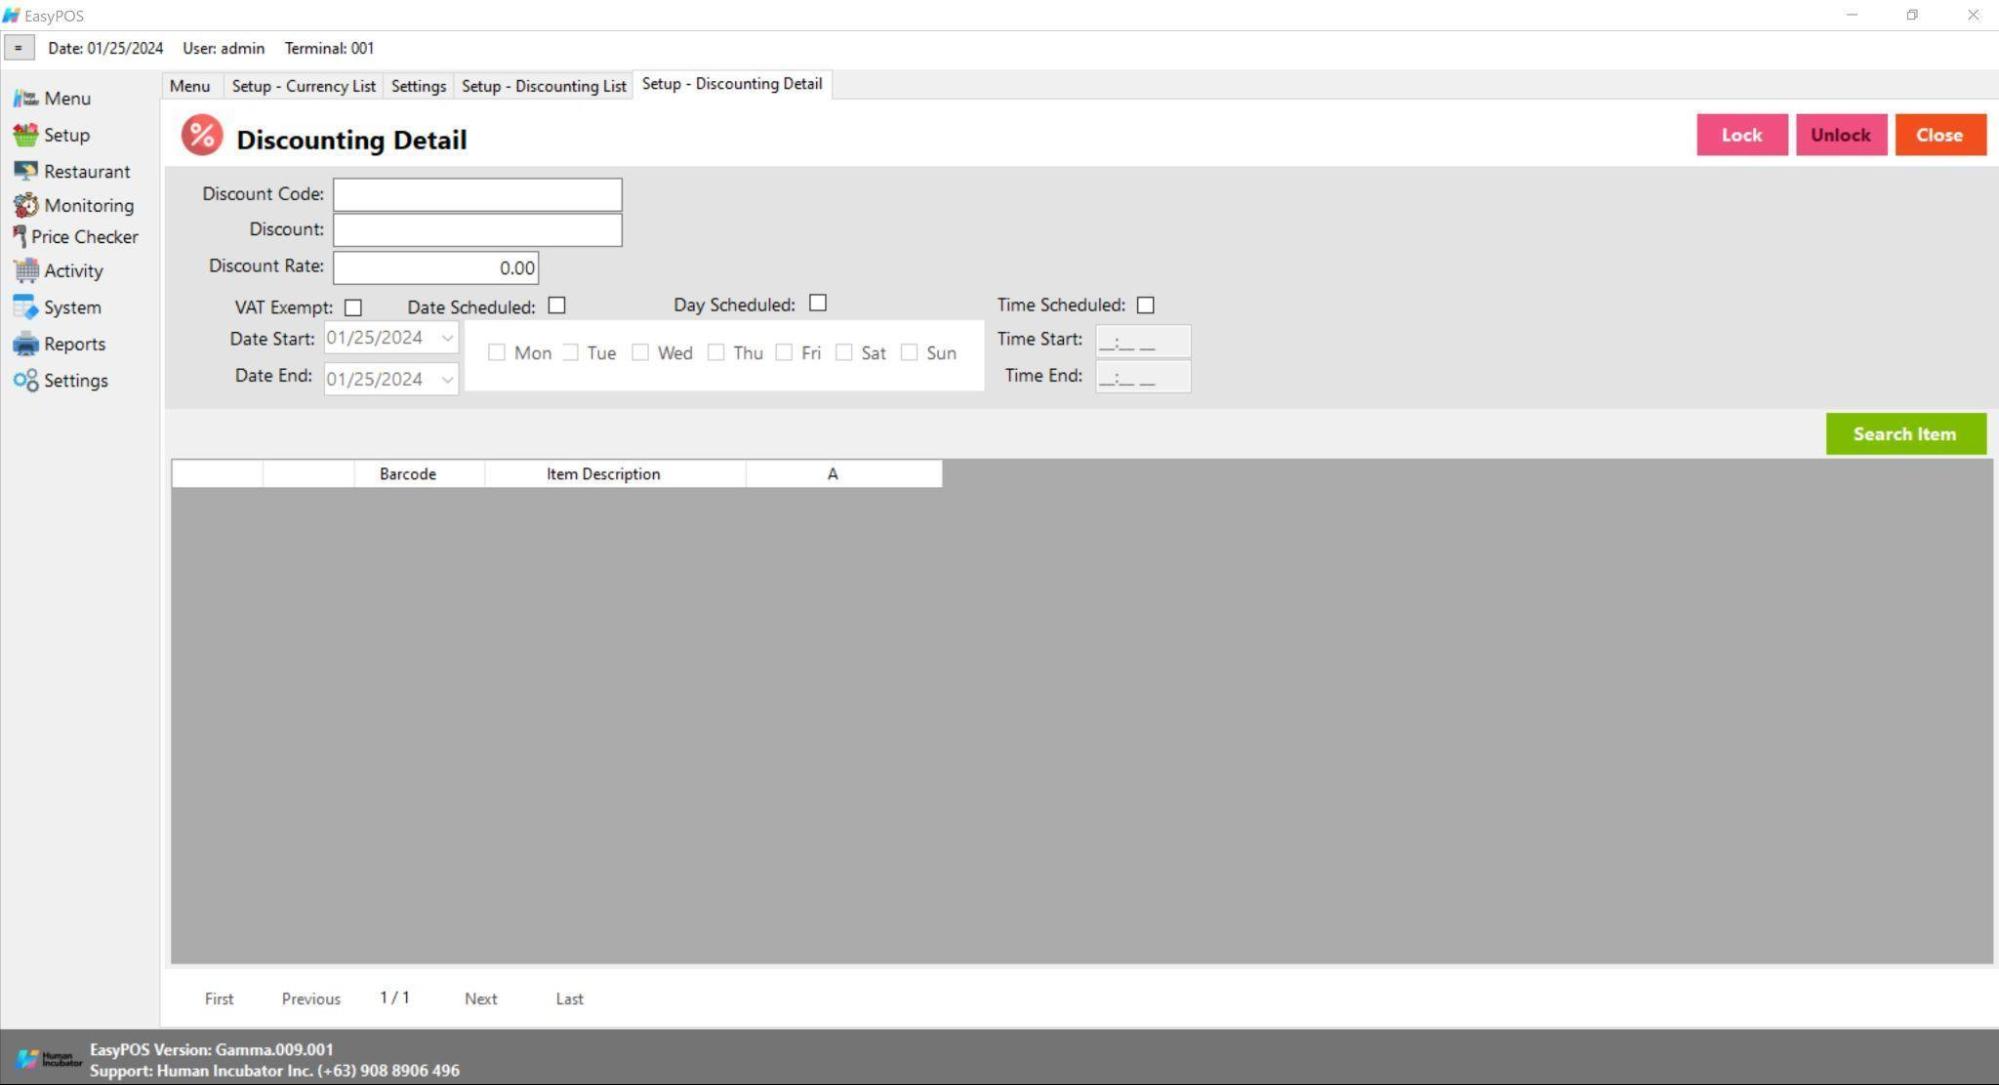
Discounting Detail
Assumption: Add button is already clicked on the upper right corner in the discounting list.
Fill up all the necessary information like
Discount Code, Discount, Discount Rate
Click Save and lock buttons to save and lock the discount detail.
Click the Unlock button to unlock the discounting detail and enable editing/updating discount details, lock to save.
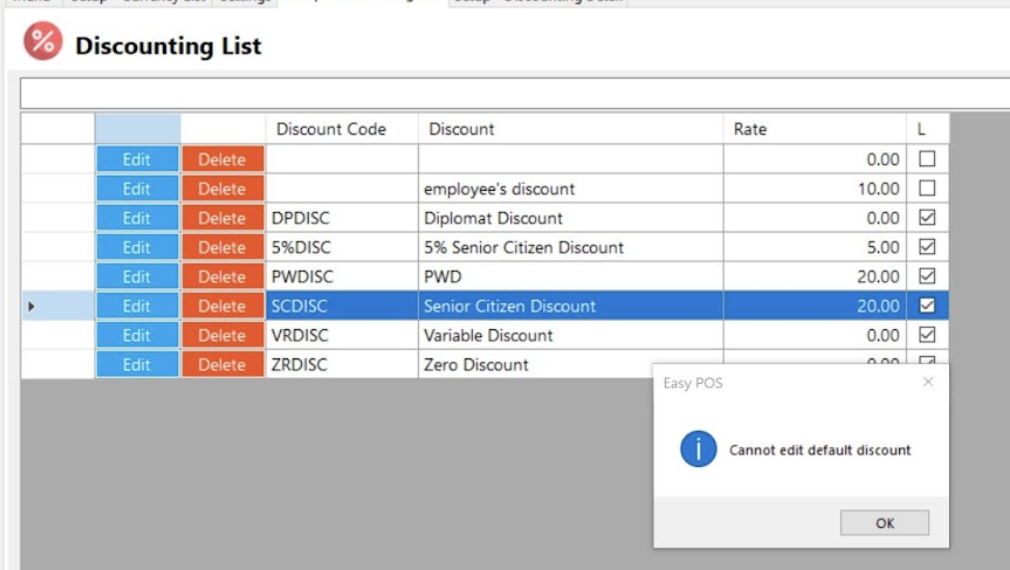
Note: Default discount is not editable: Zero Discount, Variable, Senior Citizen, PWD, 5%Senior Citizen and Solo Parent. Diplomat and National Athlete Discounts are already Disabled on this version.
Customer Setup
Customers are used in making sales transactions.
Note: If the EasyPOS has an EasyFS Integration, the setting of customer or adding of customer should be done in the EasyFS system. Make sure that the “Term” list and “Discount” list in EasyPOS and EasyFS should be the same.
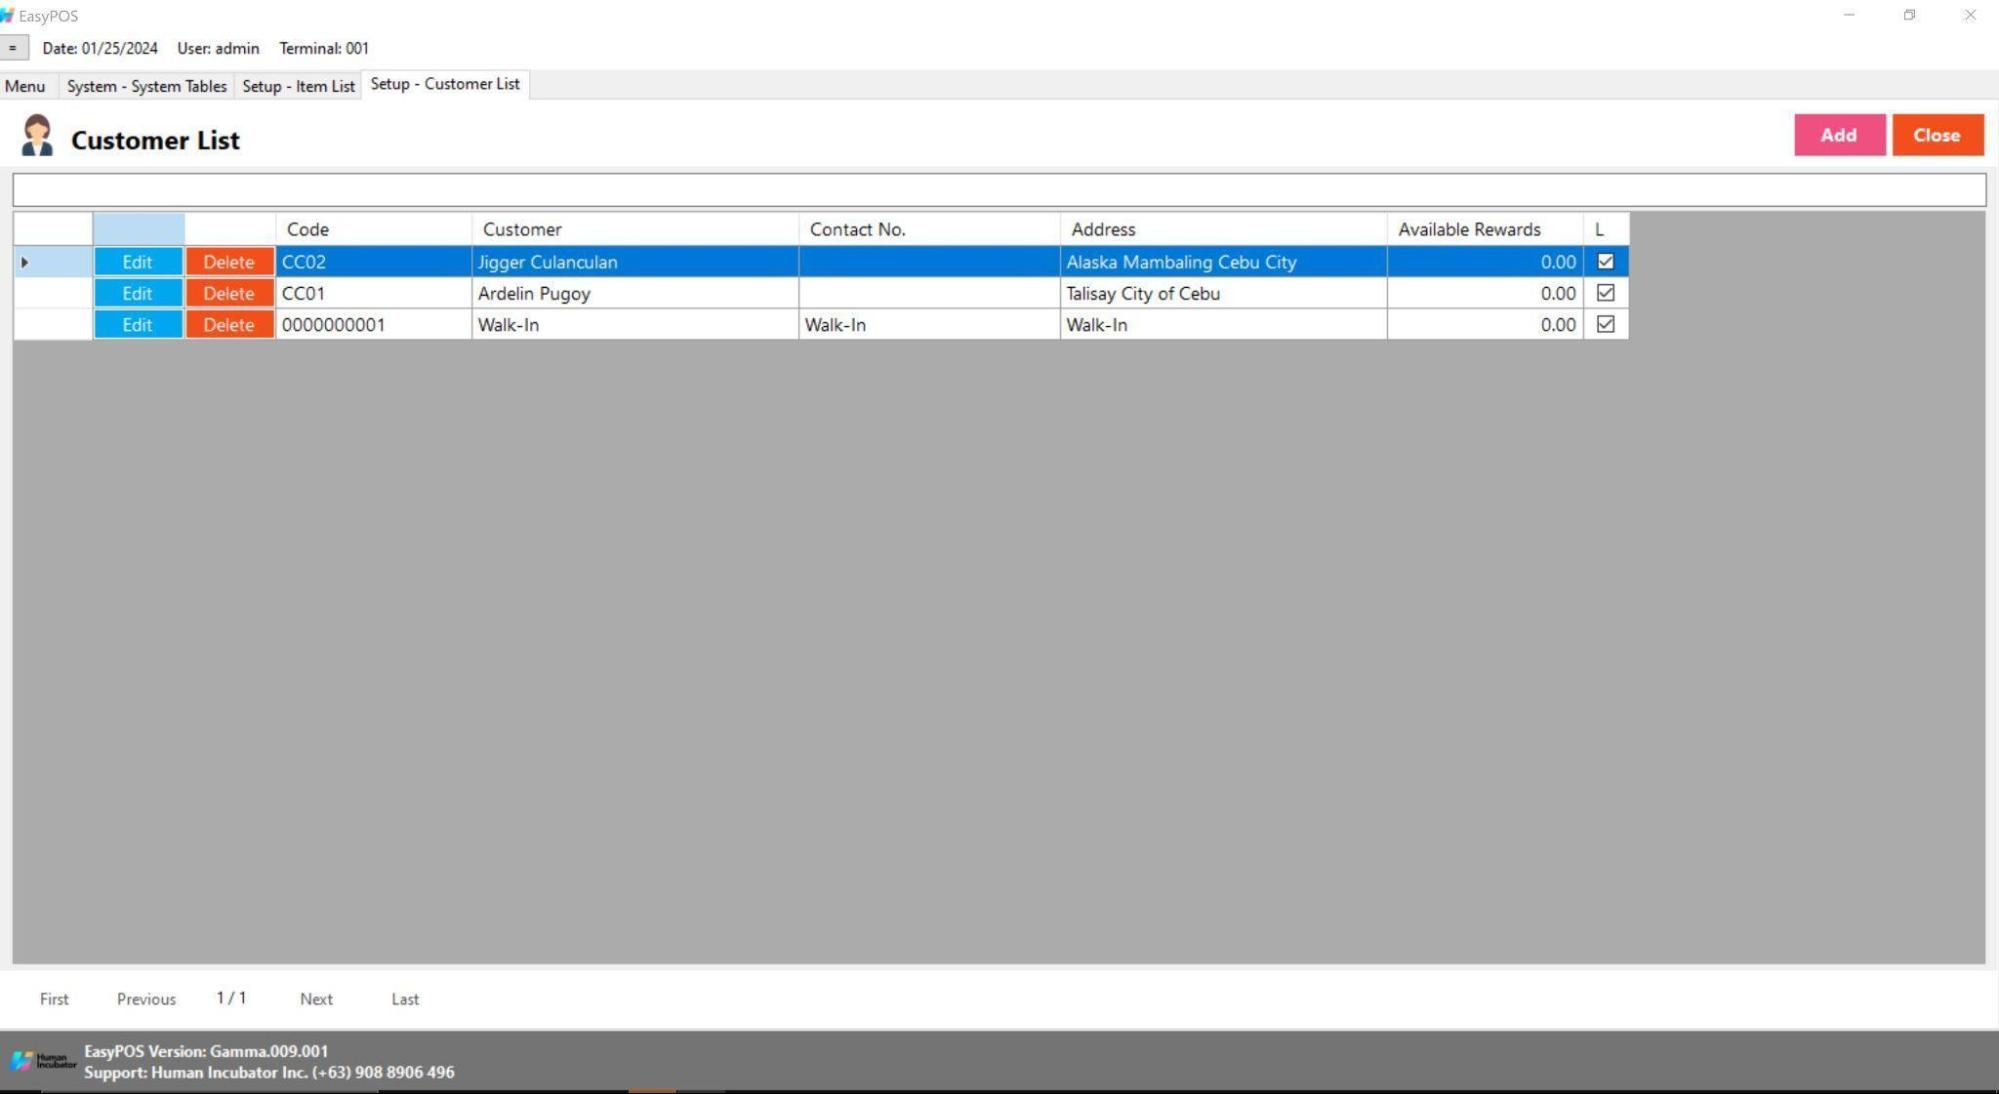
Customer List
Shows the list of all added customers.
Delete button will proceed to deleting unlocked customer record details.
The Edit button will proceed to updating customer details.
Add button will proceed to adding a new customer .
Close button will proceed to closing the customer list page.
Customer Detail
Assumption: Add button is already clicked on the upper right corner in the customer list.
It has a maximum limit with 50 characters for Customer Code, Customer,Contact Person, and Contact number and 255 characters for the Address
Avoid using special characters except ampersand (&) and percent (%) in All Fields of Customer Detail like: at sign (@), dollar sign ($), pound sign (#), asterisk (*), blank () , braces ({ }), brackets ([ ]), comma (,), equal sign (=), hyphen (-), parenthesis ( ), period (.), plus sign (+), semicolon (;), single quotation mark (‘), slash (/) and etc. Special Characters: ~ ` ! @ # $ % ^ & * ( ) – _ + = { } [ ] | \ / : ; ” ‘ < > , .
If some fields have special characters, a prompt message will appear when locking or saving the data.
Default value: NA and 0.00
Other optional information:
Email Address, Birthday, Age, Gender
Click Save and lock buttons to save and lock the customer detail.
Click the Unlock button to unlock the customer detail and enable editing/updating customer details, lock to save.
Code – A numerical code, one or more of which are available to a Customer to enable identification of individual users or groups of users on an account and to allocate costs of service accordingly.
Customer – A person or organization that buys goods or services from a store or business
Contact No. – typically refers to a phone number or a set of digits that can be used to reach or contact an individual or an organization.
Address – it can refer to the location or coordinates of a place, whether it’s a residential address, a business address, or a landmark.
Available Rewards – typically refers to benefits or incentives that are currently accessible or obtainable within a rewards program, loyalty program, or any system that offers perks to participants. These rewards can come in various forms, and their availability may be influenced by factors such as points accumulation, specific actions, or membership status.
L – Locking an item means that particular part of your items can’t be edited while it is locked. You can easily unlock items that you need to edit and lock them back up when you’re done. Lock (with check) and unlock (without check)
User Setup
This is where to set up system users with their form access rights.
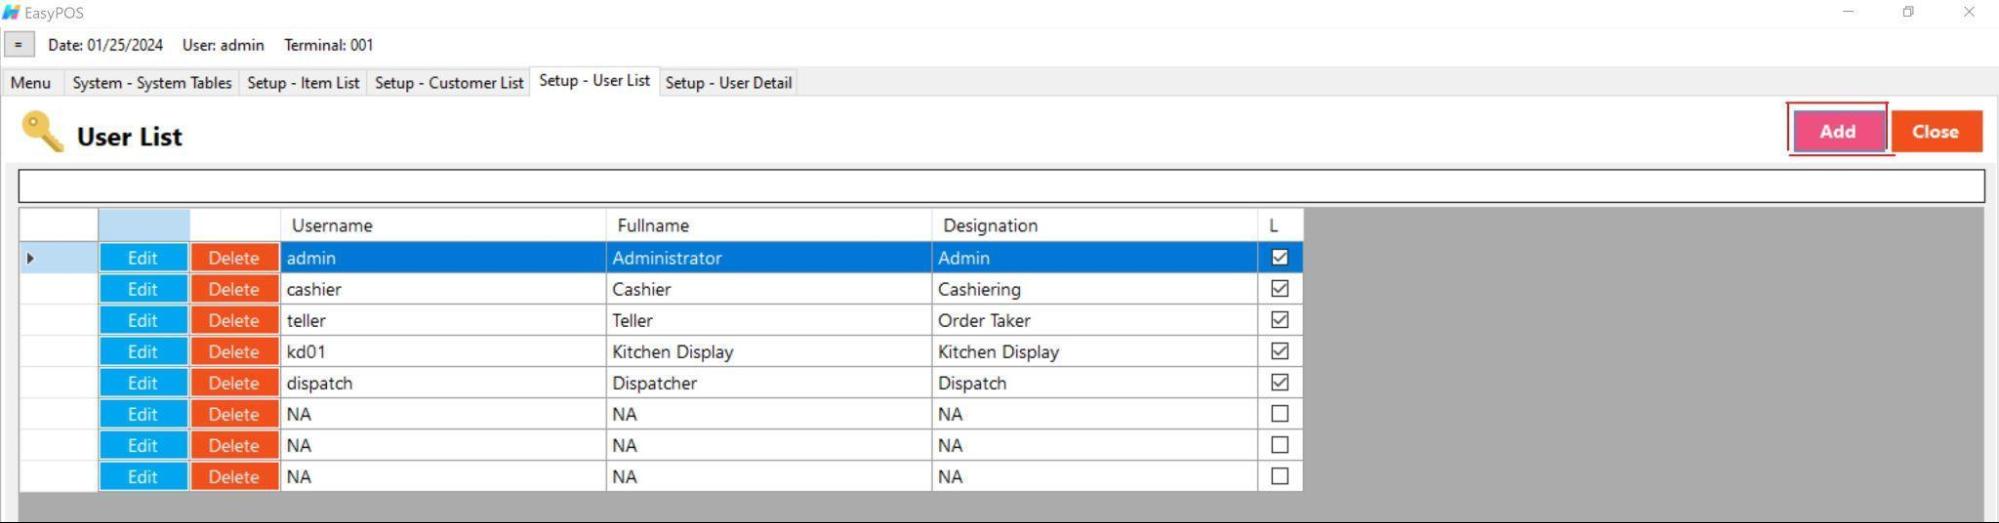
User List
Shows the list of all added system users.
Delete button will proceed to deleting unlocked user record details.
The Edit button will proceed to updating user details.
Add button will proceed to adding a new user.
Close button will proceed to closing the user list page.
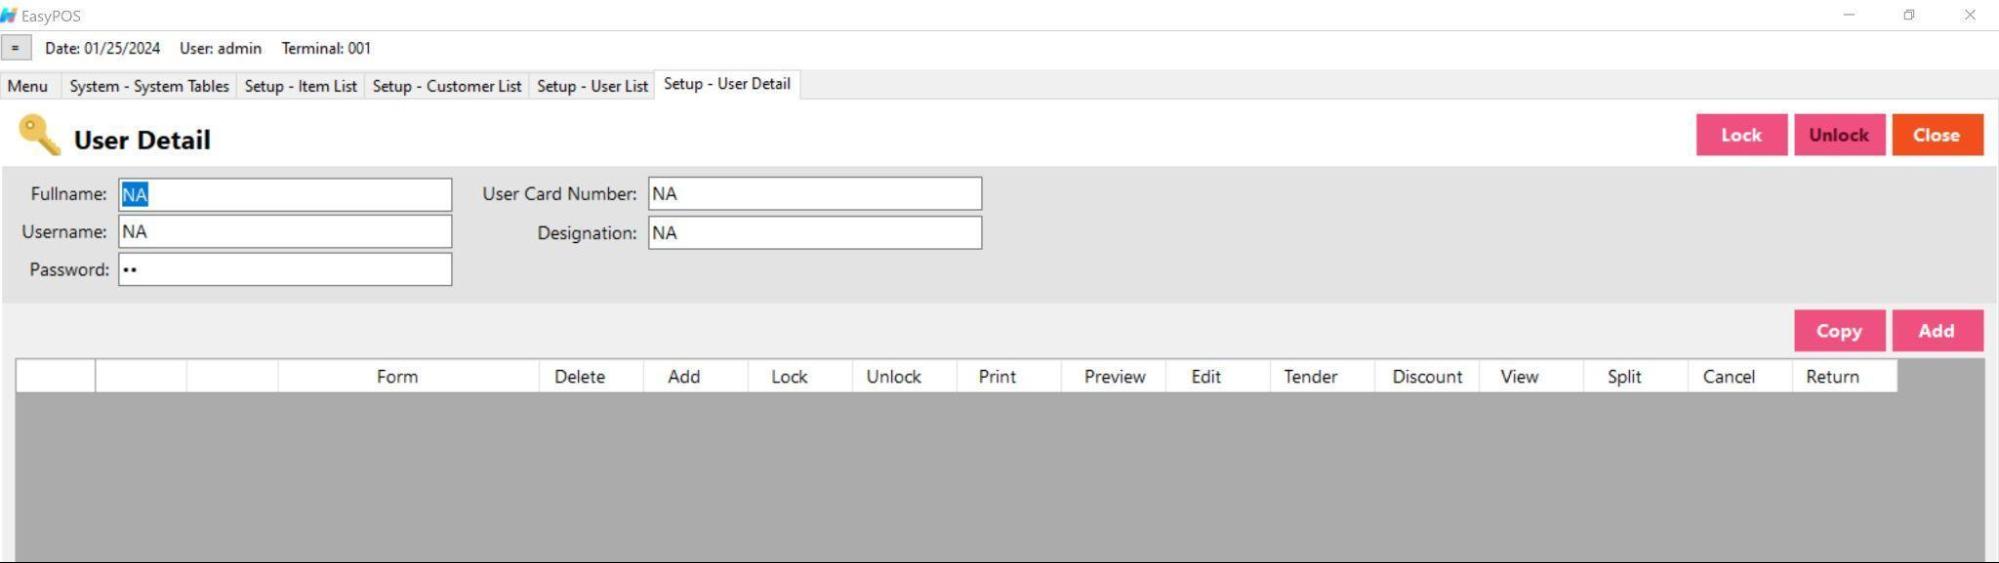
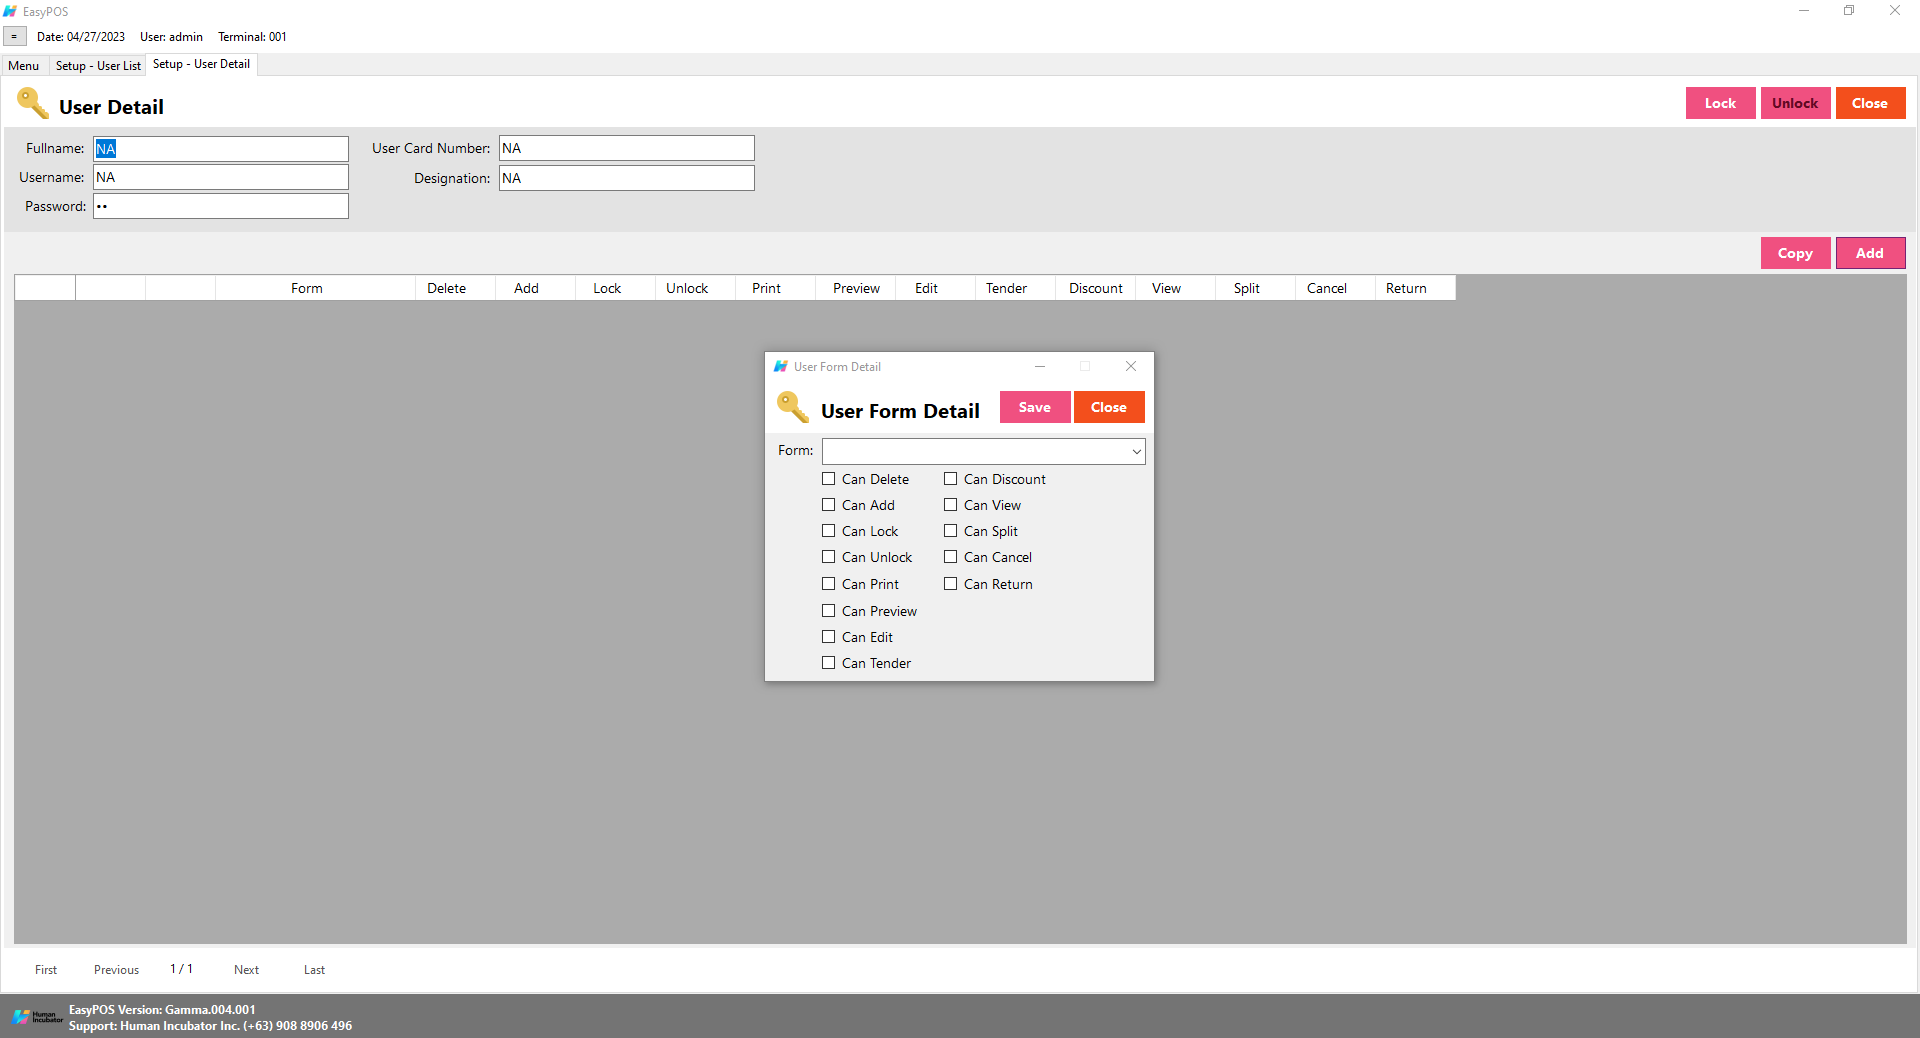
User Detail
“User details” typically refer to specific information or data related to an individual user within a system, platform, or application. These details can include various pieces of information, such as:
Personal Information: This may include the user’s name, contact details (email address, phone number), date of birth, and other demographic information.
Account Information: Details related to the user’s account, such as their username, password, and any security-related information.
Preferences: Information about the user’s preferences, settings, or customization choices within the system.
Activity History: A record of the user’s interactions and activities within the system, including logins, transactions, or other relevant actions.
Permissions and Roles: Information about the user’s level of access and permissions within the system. This can include whether they have administrative privileges or are restricted to certain functionalities.
Security Information: Any additional security-related details, such as two-factor authentication status or recent security events related to the user’s account.
Assumption: Add button is already clicked on the upper right corner in the user list.
Fill up all the necessary information like:
Full Name, Username, Password
Other optional information:
User Card Number, Designation
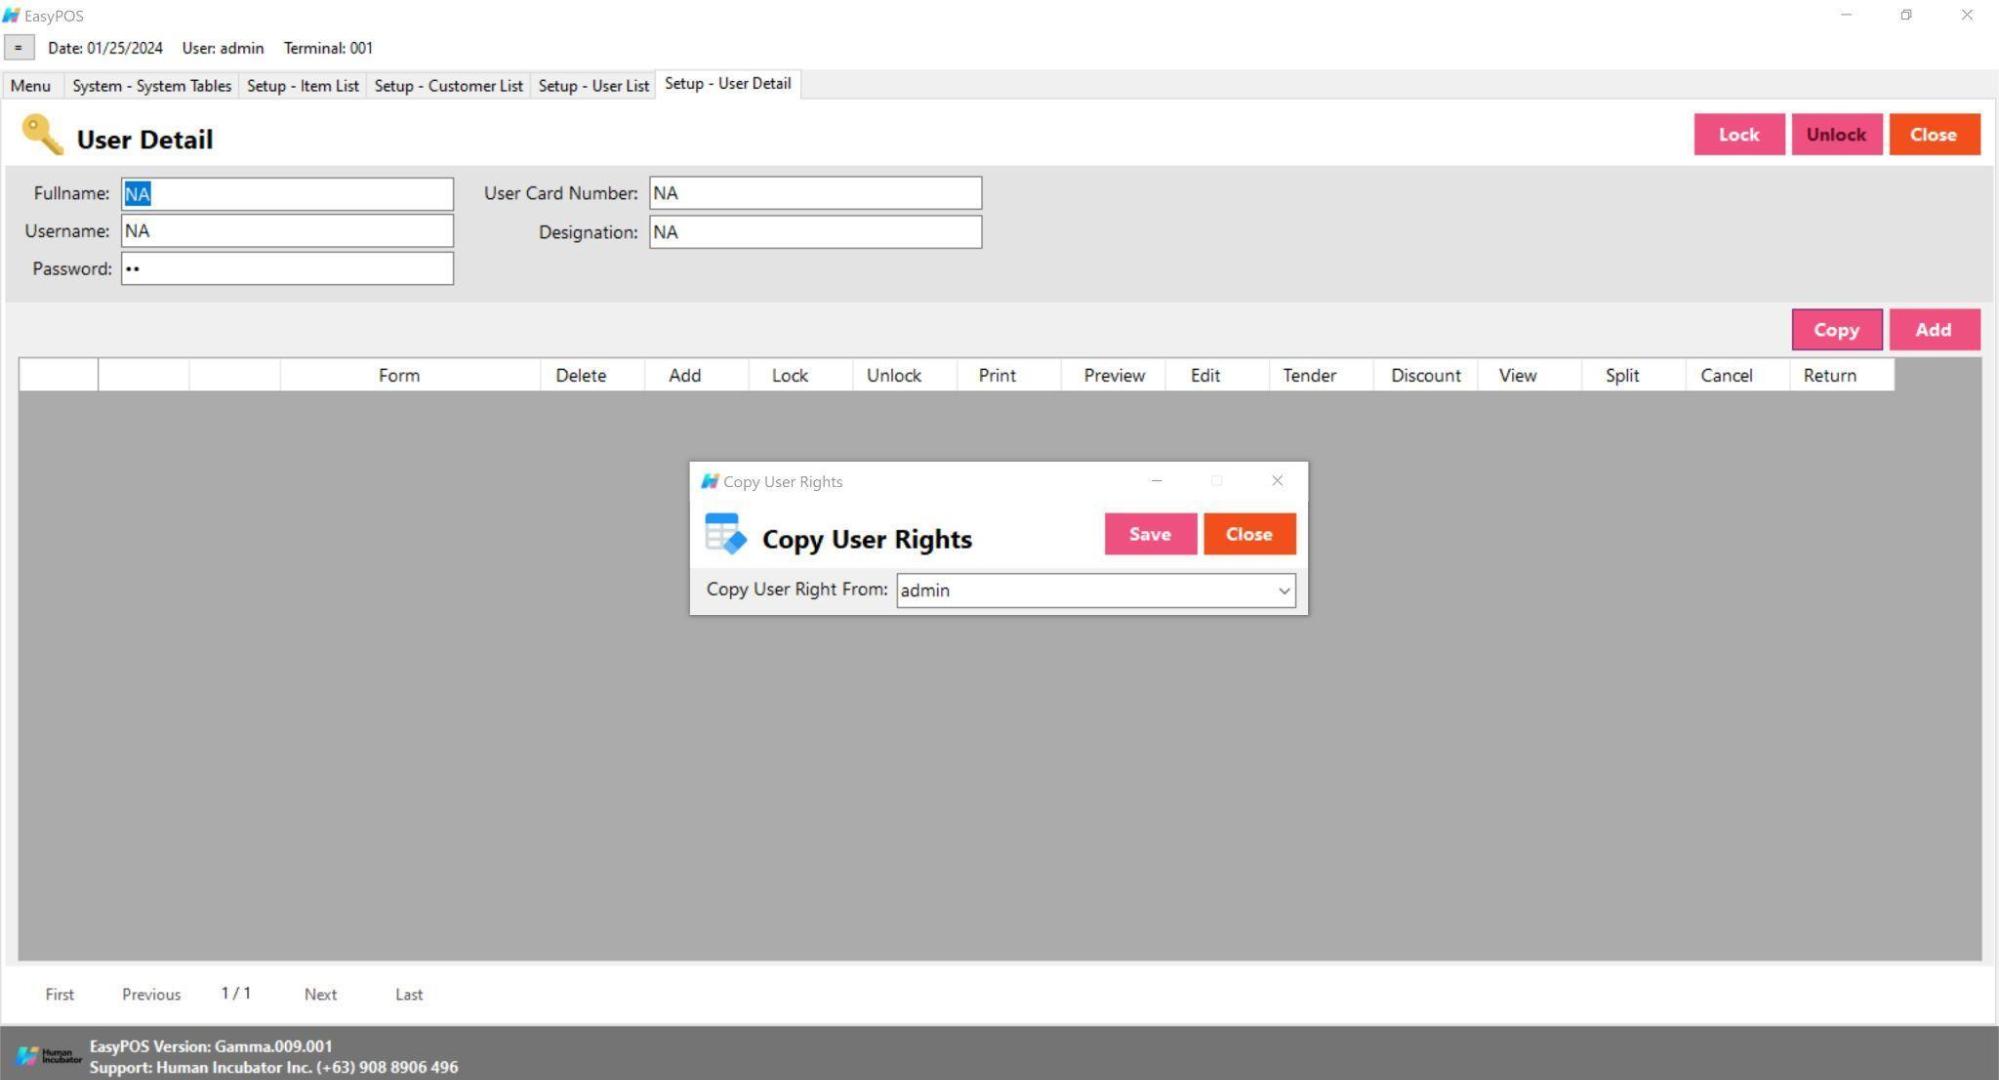
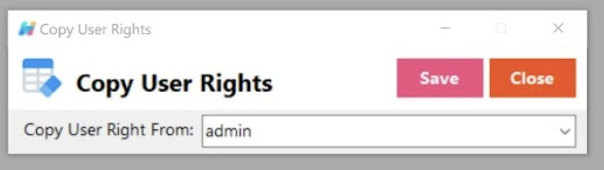
The Copy User Rights button will proceed to copying the user rights from the existing system user. Make sure to provide the correct Copy User Right From
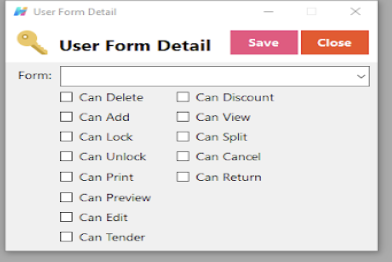
The Add button will proceed to customizing the user rights.
Click Save and lock buttons to save and lock the user detail.
Click the Unlock button to unlock the user detail and enable editing/updating user details, lock to save.
Struggling to accept online payments? Discover how HII Online Payment Service solves your credit card merchant dilemma. HII Online Payment Service. Coming soon!
Struggling to accept online payments? Discover how HII Online Payment Service solves your credit card merchant dilemma. HII Online Payment Service. Coming soon!
Take advantage of Free easyFS Usage for Accounting Firms in the Philippines. Contact Us at +639176280355 or email at hiisales@humedit.ph
Take advantage of Free easyFS Usage for Accounting Firms in the Philippines. Contact Us at +639176280355 or email at hiisales@humedit.ph
Struggling to accept online payments? Discover how HII Online Payment Service solves your credit card merchant dilemma. HII Online Payment Service. Coming soon!
Struggling to accept online payments? Discover how HII Online Payment Service solves your credit card merchant dilemma. HII Online Payment Service. Coming soon!
Take advantage of Free easyFS Usage for Accounting Firms in the Philippines. Contact Us at +639176280355 or email at hiisales@humedit.ph
Take advantage of Free easyFS Usage for Accounting Firms in the Philippines. Contact Us at +639176280355 or email at hiisales@humedit.ph
Struggling to accept online payments? Discover how HII Online Payment Service solves your credit card merchant dilemma. HII Online Payment Service. Coming soon!
Struggling to accept online payments? Discover how HII Online Payment Service solves your credit card merchant dilemma. HII Online Payment Service. Coming soon!
Take advantage of Free easyFS Usage for Accounting Firms in the Philippines. Contact Us at +639176280355 or email at hiisales@humedit.ph
Take advantage of Free easyFS Usage for Accounting Firms in the Philippines. Contact Us at +639176280355 or email at hiisales@humedit.ph
Struggling to accept online payments? Discover how HII Online Payment Service solves your credit card merchant dilemma. HII Online Payment Service. Coming soon!
Struggling to accept online payments? Discover how HII Online Payment Service solves your credit card merchant dilemma. HII Online Payment Service. Coming soon!
Take advantage of Free easyFS Usage for Accounting Firms in the Philippines. Contact Us at +639176280355 or email at hiisales@humedit.ph
Take advantage of Free easyFS Usage for Accounting Firms in the Philippines. Contact Us at +639176280355 or email at hiisales@humedit.ph
Struggling to accept online payments? Discover how HII Online Payment Service solves your credit card merchant dilemma. HII Online Payment Service. Coming soon!
Struggling to accept online payments? Discover how HII Online Payment Service solves your credit card merchant dilemma. HII Online Payment Service. Coming soon!
Take advantage of Free easyFS Usage for Accounting Firms in the Philippines. Contact Us at +639176280355 or email at hiisales@humedit.ph
Take advantage of Free easyFS Usage for Accounting Firms in the Philippines. Contact Us at +639176280355 or email at hiisales@humedit.ph
Struggling to accept online payments? Discover how HII Online Payment Service solves your credit card merchant dilemma. HII Online Payment Service. Coming soon!
Struggling to accept online payments? Discover how HII Online Payment Service solves your credit card merchant dilemma. HII Online Payment Service. Coming soon!
Take advantage of Free easyFS Usage for Accounting Firms in the Philippines. Contact Us at +639176280355 or email at hiisales@humedit.ph
Take advantage of Free easyFS Usage for Accounting Firms in the Philippines. Contact Us at +639176280355 or email at hiisales@humedit.ph
Struggling to accept online payments? Discover how HII Online Payment Service solves your credit card merchant dilemma. HII Online Payment Service. Coming soon!
Struggling to accept online payments? Discover how HII Online Payment Service solves your credit card merchant dilemma. HII Online Payment Service. Coming soon!
Take advantage of Free easyFS Usage for Accounting Firms in the Philippines. Contact Us at +639176280355 or email at hiisales@humedit.ph
Take advantage of Free easyFS Usage for Accounting Firms in the Philippines. Contact Us at +639176280355 or email at hiisales@humedit.ph
Struggling to accept online payments? Discover how HII Online Payment Service solves your credit card merchant dilemma. HII Online Payment Service. Coming soon!
Struggling to accept online payments? Discover how HII Online Payment Service solves your credit card merchant dilemma. HII Online Payment Service. Coming soon!

 Log in to Messenger